![]() You don't need to be an 'investor' to invest in Singletrack: 6 days left: 95% of target - Find out more
You don't need to be an 'investor' to invest in Singletrack: 6 days left: 95% of target - Find out more
I don’t have much free time this weekend as I am caring for a post-op wife as well as doing normal stuff but I think I can squeeze in one small project, or at least move it forward. I have decided to make a magazine table which, in my interpretation, is a table made out of magazines.
So far I have carefully laid out the magazines, built a little wall around them and poured in the glass resin to form a nice table top. It looked perfect when I poured it.
[img] 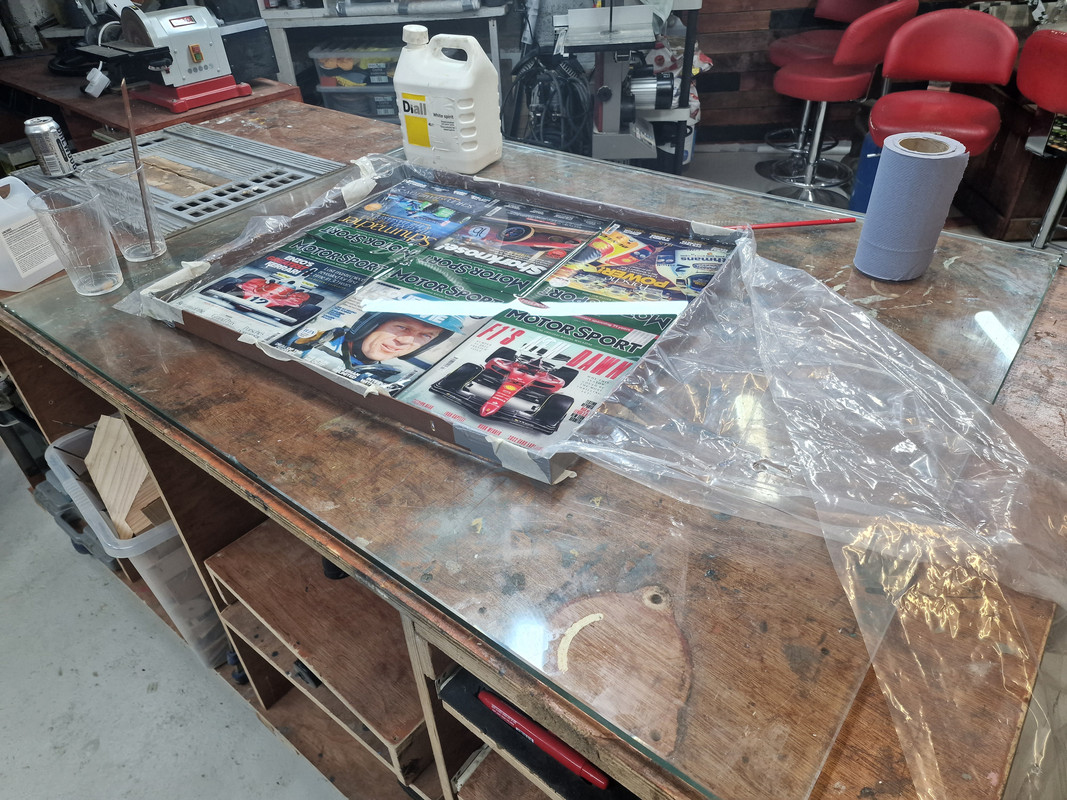 [/img]
Unfortunately Mr Spider decided to try for immortality by setting himself into the table as soon as my back was turned.
[img]  [/img]
A minor setback but I am sure it will buff out.
This weekend I hope to get the main table structure built and hopefully the final resin coat poured to cover the hole left by the spider and give a perfect level surface once more. The photo below shows the materials to be used.
[img]  [/img]
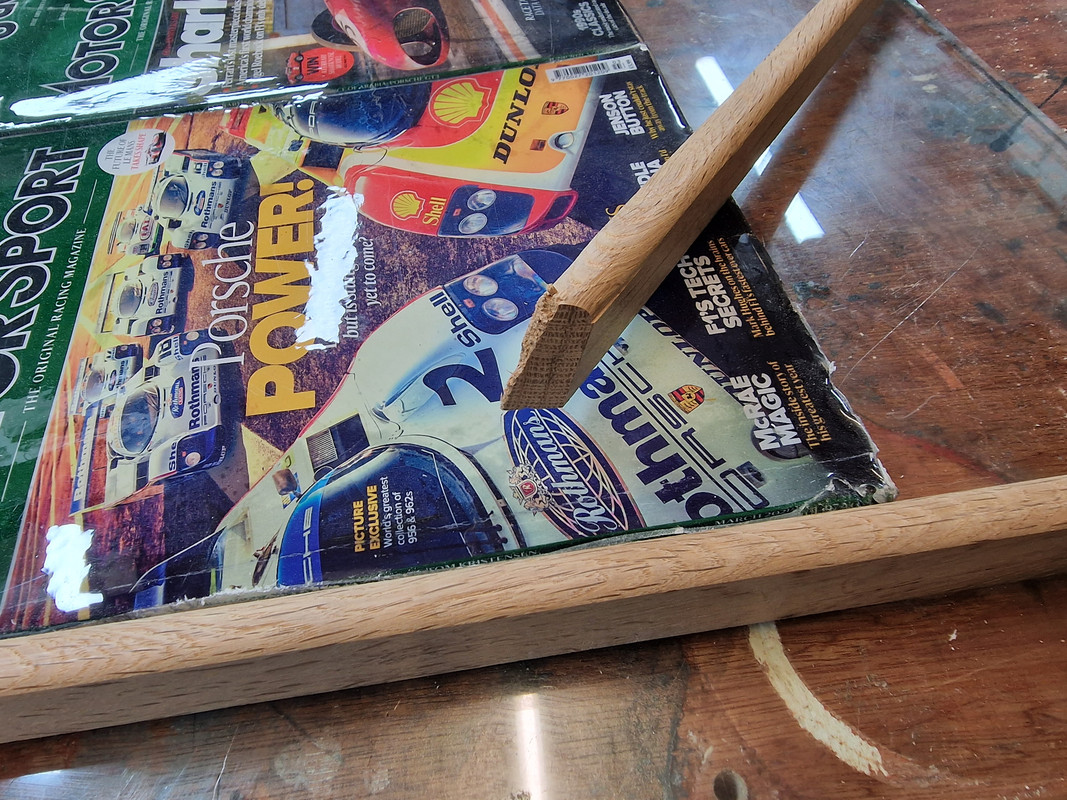
I used the tablesaw to turn an old oak fence post into four (3 shown) planks to act as edges for the table. These will cover the magazine edges and the edges of the ply based. The ply base is 18mm hardwood ply leftover from making the workbench you cannot see to the left of, and behind, the camera.
The wire wheel will form the base and is 1 of 7 I bought on eBay for my car, where the seller didn’t know what he was doing. He posted them as “7 Austin Martinwheels” with no picture and meant to have a minimum of £80 each. I turn up with £80 and get 7 Aston Martin wheels for £80 total but this one is unsafe to use on the car.
The curly steel andthe exhaust pipe are gifts and leftovers from other work and will probably form the legs of the table if I can work something out.
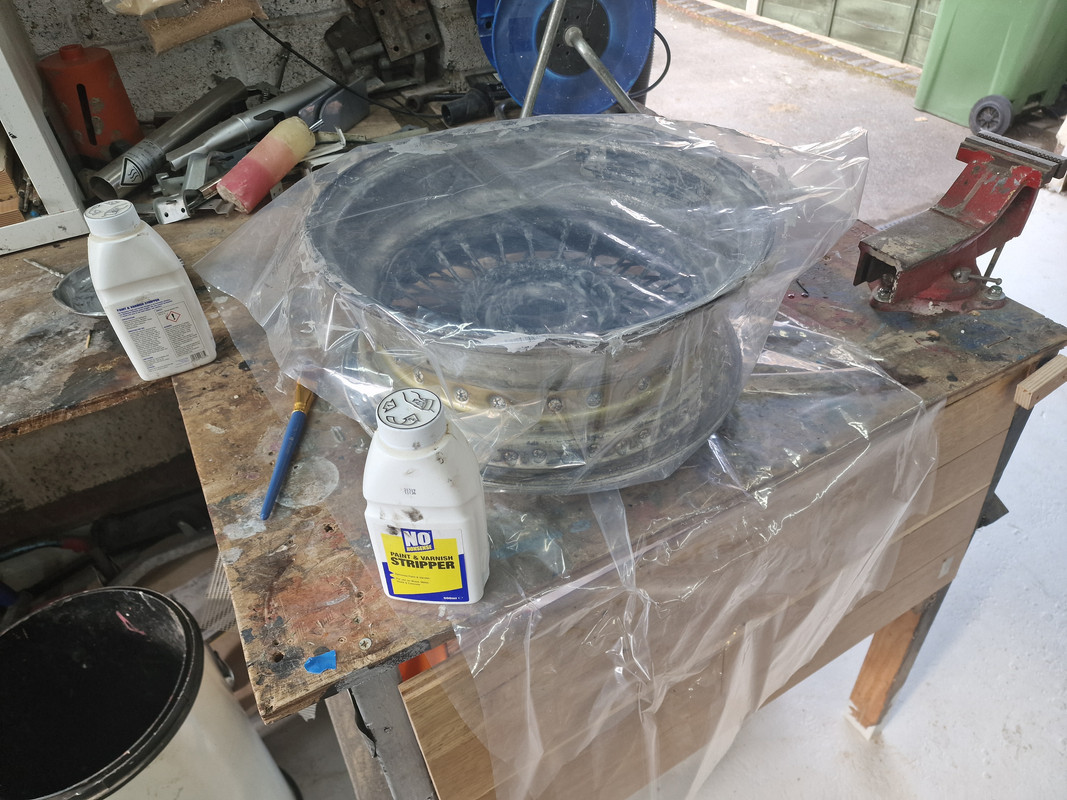
First thing is to get 60 years of paint and crud off the wheel. Clearly this should be done in a carefully controlled environment with appropriate blasting aggregate to remove the crud without damaging the wheel and thus reveal the underlying clean metal.
Or slap some cheap paint stripper, wrap in plastic and hope something happens.
Looking good mate, keep us posted.
I did larf about the wheels.
I have decided to make a magazine table which, in my interpretation, is a table made out of magazines.
Ha! I have been thinking about making a table made from a chart with all the chemical elements arranged by type. It would be like an occasional table, but used at regular intervals rather than randomly.
PS - sorry about the spider
[i]Ha! I have been thinking about making a table made from a chart with all the chemical elements arranged by type. It would be like an occasional table, but used at regular intervals rather than randomly.[/i]
Make sure you mount the chart on a board so it is well supported and lays flat. This will minimise the amount of expensive resin you need. I didn't do this and have used 2KG so far with at least 1KG more needed.
I think of the spiders accident as an arachnid tribute act to my history.
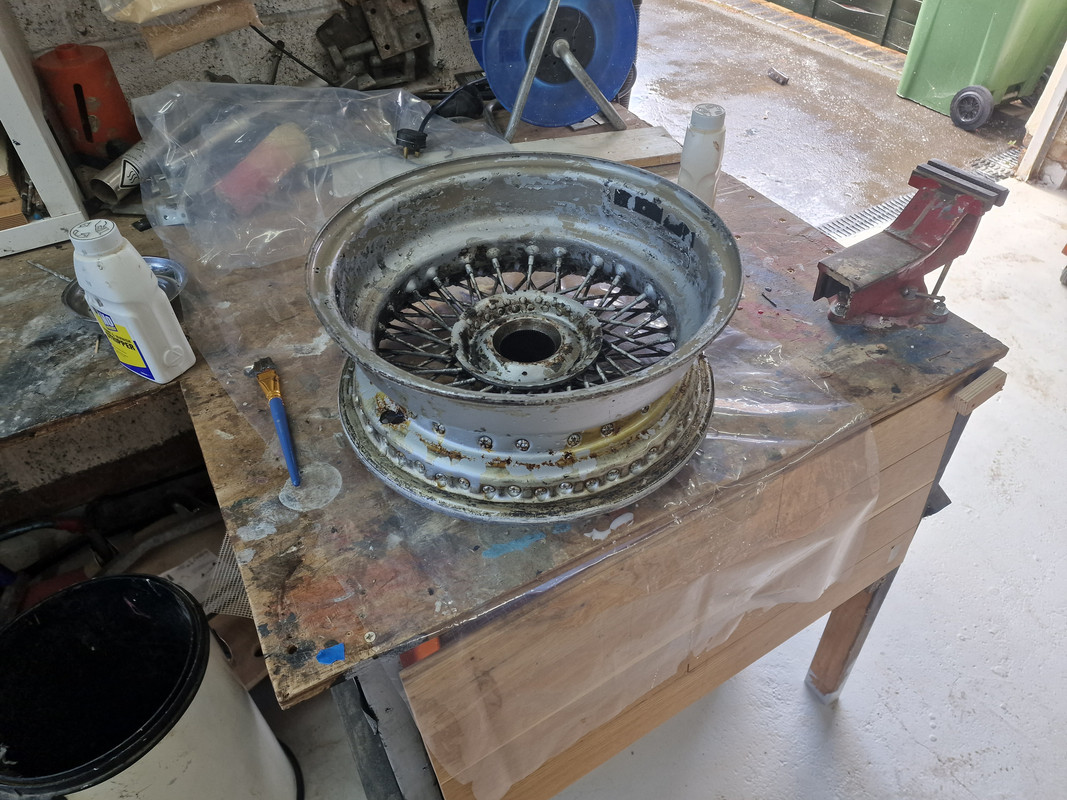
Well this is the wheel after 4hours of soaking in stripper and then being blasted with a pressure washer. I will give it another go with the stripper and washer and then just spray over the whole thing with a chrome rattle can regardless I think. I can't paint it until I have cut the legs and welded them on though.
Possibly more updates next time I get a spare 30 minutes to work on it.
Bonus photo.
I got fed up of never being able to find a pencil for marking lines when sawing, drilling etc. I bought a dozen little round magnets for £5 and have glued some to the sides of small pencils. All my power tools now have a pencil attached and when worn out I will simply move the magnet to a new pencil.

Slightly pissed off now.
I had the very last oak post I managed to buy from the timber merchant to make the original coffee table. I hadn't used that because it had some nasty nail holes in it but with careful cutting I was just able to get the 4 planks I needed to make the edges of the table.
I carefully routed the top edges to give a soft corner and also to allow the resin to fill up to the edges but still hid it it wasn't exactly to the top which would have been far more obvious with a flat top to the edge piece.
I used my new band saw with my new, recommended by STW, TuffSaw blades to cut a beautiful clean 45 mitre for the corners and was feeling really pleased as I went to dry fit.
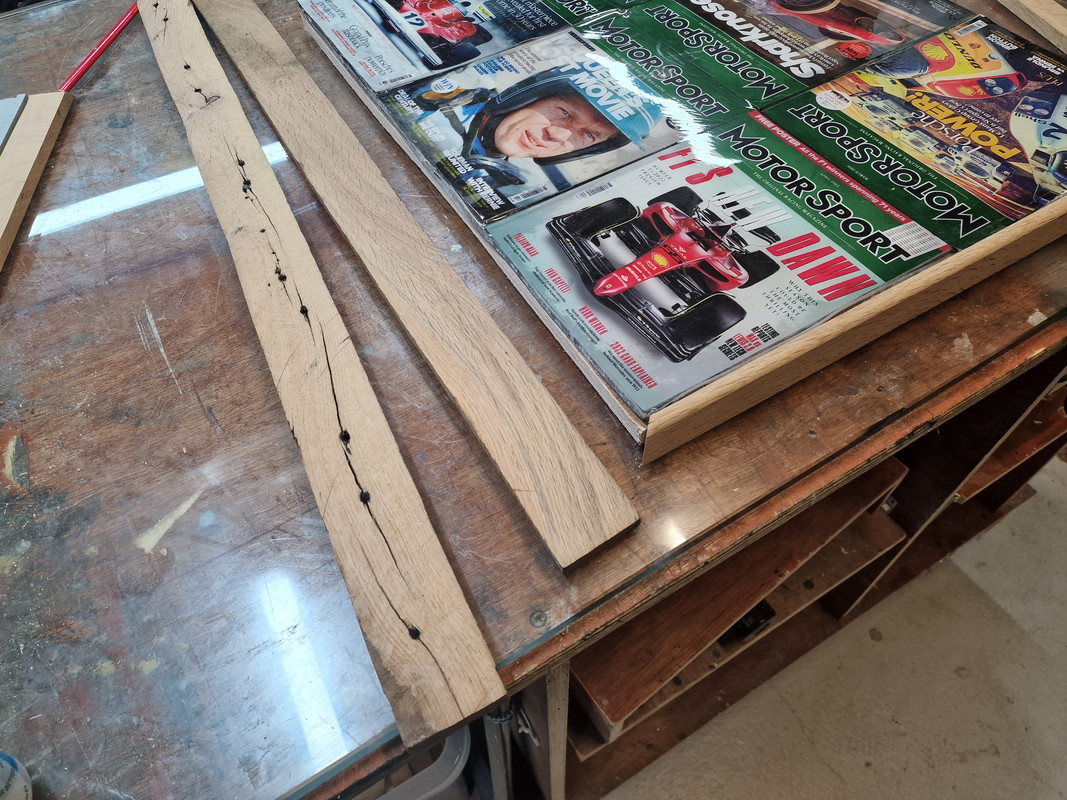
I then realised I hadn't rounded the top on the last side before I cut to size. No problem, I could still router it and get it fitted. All was going well until it suddenly 'bit' the very end and ruined the mitre leaving the wood too short to use.
I now do not have enough wood and no hope of getting a matching piece. Very pissed off.
Help!
Do I try and fill the split and nail hole ridden piece with black resin and call it 'character', cut the damaged end off and try to join a new piece from one of the small remaining good offcuts or something else?
cut the damaged end off and try to join a new piece from one of the small remaining good offcuts
Hobson's choice, really:
Scarf a short piece onto the damaged bit and re-cut it.
Only you will ever notice...
Thanks. That was were I was thinking but SO pissed off with myself for missing one piece from the router originally as I knew the ends would possibly fail
Yeah I think you could plane a nice flat facet where the damage is and glue a chunk of Oak on there, being careful to be close to matching grain direction of the mating pieces and tone of course.
Another approach might be hiding in plain sight.
Glue up the frame as normal, then cut the corners off just enough all round and glue on a contrasting timber and flush it back so it looks like you meant it.
I had considered an alternative would as contrast but all I really have is bits of pine.
Fortunately I do have all the shot end off cuts of oak from where I cut the sides to size so I might even be able to fine the end of the piece I have cocked up to get as close a match as possible.
Seeing as you've rounded the top and you don't want too sharp corners on a table top, you might find that rounding the corners off when it's glued up takes most of that damage away and echoes the curves on top. 🤔
How are you routing those edgings?
Might be worth making yourself an inverted router table with a fence. Makes stuff like that less prone to snatching and damage in future.

Have you got a webcam in my garage now Kayak?
After gluing up the new ends on the wood I have been trying to design a mini router table, just like in the picture above but I want mine to work without the reversed baseball cap look 🙂
Just come in to google other peoples designs and saw your update.
Ever so simple to make really.
There must be a ton of tutorials on the tube.
Very handy to have though and make some things a lot safer and just better.
Look forward to seeing it....on the webcam.