![]() You don't need to be an 'investor' to invest in Singletrack: 6 days left: 95% of target - Find out more
You don't need to be an 'investor' to invest in Singletrack: 6 days left: 95% of target - Find out more
So I've got some Heli-Tape to put on my Nukeproof Scout frame before I build it up.
Are there any does/don't I should observe?
Is it worth rounding off the corners instead of having them square?
I'm guessing if I leave the frame and tape out in the sun for a bit there shouldn't be any issues with getting the tape to form to the frame.
What about water/soap to help get it into position and smooth out?
Clean the bike and make sure it's dry, warm up tape and bike, go nice and smooth you can get the tape smooth with your fingers, a cloth will also help as friction will be lower
round the corners - use a small coin as a cutting guide if you want to be neat. Have some sharp scissors and a knife. Water in a spray bottle with a little bit of soap (baby shampoo is good) will help as will a squeegee to get the bubbles out, wet your hands as well as the frame and tape.
Three beers, any more and the job goes south quickly.
Pretty much what joemmo and the video said.
The film used in the video looked thinner/more flexible than the heli tape I used on my Tripster.
I always have a hair dryer handy in case a little thermo-forming is required.
Thanks all -good tip about using a coin!
Is it worth making paper templates or just marking up the tape?
Will hopefully be able to have a go at this over the weekend.
I used the 'floating on' technique, which worked fine, and rounded off the corners - I think it looks better. I didn't mark anything, just put the tape on the section and cut to shape before applying, but proper template marking will look better also. Didn't find I needed a hairdryer, and used an old credit card to help push the bubbles out where possible.
It did take me a while to realise that I had to take the backing off the tape though! It was transparent, in my defence.
Rounding the corners will stop any 'sharp' edges from catching & peeling back the tape.
Make sure the frame is clean & free of contaminants - ideally use something like IPA (not the pale ale) to wipe it down with to remove any grease/fingerprints before application.
Got round to measuring and cutting my Heli-Tape strips for the various parts of the frame over the weekend.
[img] 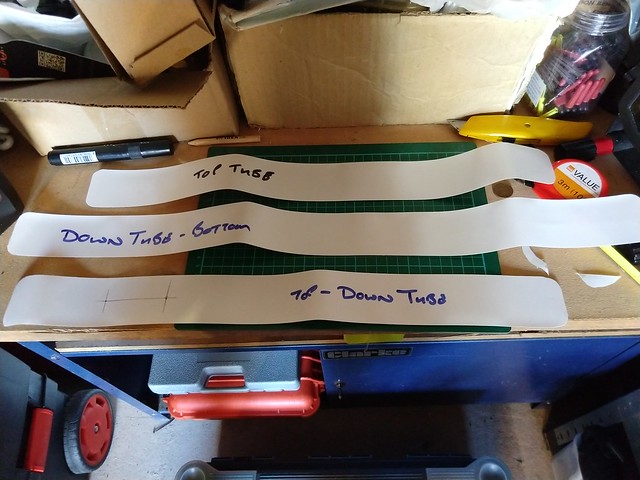 [/img]
[img] 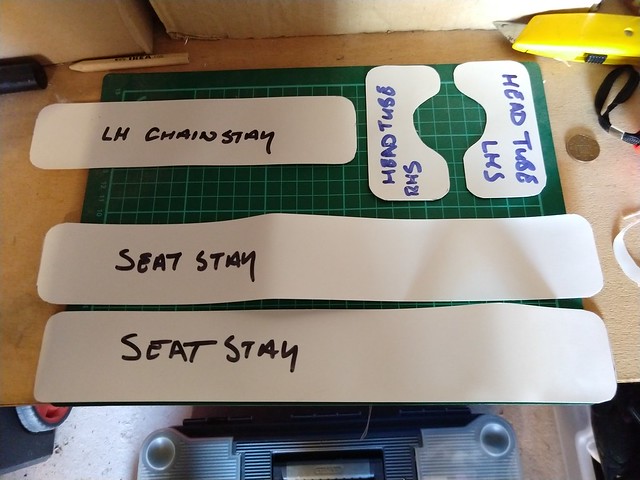 [/img]
I need to cut some holes in the down tube sheet for the bottle cage bosses - any ideas how I could do this cleanly?
Stanley knife or razor blade, cut on top of a bit of wood?
Hole punch?
I know it's wallpaper, but the principle is the same... (speaking as an ex-vinyl graphics installer)
https://www.davesdiytips.com/cutting-wallpaper-around-switches-and-sockets/
Had thought hole punch but don't think the hole will be big enough.
Was thinking of something to use as a punch/cutter but my mind is blank with what to use.
Had thought of the wallpaper type method too but ideally want to do it away from the frame as I'l probably sratch it when trimming.
I just stuck it on then cut round the bottle bosses with a razor blade. The lip of the boss made a good edge to cut against.
After that bike I didn't bother again the time and cost of taping the frame is bordering on the same as getting it powdercoated!
Hairdryer, and get your fingers really clean to reduce fingerprints- wipe with isopropyl ideally
Thanks all.
First couple of pieces gone on tonight.
Plenty of water and smoothing with credit card.
[img] 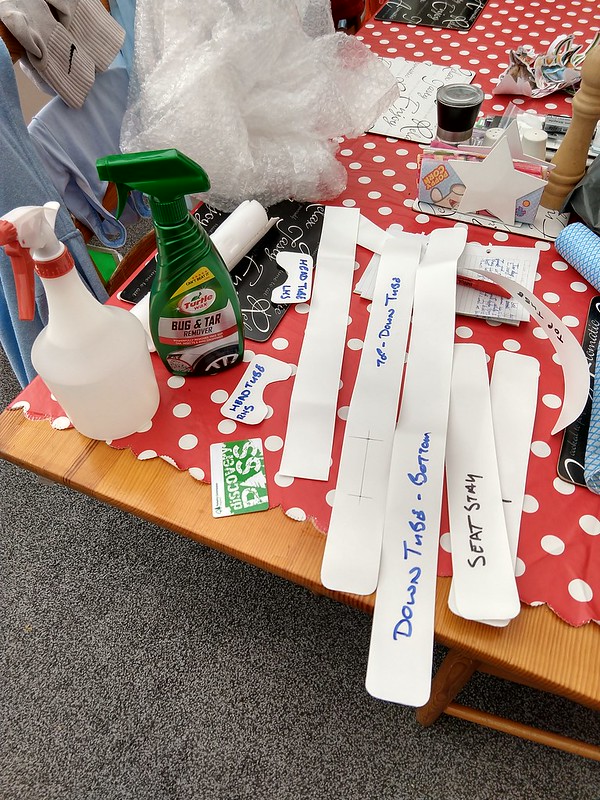 [/img]
[img] 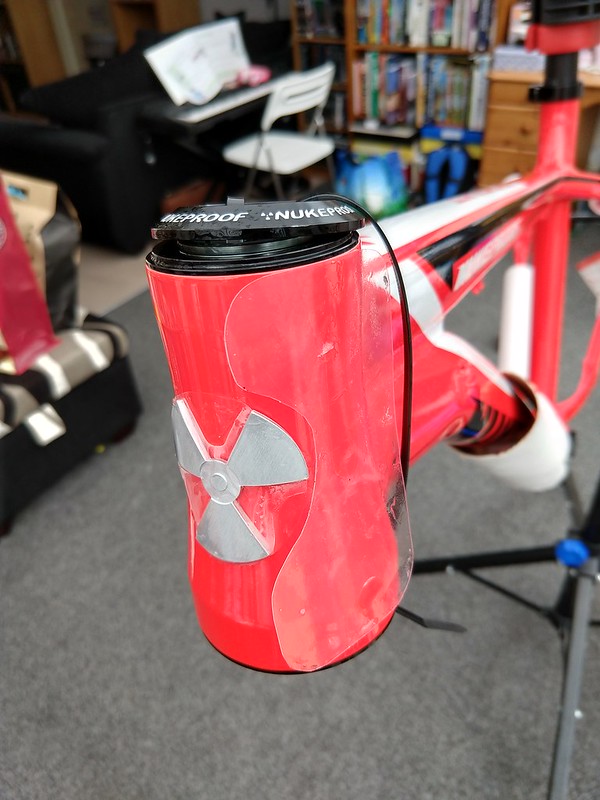 [/img]
[img] 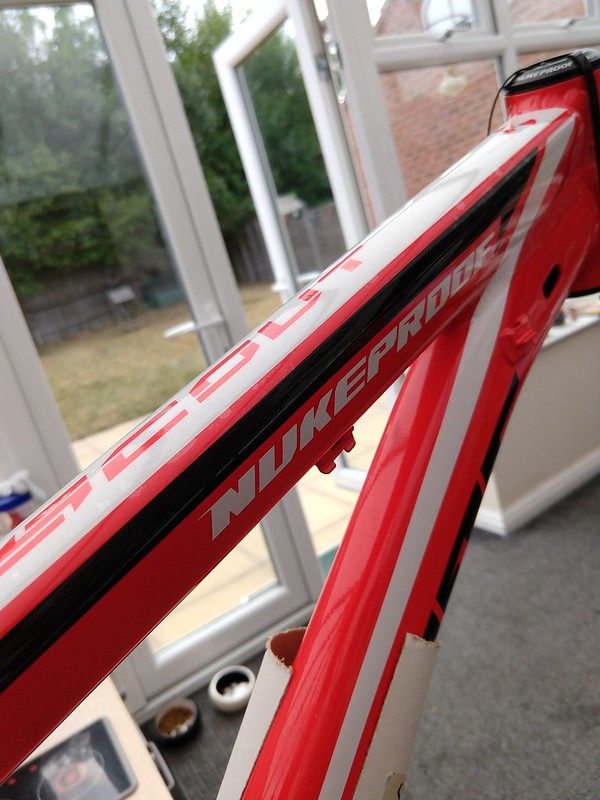 [/img]
[img] 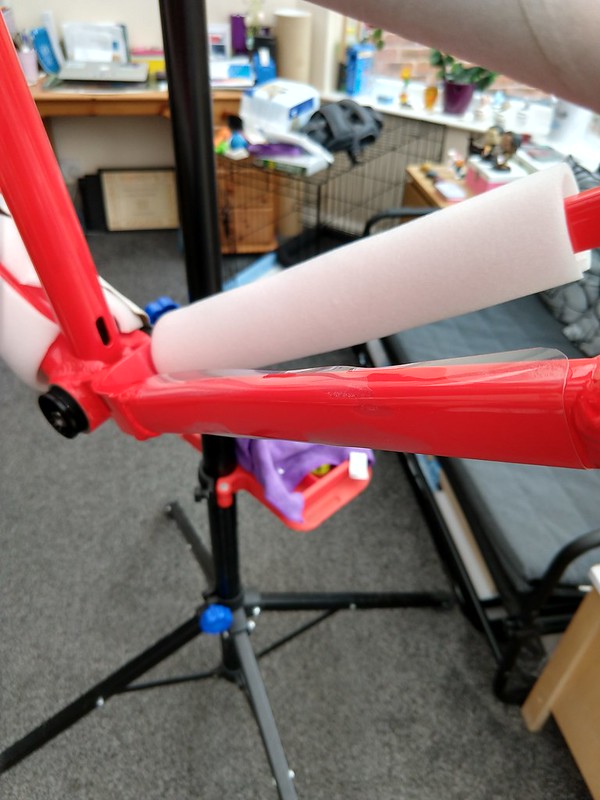 [/img]
Might try hair dryer tomorrow to see if that makes it any easier.
Not bad for a first attempt, might try some thinner film next time too - this one is quite thick.
Is that tape over the head badge?
That's just a bit of protective film from the frame packaging - left it on until I finish the build so I don't scratch it.
Aaah - fair enough. It's hard to tell as it looks exactly like the heli-tape.
Looks like a good job thus far.
Had a go at the seat stays earlier - had to do a bit of a trim and get the hair dryer out to get it to form to the curves.
[img] 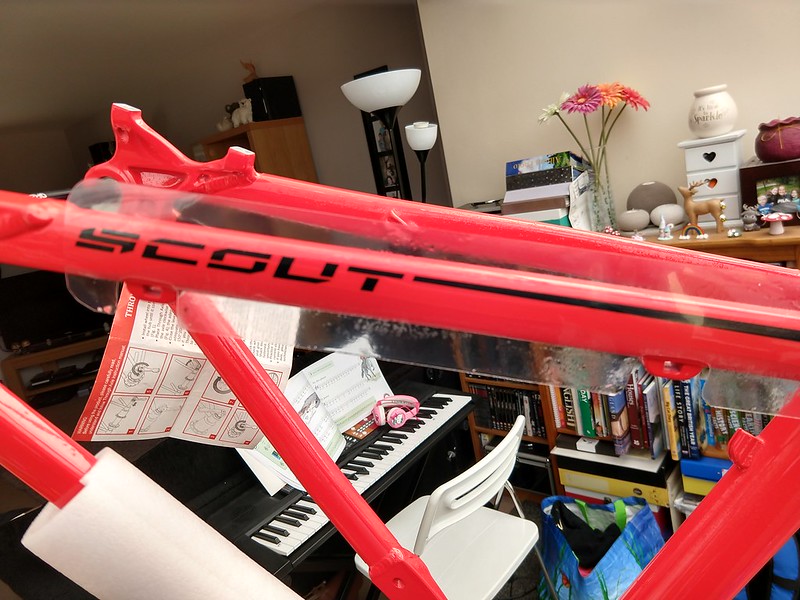 [/img]
[img] 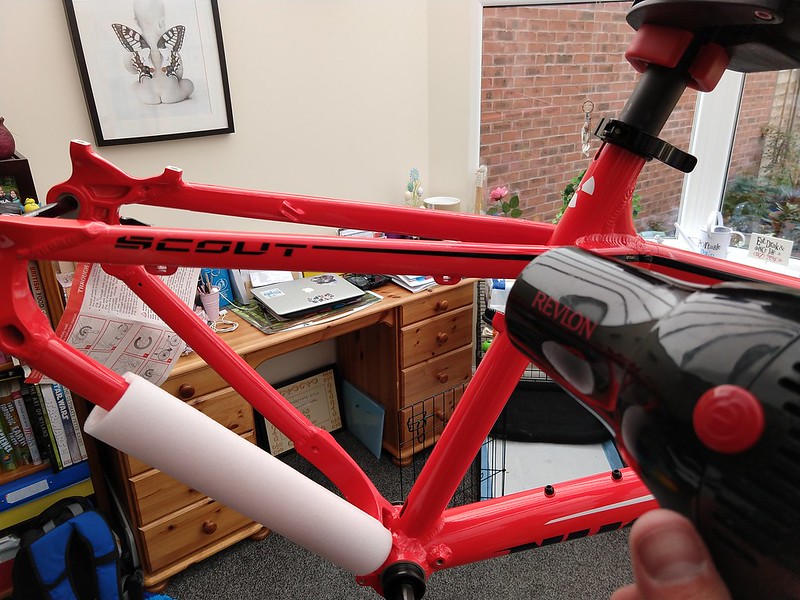 [/img]
Just down tube (top& bottom) and back of seat tube to do now.....
I need to cut some holes in the down tube sheet for the bottle cage bosses – any ideas how I could do this cleanly?
Gasket punch, cheap on ebay, or sharpen a tube if you have one.