![]() You don't need to be an 'investor' to invest in Singletrack: 6 days left: 95% of target - Find out more
You don't need to be an 'investor' to invest in Singletrack: 6 days left: 95% of target - Find out more
I want to replace 8 of these tiles. I’ve done a bit of Googling and it seems like the way to go is dig out the grout, hit the middle with a cold chisel and then try and get behind it to pop it off (in many many pieces presumably).
Behind is Hardiebacker / Cement Boards.
Any tips before I get the hammer out?? Will this end in my needing to retile the whole thing?
[img]  [/img]
There's a wee place in Irvine called Eurocell, they do all sorts of plastic trims, skirtings, quadrants etc, really good, really cheap. You could use a plastic facing to cover all of that, then fit the enclosure over the top. Will look as if it's mean to be there?.
Biggest problem is the board behind, often the tile removes part of it and you end up with an uneven surface to retile onto. You won't know till you try as it all depends on the glue strength vs the board strength.
Sorry, just wanted to check it wasn't WCA posting this.
As you were.
Unless you're planning on doing more than replacing the screen, look for a piece of trim to match the new screen surround.
Sometimes the tiles just pop off, other times it's a nightmare, you won't know until you try.
You can chisel out, but if they are well bonded you stand a good chance of taking out a chunk of plasterboard behind which is usually softest stuff. Are you doing this for access or because you want to replace damaged tiles?
I would have thought that hardiebacker would stay intact when the tile comes off - let us know what happens.
This worked well to lever the entire side of a tile at a time. I would clear the grout around the tile as best you can first.
Is that blood under the lolly stick? ^^^
I'd grout the holes, sod removing the tiles.
Do they go right to the ceiling? If not, I'd remove the grout (possibly score the board slightly along the grout lines) and start at the top edge, sliding a knife or hacksaw blade underneath. Otherwise, pick the least obvious one and break it as you describe, and work from there. The thing to avoid is a bit of board spalling off and affecting the adjacent tile.
I’d grout the holes, sod removing the tiles.
Ditto. You'll never notice after you've cleaned all that smeg off.
Are you not replacing the screen with another screen?
If you start replacing tiles be prepared to have to retile the whole wall and be prepared for a duff finish even if you do get away with replacing only some as its very hard to get tiles to sit evenly on a previously tiled wall- removing tiles leaves an uneven surface
I would be cutting the tiles you want to remove onto pieces using a diamond saw, then grind out the grout with a dremmell then try to prise tiles off starting at one of the cut lines made
Then a dremmel to grind back all the tile adhesive to flat
In a bathroom the tiles should be laid with much more adhesive than in other places - you might be lucky and the fitter was a bodger but you might not
I tried this a while ago and ended up in a whole world of a mess. One tile fell off due to damp, removed others to find proper moisture. Ended up stripping back to stud frame at which point the pipe gave way and flooded everything. Ended up hiding all the sins behind drywall which worked well but was only a temporary fix.
Next stage was to get tradesperson in to sort out the whole bathroom. That took months to find someone by which time replacing the bathroom had turned in to changing bedroom and bathroom layout. Somehow that then turned into a two floor extension, two new ensuites, new study, new windows, new heating, new roof and pretty much rebuilding (and doubling the size of) the whole house whilst living in rented for 9 months.
I wish I had left the tile alone. To be fair though, we no longer have a damp problem (but we don't have tiles anywhere now, got fancy pants drywall)
End of thread 🙂
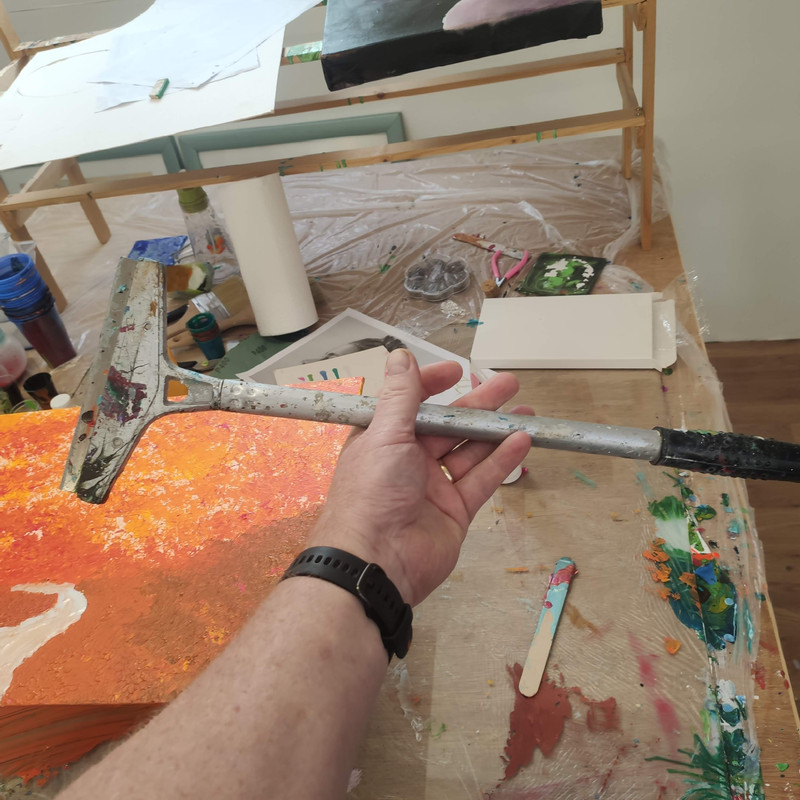
Canted 75mm sds chisel
Chase out the grout then have at it with the sds
Cant guarantee that the backboard will remain intact
However, its very satisfying pinging off tiles and it wont take long to destroy the bathroom leaving you hours to work out how to fix it
I wish I had left the tile alone
To be fair though, it still would've been Donald Ducked, you just wouldn't have realised. It wasn't taking down the tiles which caused it.
I’d grout the holes, sod removing the tiles.
👆
because:
If you start replacing tiles be prepared to have to retile the whole wall and be prepared for a duff finish even if you do get away with replacing only some as its very hard to get tiles to sit evenly on a previously tiled wall
And also, the screw holes are tiny! It's an easy fill and move on. As you know, I've just done exactly this.
It’s an easy fill and move on. .. I’ve just done exactly this
I'm not saying it's the wrong thing to do, but it's a Superficial fix. 🙂
Definitely clean it and grout the holes first. Won't take long. Leave it like that for a month or two. If its still bothering you then get the hammer out. Although surely you are putting another screen up?
I did this once, on a tiled terrace where the odd one had chipped. It took me a couple of hours to replace each one but I am super slow. Then I had bathrooms done so I asked tiler to do a few more, he took about 5 mins. Lesson learnt, sometimes best to pay a pro.
Tbh if that were mine, I d leave as is and hide the holes, if the backing board disintegrates you will have to do the whole wall. The tiles may just pop off whole in 1 go you just don't know till you try.
OK I'm convinced, I'm not doing it 😀
Luckily my mate turned up to get me to help him replace his headlight bulbs otherwise I think I would've been at the first one with a chisel behind it! Sometimes pausing for thought is the way forward.
I'll fill them and once the new screen is in decide if I need to fit a chrome strip alongside to hide them.
Good shout.
@Nobeerinthefridge I'll get along to Eurocell once the screen is here
Take off tiles drop one in bath chip/puncture bath.
Sulk
Result new bathroom.
Glad you've abandoned this "make work" project. As above, grouted holes (or silicon for more gloss) and you'll not notice. Chrome strip if your ocd needs it. Stanley knife blade laid almost flat will make quick work of the old silicon.
If you did follow through You'll not match the grout and probably won't match the subtle coulor and surface gloss of any new tiles...even ones that were left behind under the bath may have "aged" differenly.
So it turns out I cracked one taking the old screen off 🙁
[img]  [/img]
It's the only one I'm doing, sod doing the other 7 just for fun!
Bugger.
Had a nightmare few weeks recently, wee leak in utility room actually turned out be a ****er of a leak from mixer shower in bathroom, resulting in stripping out and replacing joists, floors, tiles and sorting a mass of cowboy plumbing too. What a mess by the time I got to ground zero.
I feel your pain.