![]() You don't need to be an 'investor' to invest in Singletrack: 6 days left: 95% of target - Find out more
You don't need to be an 'investor' to invest in Singletrack: 6 days left: 95% of target - Find out more
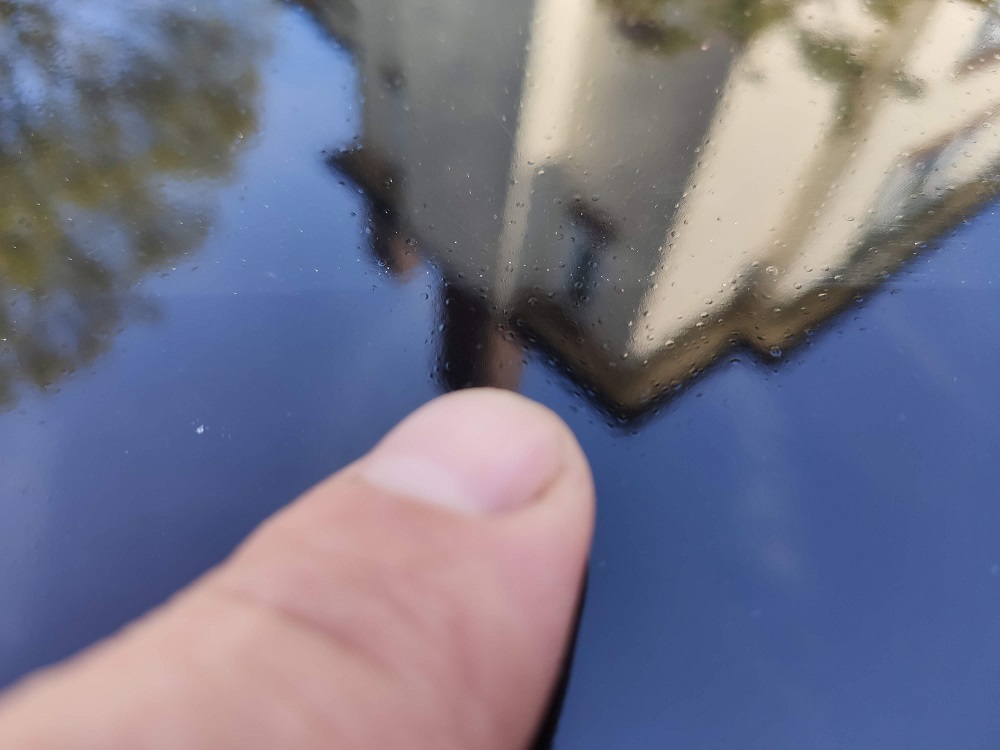
I built this about 7 years ago and had it sprayed 'professionally' by a guy who normally does boats and ice cream vans. As the car is a mixture of metal panels (doors & boot) and glass fibre (the rest of it) I thought he would have the right skills and more importantly at the time he was piss cheap.

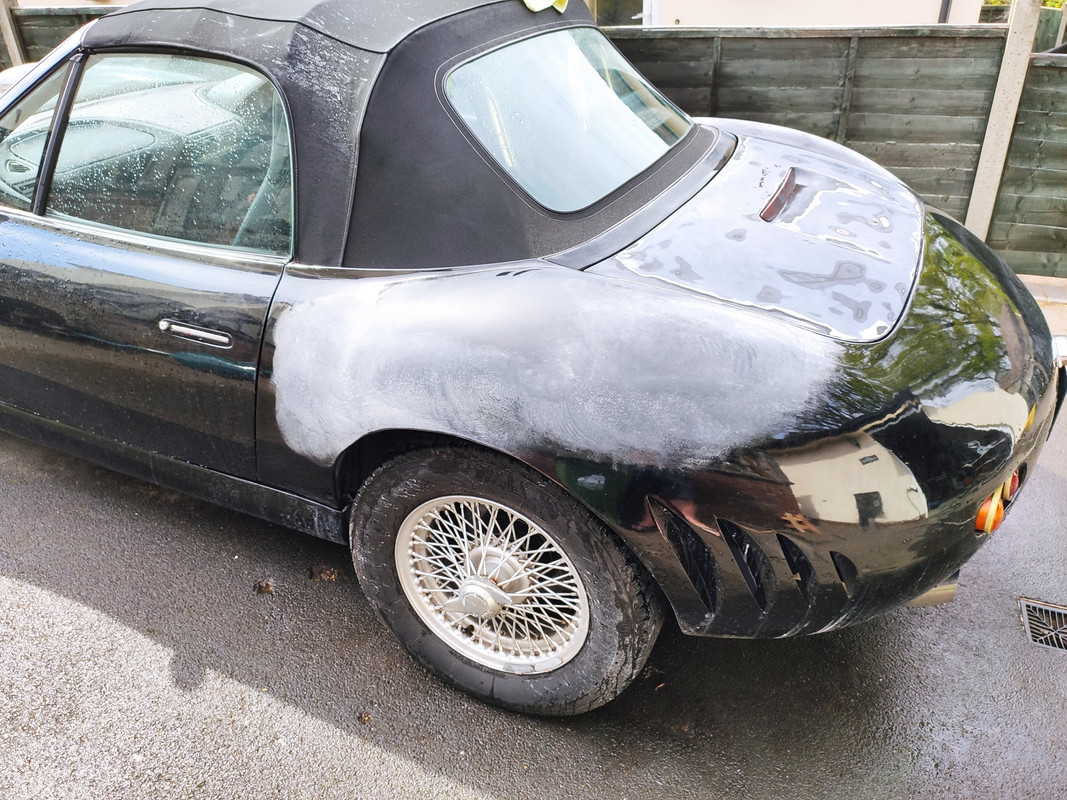
About a year or so ago I noticed that there were pimples developing around the back end of the car. This was happening both on the glass fibre rear panel and the metal boot. It almost looks like a paint reaction but waiting five years to react seems a little slow
[img]
[/img]
I thought it might be some kind of environmental build up mixed in with the car wax or similar so used the excuse of lock down to really blast the boot lid with the power washer as clay bar didn't touch the bubbles. Let's say it didn't quite go to plan.
[img] 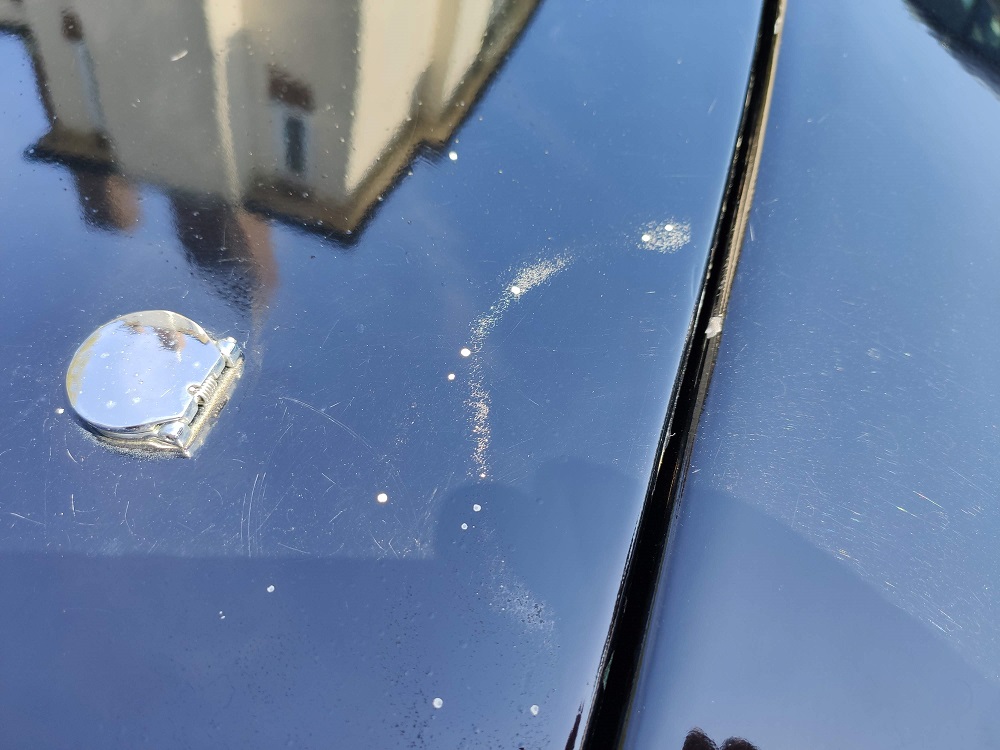 [/img]
The semi circle is where the jet wash nozzle was pointing and the white dots are where the tops of the bubbles have come off.
How easy is it to respray the boot lid. It doesn't need to be perfect but it should look black and shiny when I finish. I do not have any paint code but the guy who did it originally, no retired, just called it Very Black. It is not quite the same as my Mercedes Obsidian Black, I don't think it is metallic, and looks closer to the black of my Range Rover.
Assuming Halfrauds do click and collect on rattle cans, what do I need?
1) Acid Etech Primer
2) Black Paint
3) Clear Lacquer
4) Wet'n'Dry paper (I have 320, 600 & 100 grit already)
What do I do?
A) Sand back to primer
B) Paint Black (Do I sand between coats?)
C) Lacquer
D) Polish when completed
I built this about 7 years ago and had it sprayed ‘professionally’ by a guy who normally does ice cream vans. - About a year or so ago I noticed that there were pimples developing around the back end of the car.
Hundreds and Thousands?
Did you get a flake finish?
I'd fill the chips with what we used to call stopper which was an air dry filler that we would fill pinholes in body filler with. Flat it down with your 600 wet. Then light primer and wet flat with 800 or even 1000 if you not gone mad with the primer.
Then your paint. Black can have many shades. I'd get something called jet black as it really doesn't have much that it needs to match to.
The 1/4 panels are at an angle so that will hide a lot of colour matching problems.
I've seen fiberglass bonnets do similar, the heat from the engine is enough to carry on the curing process which drives off more solvents and lifts the paint. But that doesn't explain why the metal panels have done it.
But if it's something pushing through the paint it'll do that to the new paint too.
Assuming that's the fuel filler, could it be fuel spills/vapors?
My Midget's been in storage for years and the pains got issues, wondering how much effort to put into "correcting" what's there, Vs spending money on a respray Vs a big air compressor and an even bigger tent.
Not a fuel filler, a key hole cover close up. (
It is not know what is causing it that makes me hesitate. I resprayed a couple of rust bubbles on another car okay but have never tried a complete panel so a little nervous, especially if the piple finish returns.
I've done little bits and pieces of painting on my current car. A scuffed rear bumper and a badly stone chipped front bumper/splitter. I've never done a whole panel but the results are pretty good.
For me I sanded back to the plastic. I uses progressively finer grit, 240, 320 then 600.
Once the surface was smooth i put on primer, I sanded this with 1500 grit.
Next was the paint, I didn't sand this. Then lacquer, this is tricky to get right, too much and it runs, too little and it looks "speckly" and doesn't give an even shine.
My first repair I don't get it quite right and had to redo the lacquer, but the second time i had a better idea of how to apply it and it looked good first time.
And Halfords don't have the workshop lacquer that sprays evenly, dries and doesn't crack. Do I risk their budget stuff which probably lacks one or more of those features
Lacquer ordered on line with next day delivery so I got started. Another proper blast with the jet wash revealed the problem was only really along the bottom edge which was a relief as I could probably get away with just painting part of the panel.
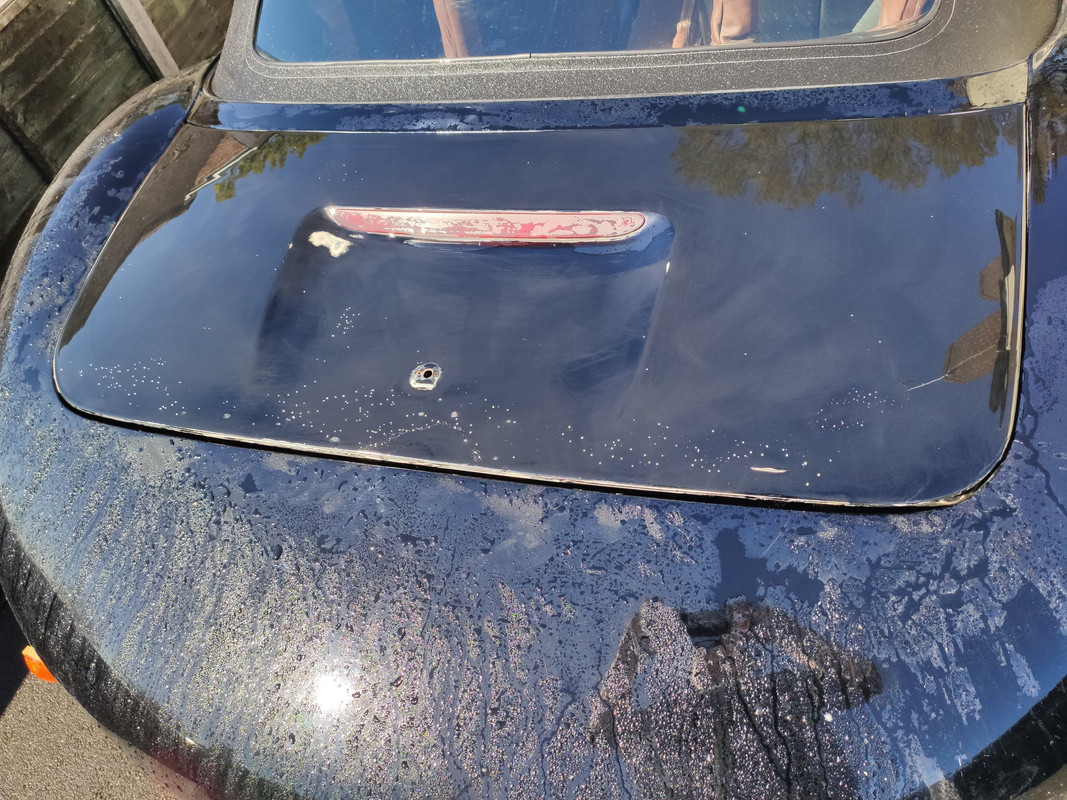
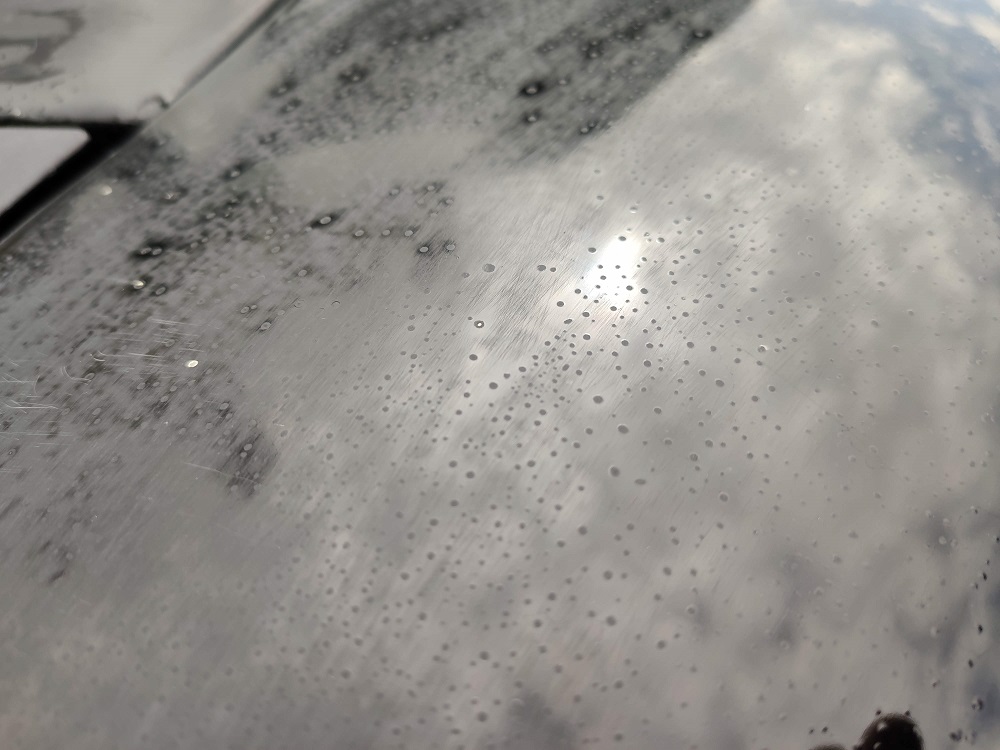
A little wet'n'dry revealed that there were bubbles throughout the primer and it was just the bigger ones that were creating the pimples. When you take the top off the bubble there is a crater in the paint. If you look below the paper and above the screw driver you can see the white pimples in the top level paint and these continue as little craters in the white layer
[img]  [/img]
This meant sanding down below the bottom of the craters.
[img] 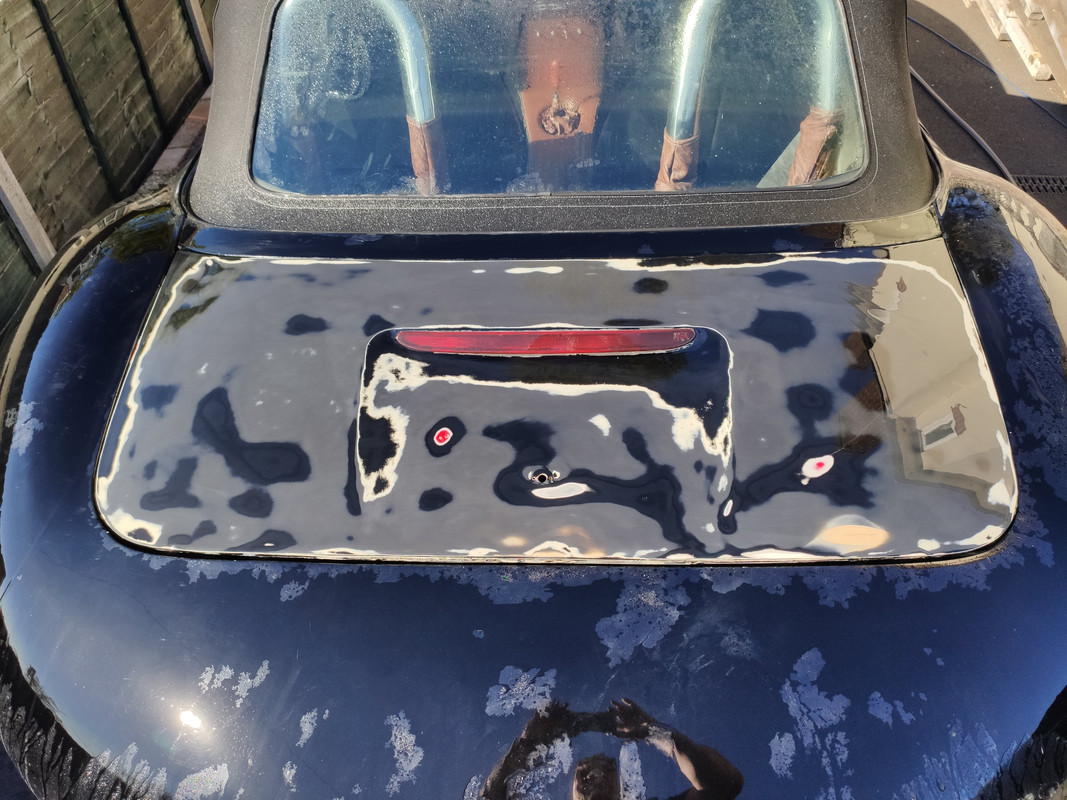 [/img]
It was at this point my phone pinged and I got an email telling me my next day delivery would be on Monday 21st so it looks like it will get primer and paint and then sit for a few days
I'll be honest, this has escalated more than I expected it to.
Won't you have sanded in depressions where you've sanded through the craters.
Even if you cant feel the transition from paint to sanded area, you're going to see that with your final coats.
Is that Bondo cracked bottom right too?
Might need the whole lid surfacing.
I think there is a chance that the pimples you saw at the beginning were possibly caused by the various coats of paint going on too quickly / too soon. If the primer isn’t allowed to dry ( let the solvent fully evaporate) it will keep doing so over time. This is why a spray booth / oven is used. If the top coat goes on before the primer is fully dried then eventually the solvent (assuming it was solvent based paint) will blister under the top coat of paint. I had a similar issue with a classic I owned a long g time ago.
Someone on another forum she's it is probably microbodies in the primer causing the problem. Painted over before properly cured.
I will probably give the whole panel a layer or two of high build primer to hide any imperfections before wishing done 1000 get over it
Hopefully the good weather will last and I can leave it over night between primer and paint to cure fully.
Looks like I will need to do the rear winds to which will add to my deep joy.
Thanks
At a guess without seeing I'd say it's micrblisters by moisture being in the air when it was painted. Normally takes a while to come out and would explain what you're seeing.
Personally from a painters perspective I wouldn't try it yourself if you want it to look nice. You will spend a lot of time and a fair bit of money. And it won't look 100 percent
The car is just a fun run around so I am not worried about perfect. I am okay with a rattle can finish and have some 2K lacquer due for delivery on Monday. I am sort of commited to doing it now. If it all goes bad I can take it to my friendly spray shop to sand back and redo it once the plague passes.
The wings are affected too but not as much and not as prominently. Little micro-bubbles. This pictures shows the surface after a couple of rubs with 1000 grit. A couple of white dots but mostly just discoloured dots that are smooth to the surface unlike the white dots that are little pits
I have sanded back the affected parts of the wings too. They weren't as bad and the boot lid so haven't cut through all the filler, just until there were none of the dots showing like in the first photo.
Next steps, clean, degrease, mask off, tack one more time and then the acid etch I guess. Wish me luck
Well the primer stayed mostly on the boot panel and seems okay
[IMG] 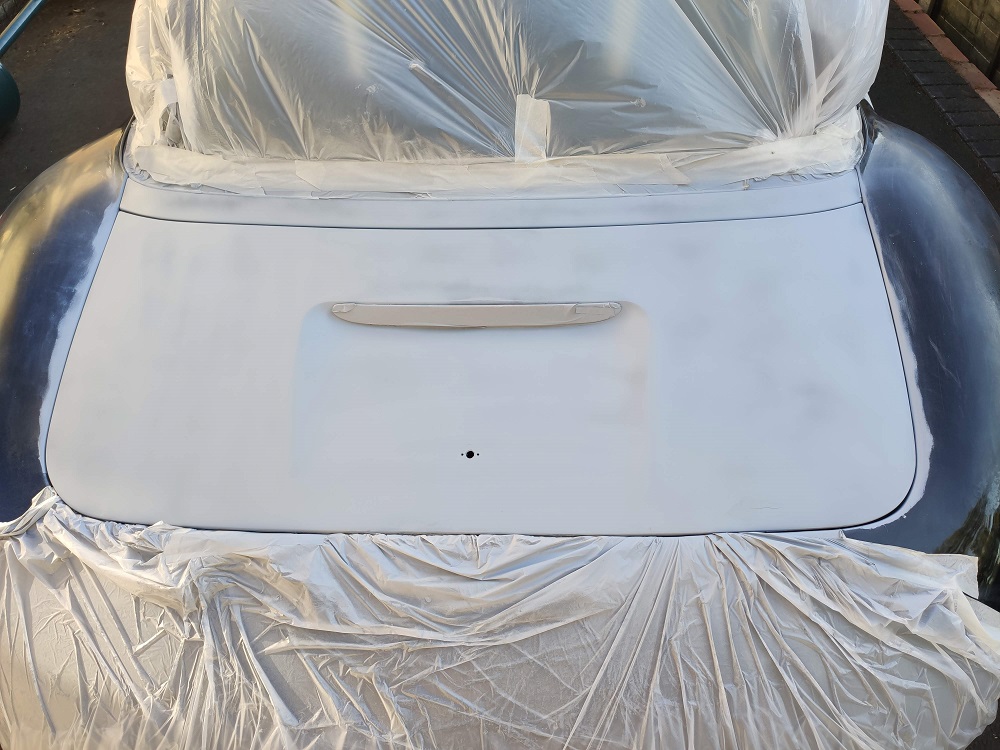 [/IMG]
Until you spot the crack I should have noticed before and filled and the splodge where the can spat a blob of paint out. Also some fool has drawn big red ovals to highlight them 🙂
[IMG] 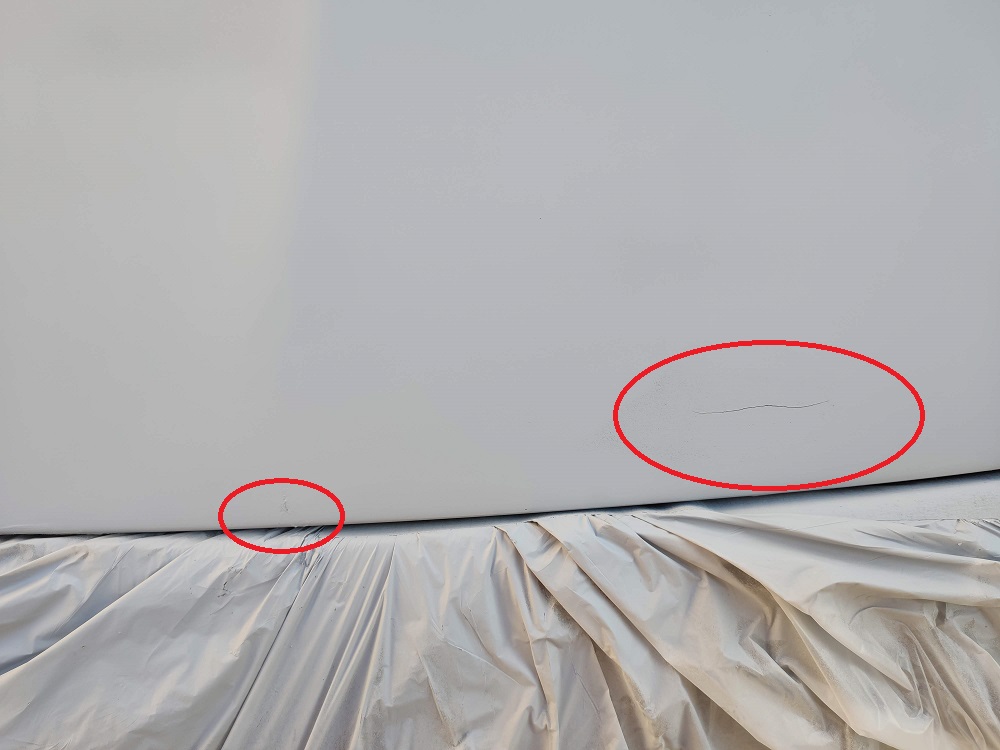 [/IMG]
For the crack, do I just mix up the worlds smallest amount of filler and smear it into the crack or is there a better method?