
#1 child has a Scott Spark 740 which he's growing into nicely. We're at the point where I think a dropper post would be useful, so I've got a Brandx internal 100mm for it.
The bike is external routed cables. So I'm thinking of using the spare front mech route down the downtube, curve it around the bottom bracket, up the side of the seat tube and drilling a hole above where a front mech would go.
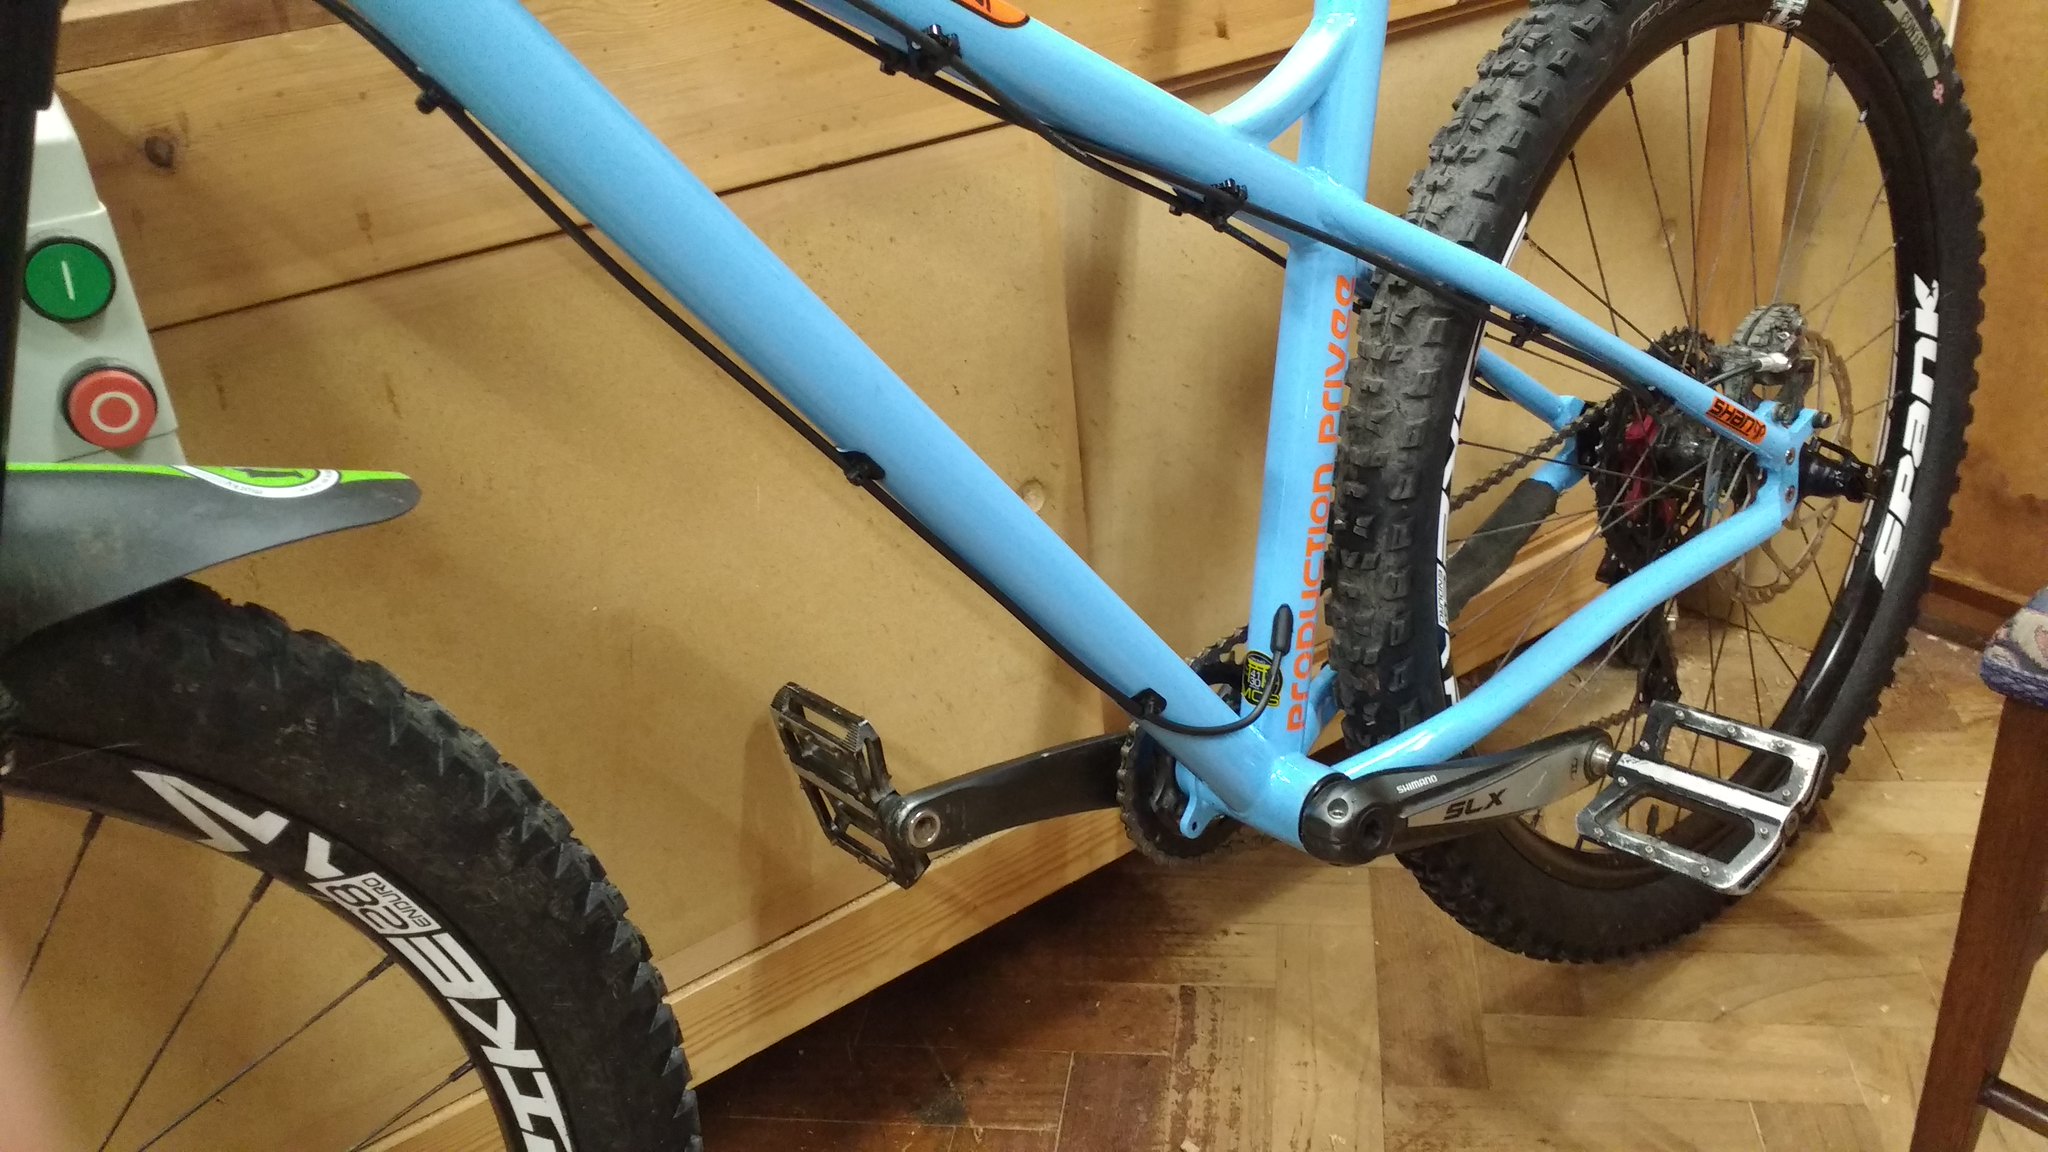
Pic here with pencil marks showing where I think it needs to be. Actuator position roughly shown too.
I've found a vid on YouTube which shows the way and the hole he ends up with looks about right to me. 6mm x 14mm.
Vid here
Any thoughts about the location of my hole? It's a fairly square tube. I'm thinking to one side to offset mud flinging inside it, but rear access is also reasonable.
He uses a grommet which is a Trek one, out of stock everywhere I can Google.
I'm really struggling to find something similar to that as well. Anyone got any others options? Leave it open? Electrical tape?
Just for the grommet question - you can buy the ones Cotic use on their frames from them. Internally routed dropper cables come out of Cotic MTB frames from around where you want to drill the hole so would work well.
https://www.cotic.co.uk/order/spares - about halfway down the page.
I've drilled 3 frames for droppers. 2 steel, 1 aluminium.
Currently not dead.
Your positioning looks good but I guess you have to be careful on the side that it'll exit to keep the exit angle very low and not interfere with pedalling and stuff.
I was going to follow the instructions by making an oval hole.
I drilled the first hole and then realised it was slightly bigger than my cable and I really didn't need to make an oval.
I then glued the frame grommet on the top. Job done.
Hmmm. A round hole would be considerably easier!
So 8mm hole, but drilled at the back of the seat tube might be an option. I'll have a play with cable position as the final couple of kinks are going to be tight.
Maybe I'll pop to halfords and see what I can dredge up as kayaks link is 6 years old. But at least I know what I'm after. Ideally this will be done by Tuesday so we can ride...
Sounds like a plan to me. I'd go in the back of the tube for nice, smooth, vertical cable routing. You don't want a big loop appearing right above the chainring and the edges of the hole could tear your cable outer up in no time. Find a nice grommet to keep the mud out and jobs a good'un.
Don’t bother with a grommet. Heaps of bikes don’t have them… and the Cotic one only lasted five minutes for me.
Having never done it my opinion counts for nothing but this is the internet so here goes.
Personally going under and around the bottom bracket and into to the back of the kinked seat tube seems too many changes of direction for me. I'd turn up before the bb and go into the front of the seat tube to give a straight run at the base of the post.
Arguing for and against my own opinion. Mrs uun's canyon routing comes out of the down tube does a little external loop and goes back in the front of the seat tube. My norco has the same routing you propose all be it fully internal, and I thought it was the right loop around the bb that gave it rubbish action, turns out it was a frayed cable from new and as soon as I replaced inner and outer it's been super slick, so the extra turns are no issue.
.
Just had a think about the idea of running up the front. The cable run is underneath and the tube is very flat and wide, so there's no real benefit as the sideways kink would be considerable. And right next to the cranks.
Unless I drilled the downtube and went through the bottom bracket...
Whyte (and others I guess) do this
[img]  [/img]
But it would be an extra hole to drill, actually 2 extra as I just noticed you're externally routed.
They also do this
[img]  [/img]
I reckon either way would work.
My bike has the hole at the back of the seat tube. The cable is routed externally under the BB and has yet to be destroyed by anything. It is a HT if that makes any difference. It’s nicely tucked out the way back there.
A hole.
You can see outline of where grommet is glued.

Sugru is an option rather than a grommet - the ones on my Whyte road bike were impossible to refit so I used sugru instead and it was a simple & neat job, just needs replacing when you change the outer but that's probably quicker and kinder to your thumbs than trying to force a reluctant grommet into place. And you can (sort of) match it to your frame colour if you're that way inclined.
I'd be putting it on the NDS side of the seat tube as there's less for the cable to catch on, other than that, go for it.
Alternatively, is there not a drain hole in the BB shell, this can be used effectively for routing up the seat tube without the need to drill extra holes especially considering the cable will be routed along the down tube anyway.
Hmmm. NDS not an option as the cable runs down the DS side of the downtube, and the seat tube is asymmetric. It's quite a diversion around!
Those di2 things look good for the round hole option. I'll nip to the lbs.
Not overly familiar with the Scott spark seat tube area. Is it pierced with shock mount etc ?
Can you take bb out and run full outer(downtube over bb and up inside seat tube ? No need to drill anything 🙂
I done this with my Scott scale(straight seat tube though)
On mine, I put the hole on the front of the seat tube, slightly to the non drive side where I was going to route to.
The hose exits the seat tube at a shallow angle and curves down the side of, and under then up the downtube.
I got a little stick on cable guide to keep it snug against the tube.
Always worked well and no need to go under the bb then.
Alloy nukeproofs had just an angled hole in the seattube for years, I'd just do that, a bit of silicon tube over the dropper cable would make a snug fit to keep crap out.
Thanks for all the help and pointers folks. Went for it this morning, ended up at a 6.5mm hole drilled from as low a perspective as I could.
No bung, and seeing how it fits I'm not overly worried about stuff getting in. It's not an ideal line, but it took about 10mins rather than a full day epic, so win!
Pics to show the hole and swipe to see how the cable line looks.
Apologies for the state of the garage.
👍
Your pic isn’t working for me though.
That looks fine to me. I'd want some protection for the cable though to stop the outer from being sawn by the frame.
👍 it's having its inauguration this week. I'll be honest and say I was going for an 8mm hole, but it turned out I didn't have that size drill!
I'll see how much wear there is and adjust from there.
Get some pvc tubing from Ebay, I bought a metre of black 4mm ID 6mm OD for £1.45 a few weeks ago, it's perfect for sliding over sp41 outer cable, any decent aquarium shop should have some too.
I’d get a round file in it at the angle of the cable, it will smooth the sharp bits
Nice job 👌
I've never quite figured the obsession with making an oval sized hole twice the size it needs to be.
Because the small holes that I’ve had on four frames never fail to shave the outer cables.
Slight mod made. Now a 8mm hole which made finishing and smoothing off a lot easier.
It's also made the entry a bit better. I got a grommet fitted as well, which hasn't worked very effectively as I had to chop it about a lot. But the natural curve means I'm happy with it.
Eldest child continues to not give a shit 😁