![]() You don't need to be an 'investor' to invest in Singletrack: 6 days left: 95% of target - Find out more
You don't need to be an 'investor' to invest in Singletrack: 6 days left: 95% of target - Find out more
Bought a load of cheap bits to get my old bike back up and running. Never set things up from scratch before. Any tips? What order would you do things in for instance.... assuming a beverage is sorted already 🙂
I'd fit the main parts to the frame and in the right places then get the chain on then run the cables.
Finally follow the numerous online guides for setting the gears up 🙂
The park guides on their website are brilliant for when you have to set everything up.
Built two bikes myself now. Youtube was a massive help.
rear mech install minus the cable. Set high and low limits by moving the mech across the cassette by hand. Make sure shifter is in high gear and runs smooth in high. Install the cable, and in theory it should work first time.
Everything will be fine. Except the front mech, it'll be a total bollocks.
Lol this is true. Second bike was 1x9 hehe. First was 11 speed campag. Grrrrrrr
Cheers chaps 🙂
[u]Take your time[/u] and be prepared to walk away for at least 30 min's if you get near to either blood, sweat or tears.
Then marvel how the second attempt goes perfectly
Make sure any sensitive ears are away from the inevitable swearing....
Lol good advice. My lass got a right ear bashing when she entered the same room as the bike build.
Tight enough is tight enough.
Good quality cable cutters, and tea........
Ah yes I knew there was something I meant to buy. Off to the tool shop tomorrow. I was there today and forgot all about needing cutters!
dont forget the tea
Bike shop (shimano/park) are best-buy quality, buy once!
No need to cut any cables until everything is set up/indexed tbh. Cutting the cables and crimping the end caps can be the icing on a hopefully not too sweaty cake.
+1 Porlus and Northwind
Have a spare gear cable!!!!
+1 for the ParkTools video guides.
Use some loctite.
After fitting the cable, give the bare inner cable run a few hard tugs, to make sure all the ferrules are on tight, and stop the tensioning going after a ride or so.
Best part though. First ride out and gears and brakes work perfect. Such a smug feeling.
Best part though. First ride out and gears and brakes work perfect. Such a smug feeling.
Nah it's too early to say.
Coffee and a bacon butty.
Favorite podcast or some cycling on the telly.
A clean bike.
Clean parts.
Coffee.
Tools for the job.
No kids.
Grease.
GT85
Youtube for referencing.
and coffee.
It's a doddle. And front mechs are easy BTW.
It's an absolute joy to setup a drivetrain from scratch. Love it.
Was gonna make a start tonight but the usual Friday evening lounging with beer and laptop have ensued instead. Feeling some trepidation about the front mech but looking forward to the smugness...
Right. Front mech. They can be a pain, but not if you go about it logically and calmly.
1. Wedge a 5mm hex key in the mech so it's in "high" position. You can use the cable pull clamp to pull it apart and insert the allen key like this:
[IMG] 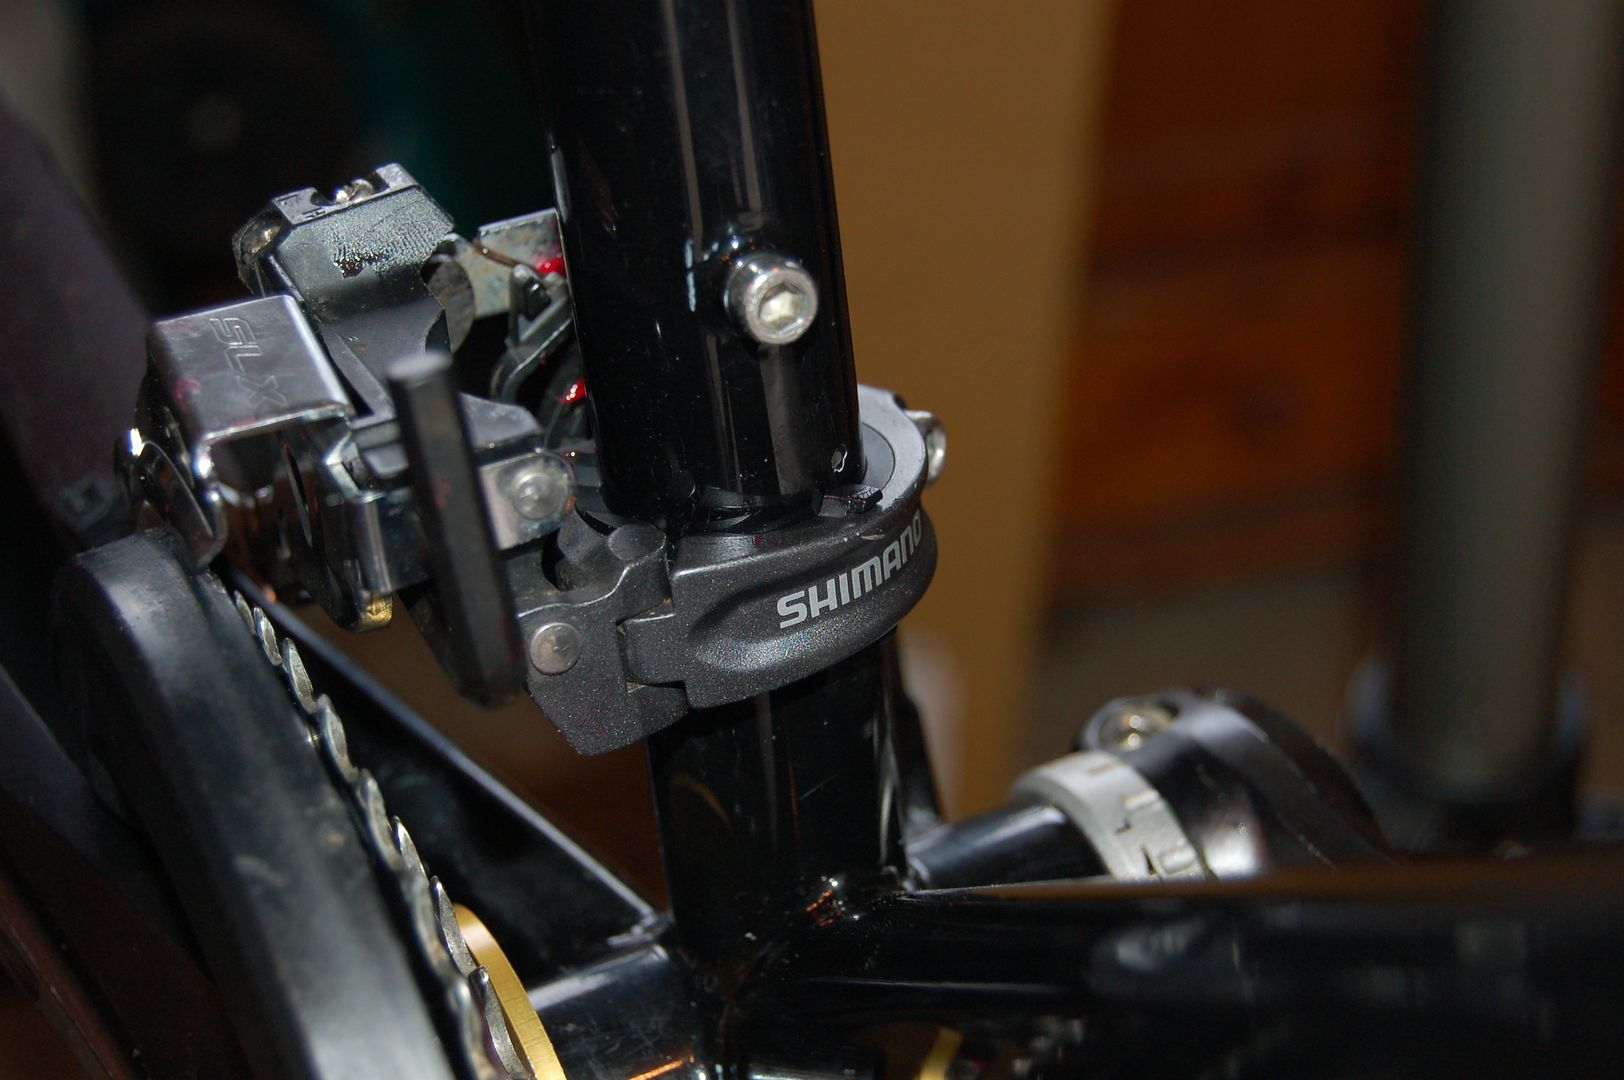 [/IMG]
Put the band round the seat tube and screw it up to finger tight, then undo a half turn so it can be adjusted but won't slip straight off again.
Align the cage of the mech so that it is about 3mm clear of the outer ring or bash, whichever you have.
[IMG] 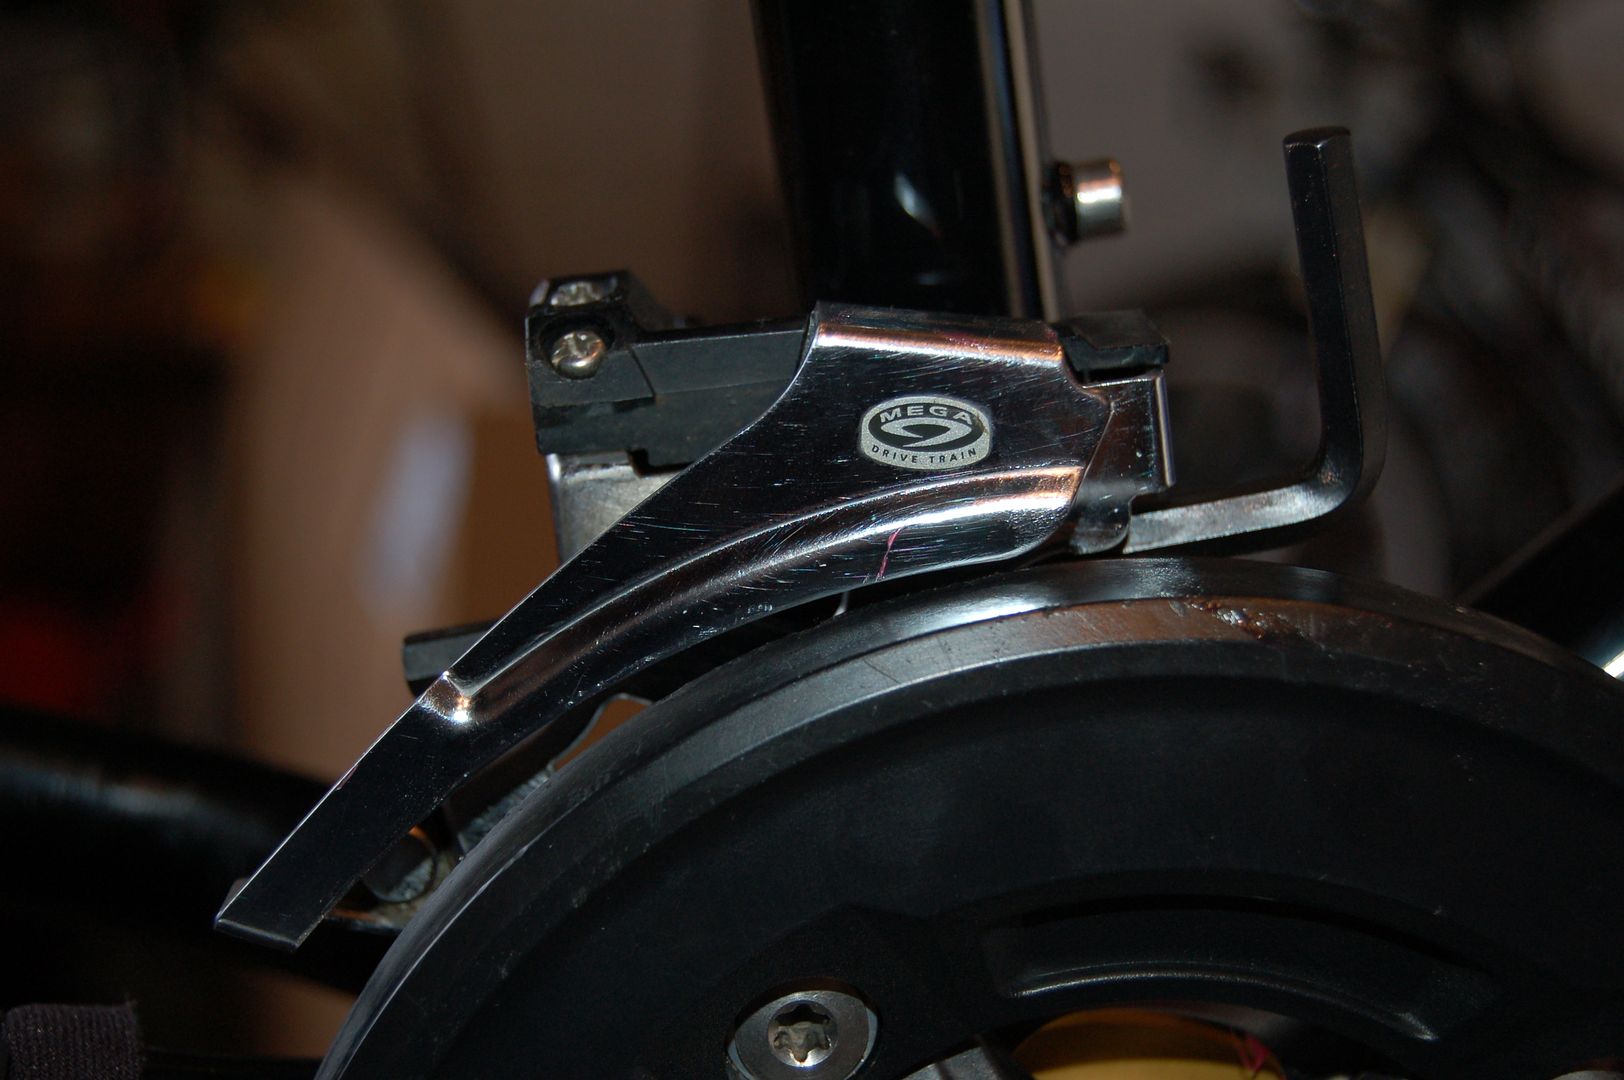 [/IMG]
Once you have established teh correct height, look down from above and make sure the inside edge of the cage is exactly parallel with the chainrings.
[IMG] 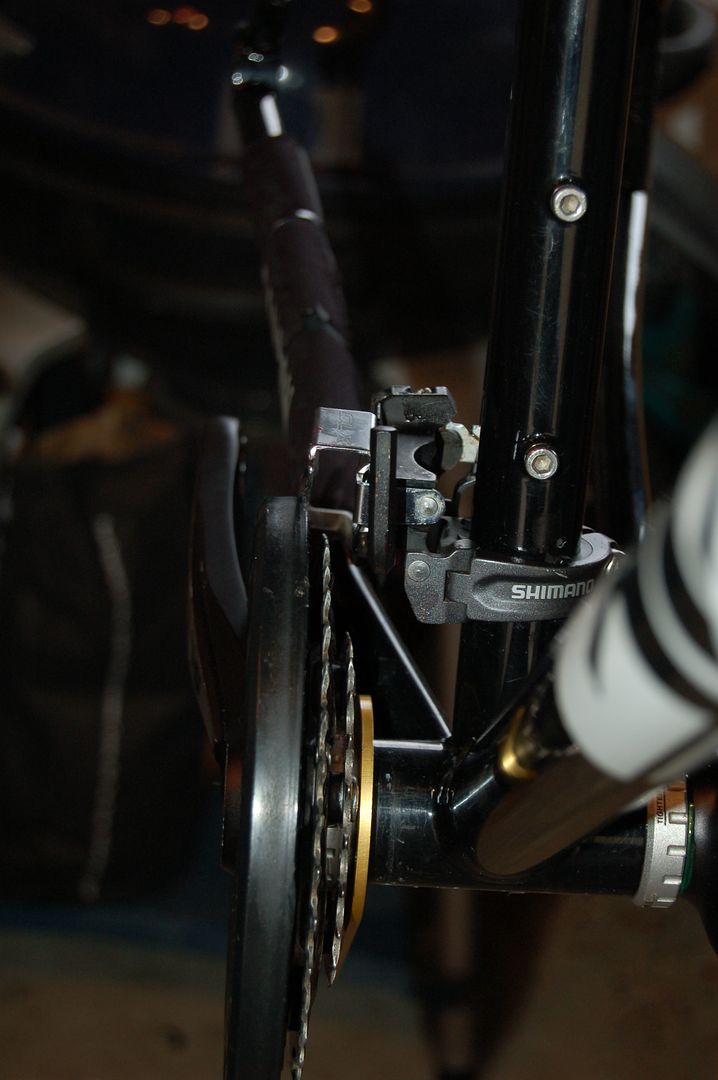 [/IMG]
Aligned in both planes now, you can do up the clamp band and remove the allen key.
Release the shifter so it's under no tension, (ie indexed to the inner ring) and add the cable. Clamp it to the front mech with no slack to start with. (make sure the shifter barrel adjusters are wound in all the way, then a turn or two back out to give you some leeway) . . Once the chain is on work out which limit screw affects the cage in "low" and look from above as you screw it in or out. Put the chain on largest sprocket and teh inner chainring and adjust the limit screw to give 1-1.5 mm of clearance between the inside of the inner plate of the cage and the chain.
Shift the chain to outer ring, and the smallest sprocket. Again, use the limit screw to wind the cage in or out so that there is 1-2mm clearance between the chain and the inside of the outer cage plate.
If you have a triple, shift to the middle of the cassette and then shift between chainrings at the front using the shifter. You may need to fine tune by adding or lessening cable tension with the barrel adjuster, but you shouldn't be far off with this formula.
Scapegoat - MemberAligned in both planes now, you can do up the clamp band
IT MOVED! FFFFFFUUUUUUUUUUU
Northwind, I occasionally use a small boy to hold things in place...... 😀
[IMG] 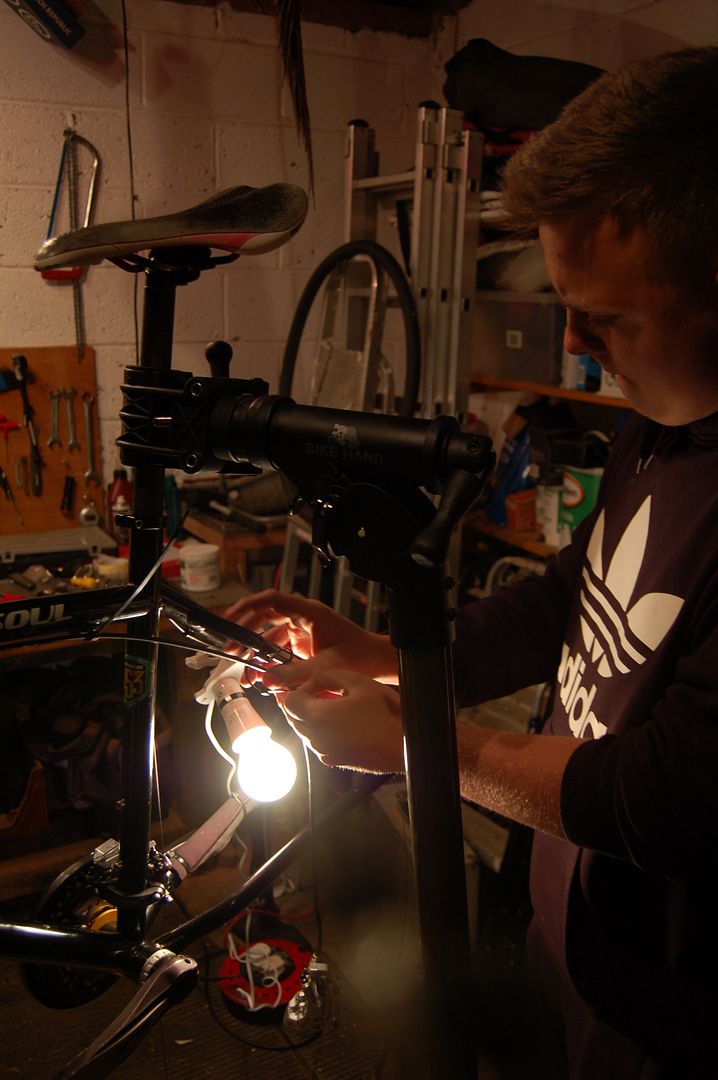 [/IMG]