![]() You don't need to be an 'investor' to invest in Singletrack: 6 days left: 95% of target - Find out more
You don't need to be an 'investor' to invest in Singletrack: 6 days left: 95% of target - Find out more
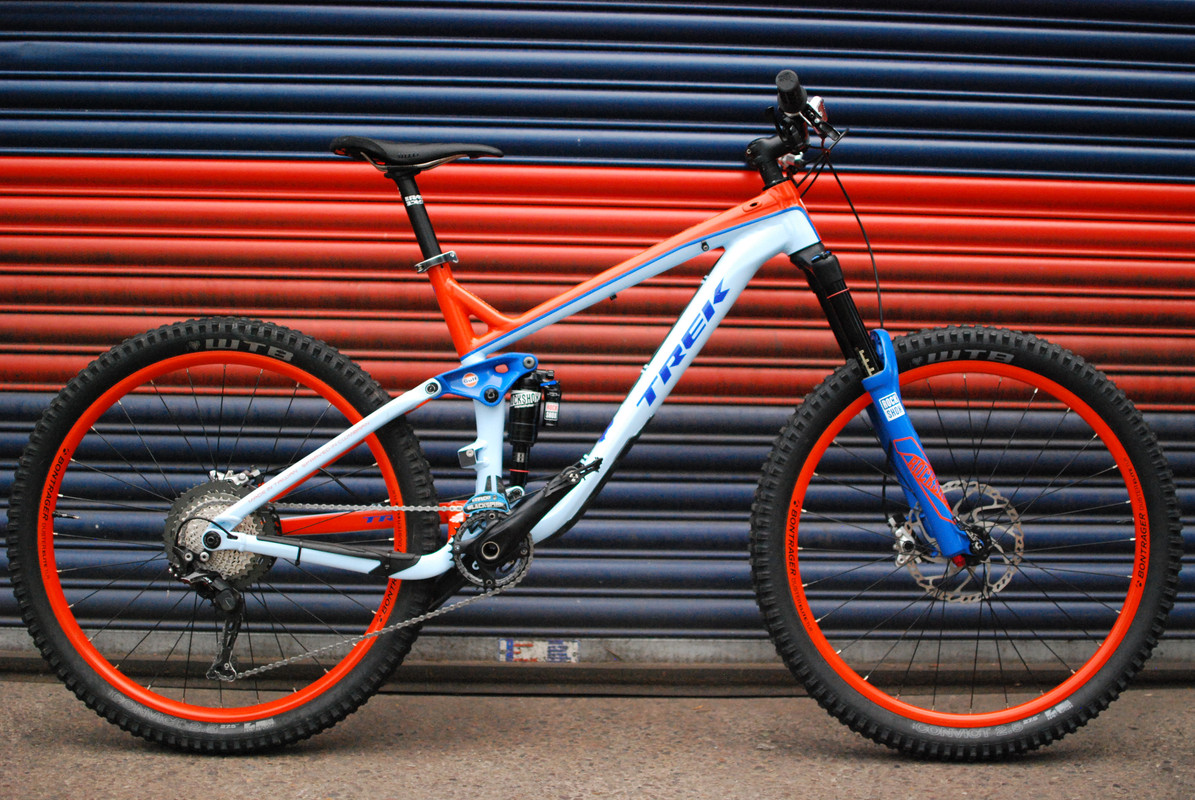
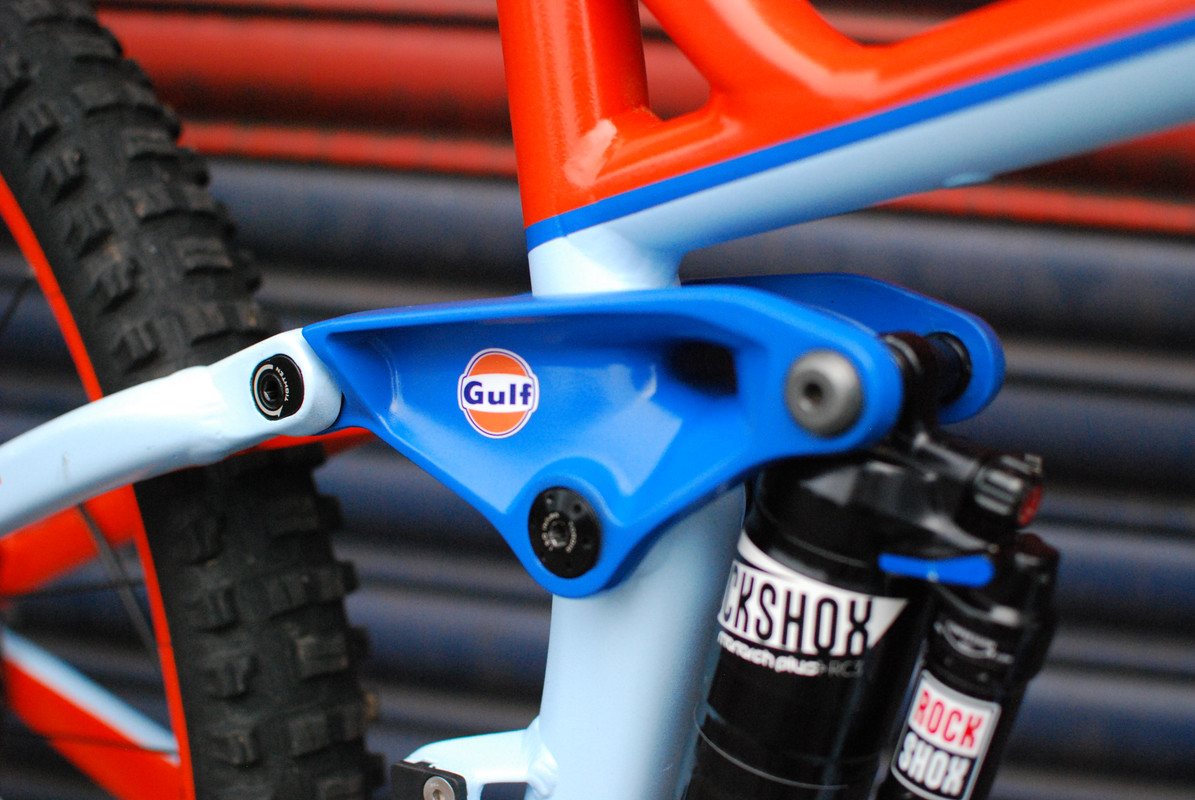
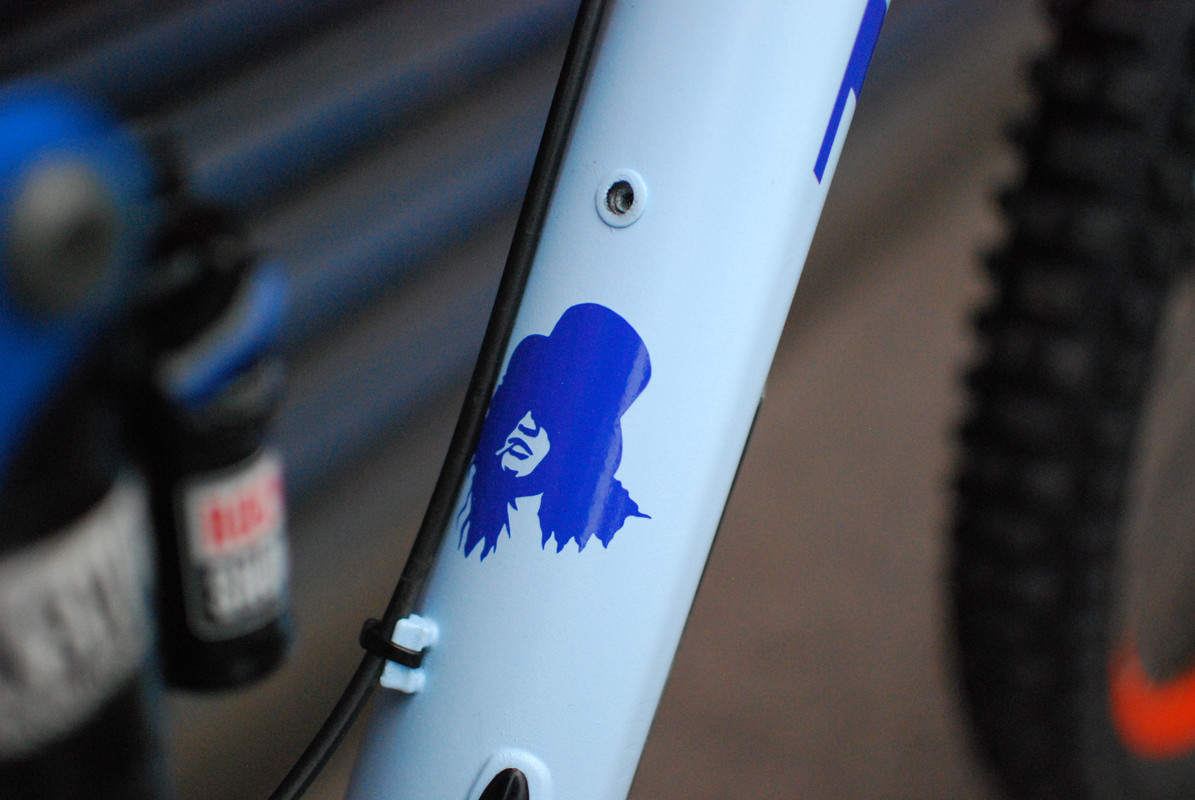
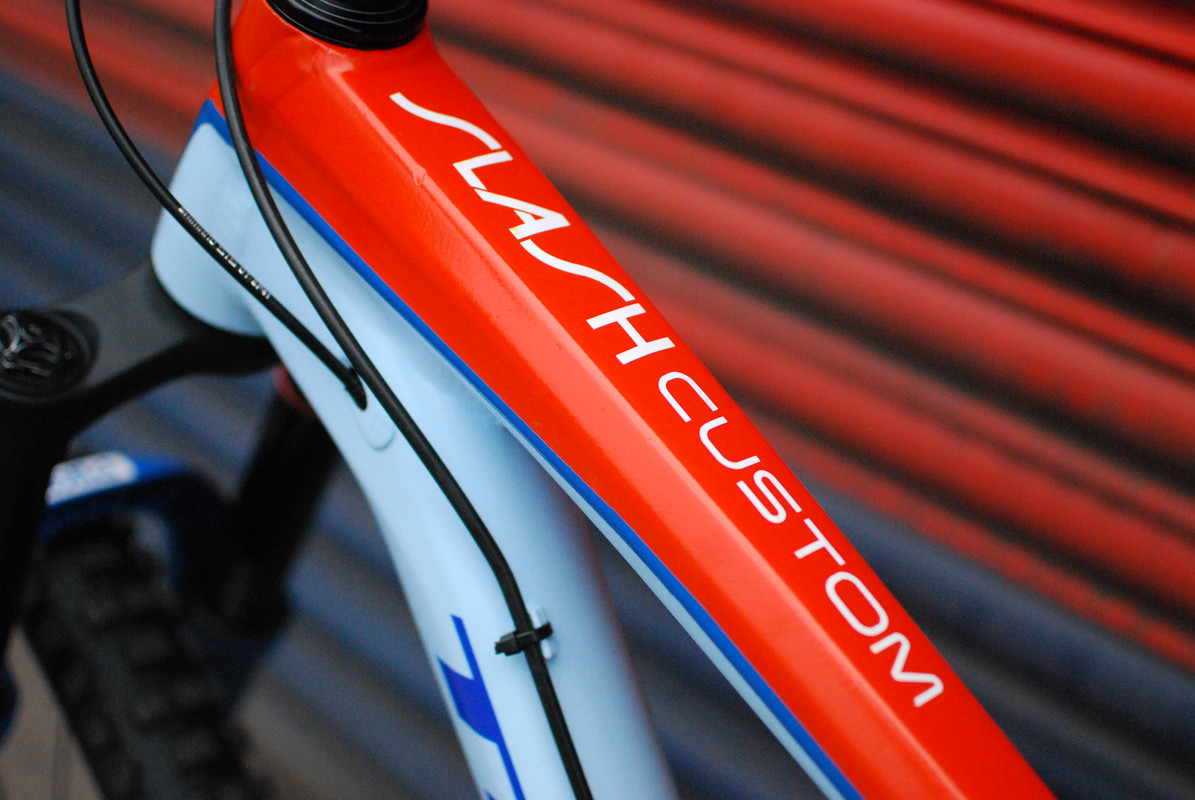
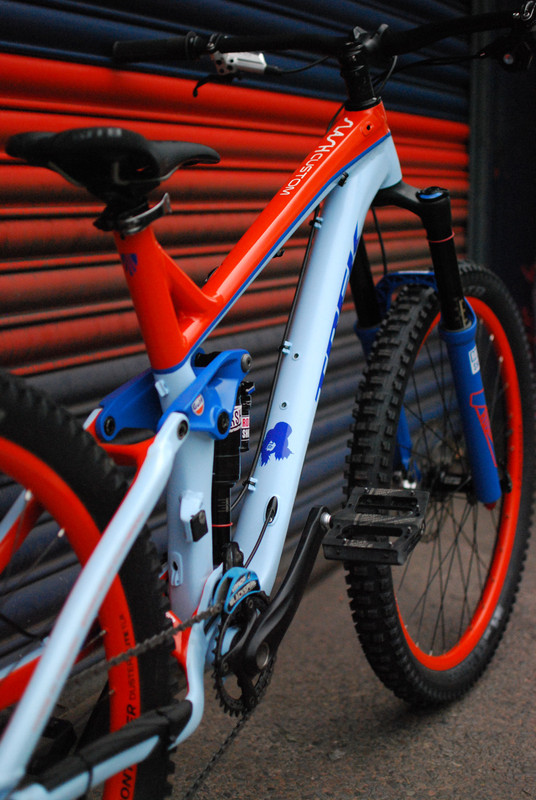
Here's a few photos of my completed Home DIY respray job of my 2015 Trek Slash 7. I used spray.bike rattle cans and the paint is fantastic. Also had custom decals from my mate at 678customs.
The hardest and most time consuming part was the masking, but I'm pleased with the results. I still plan to add some more black decals to the rims to tone down the orange a bit.
Thumbs up to that!
Wow, great job and love the colour scheme.
looks like an excellent job! well done.
So, how long did that take? It's so well done
Top notch. Great job!
leffeboy - overall it took months and months (about 5), but thats a lot down to how fussy and slow I am. The actual painting bit didnt take too long, but masking was a pain. Also, sanding the complex geometry and cleaning everything perfectly was time consuming.
But dont let that put you off having a go. I'm really pleased I took this on.
What sort of paint did you use and did you use a plotter for the stencils?
Nice. How easy does that spray.bike stuff go on?
I'm looking at a re-spray for one of mine but just a solid colour.
Top work fella !!
what tape did you use for masking. ive got some spray.bike powdercoat for my fat bike but am unsure what to use for masking. did a quick test on a spare frame with some electricians tape and i wont be using that. thanks
That is a top job.
Hi all
Thanks for comments!!
Ogden - Spray.bike rattle cans. Its available online but I bought mine from Huw at Blackmountain cycle shop. 678 customs (search them on instagram) did the decals - they are not sprayed but stuck on with clearcoat over the top.
Molgrips - very easily. Its thick stuff and doesnt run or drip. You just need to ensure the distance is correct and move your hand like with any rattle can. After a few quick practices I got it going well. No need to strip either, just sand a key in the existing paint.
Keefmac - I used some scotchblue painters masking tape with edgeloc. Even then its not perfect everywhere, especially near welds etc. But its good enough for a DIY job in my opinion.
cheers mark, much obliged
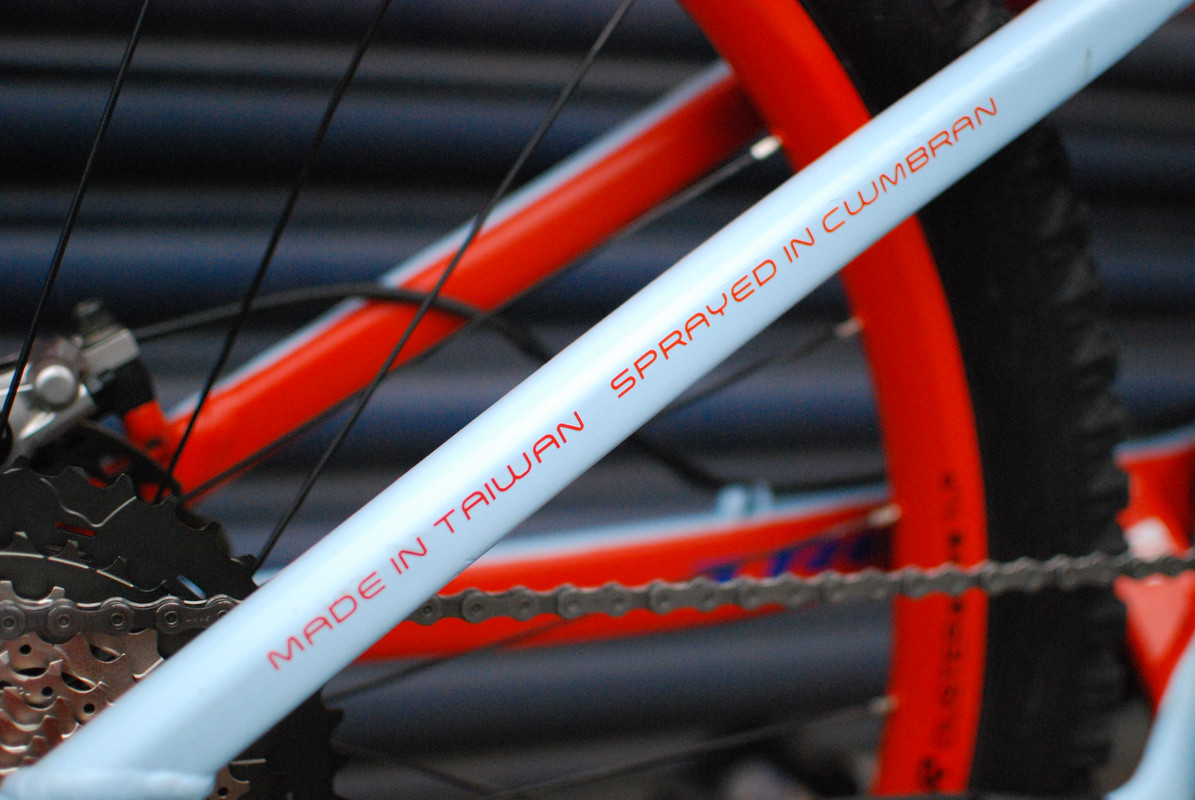
Haha love it. Made in Taiwan. Sprayed in Cwmbran. Nice touch! Looks great too.
Go get it filthy!
Anyone care to let me know how to post pictures please??
I have another home brew Trek paint job to share
That looks great - top work 👍
Cakeandcheese - I use postimage.org. You go to that site, upload an image (totally free) then copy the direct link address it gives you. Then when posting here, click the insert image button, and paste the address. Try it!
Well thank you friend, job done!
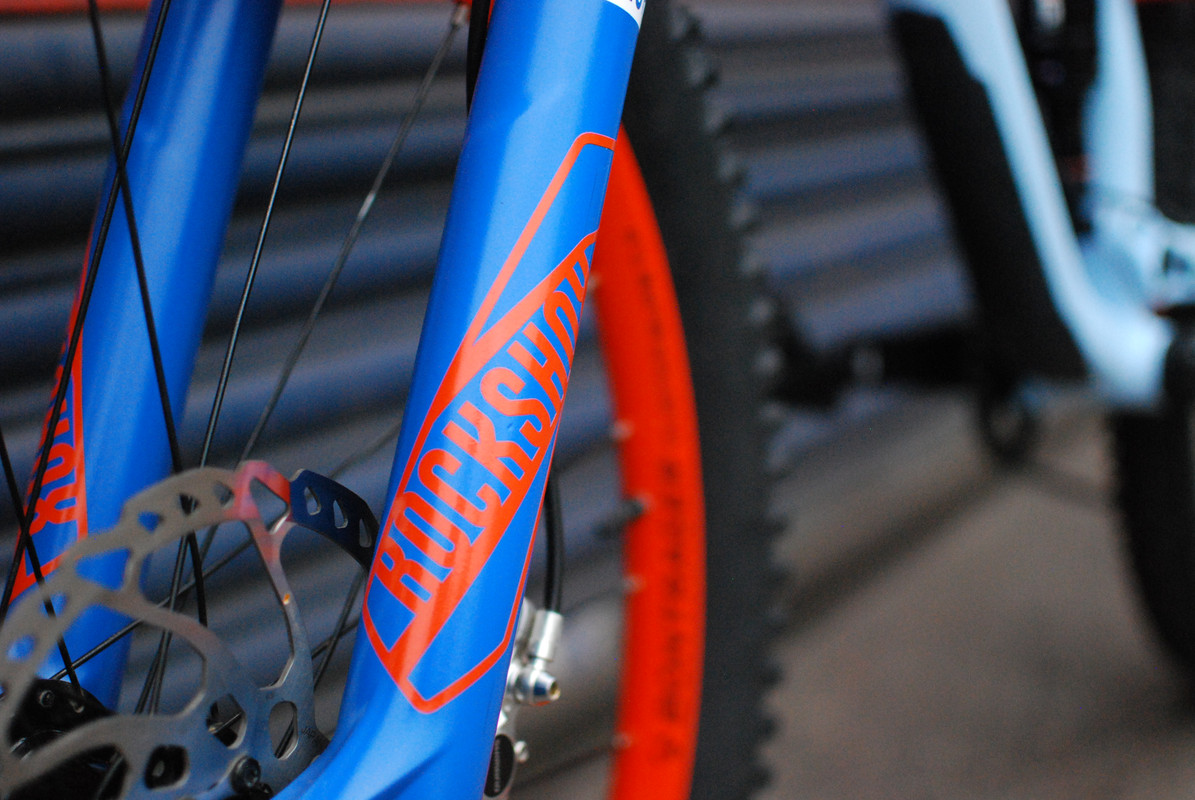
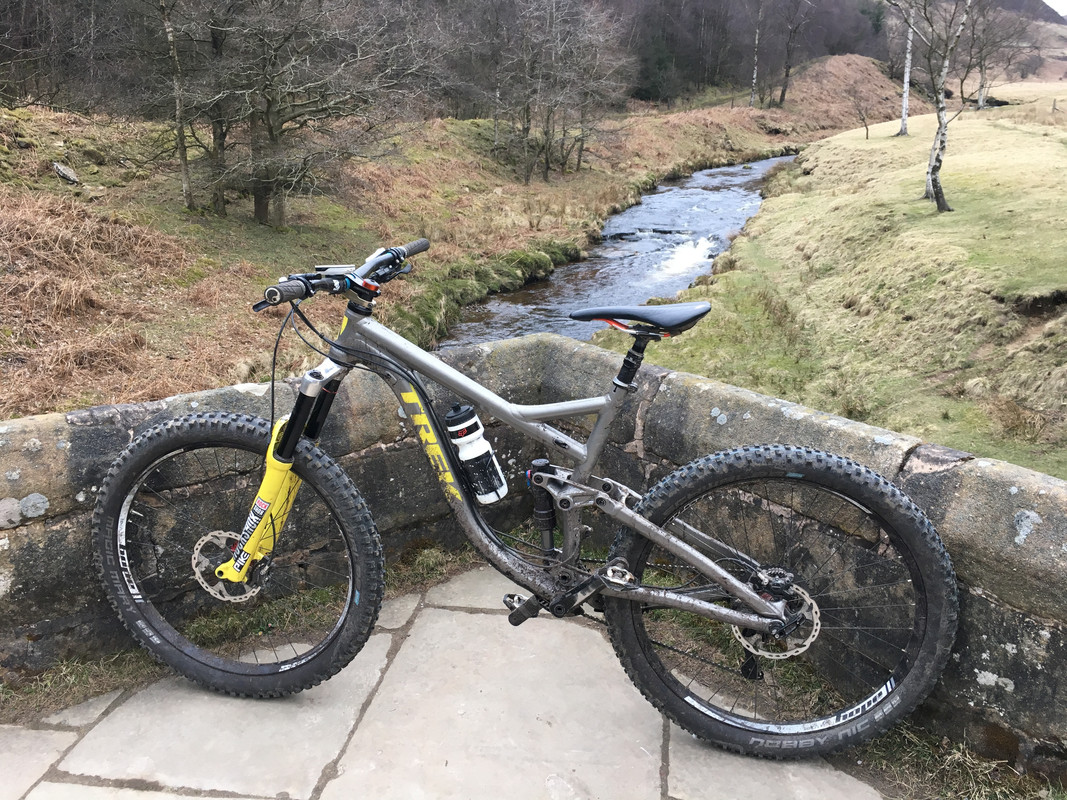
Much like you I used spray.bike, this time using pearl grey and using decals as stencils (the logos are therefore painted yellow). Forks are my take on a ‘96 Judy SL with polished crown.
Bike is a remedy 29er on 27.5x2.8s, home made Huck Norris, revalved pike RC, slack angleset + offset shock bush, vorsprung corset and push tuning. I think that’s about it for now!
Overall I think you’ve achieved a much better finish. You may have inspired me to start again and try harder this time!
Great job OP.
Love the retro looking Pike/Judy!
Spray.bike seems to be the thing to go for, but they don't quite have a colour I'd have fancied. But I'll manage - I just need to make my bike look a bit better than totally trashed 🙂
Forks are my take on a ‘96 Judy SL with polished crown.
Love it!
I’m planning to do the same (without the polished crown)! What RAL/ Pantone did you use for Judy yellow?
Also did you take the seals out, or just mask them? I’m planning to get a new fork, remove the lowers. Remove decals and sand a bit to provide a key. Then mask the lower bolt holes, mask the through axle holes and mask the seals. Then spray. Did you take any more precautions?
I really have no idea on the colour match - just used the closest looking one! I’m pretty colour blind so not the most fussy.
Method wise, as described above. Prise seals out, mask all holes off (being careful not to let dust get in the lowers/bushes) and give them a flatting down. I primed them at this stage, then painted.
Things I now know:
1. Pike decals are a pain to remove
2. You can never apply too many coats of clear
3. Extraction in your work area is important. A light coat of paint causes a thick fog in the shed which settles everywhere.
For my next attempt I’ll be building a booth in the shed and wiring an extractor in. We’ll see how that goes! I’d also like to find a local dip and strip service - would appreciate recommendations in the South Yorkshire area.
OP that is lovely!
Looks very nice.
Thanks @cakeandcheese where did you buy the paint from/ what pair did you use?
@markeversonpencilart amazing job!
That looks great, how are people finding the durability of the spray.bike paint, I have been considering it for one of my bikes as I find the current paint job a little boring!
Top work, that looks like a very good factory finish. I would be interested how it handles normal use compared to factory paint, would you keep us updated please?
The bike looks superb!
where can I buy this bike paint? does it suffer chips like auto rattle can paint does, or is it very durable.
I've sprayed a few things in my time over the years and have been happyish with the results but that is a <span style="text-decoration: underline;">Really</span> fine bit of DIY work. I take my hat of to you.
+1 on knowing how durable it is. Would be good to know what resin base is used.
just had a proper look - they are acrylic so probably not much different to normal car paint in durability but a lot does come down to the lacquer (if used) you put on top.
thanks - bit of a shame if so.
lovely bike btw. Makes a change over a gravel bike. 😉
1. Pike decals are a pain to remove
RS decals are easy to remove if you heat them with a hairdryer.
What lacquer are people using?
thanks – bit of a shame if so.
You do get some acrylics that are better than others but ultimately it's a limit of the base resin. eg PU are toughest as they are rubbery, Epoxy are hard and very resistance to chemicals, acrylics are very "user friendly" - ie they give good finish, display pigments very well and stick to a lot of surfaces well.
I would suggest using their lacquer as it is compatible with their paint system but for something like a car wheel i would always suggest someone goes for a PU lacquer over whatever their choice of acrylic base colour is. A fully PU system would be tougher for that though as used on aircraft.
Older PU lacquers had a tenancy to yellow in UV so they got a bad rep. Modern ones shouldnt due to different chemistry, particularly water based like you get in water based floor varnish.
That looks stunning !
Canned 2pac lacquer (with the activator in the bottom of the can) is probably the toughest finish you can get from an aerosol. I’d love to paint a bike with some, but powder coat makes more sense for what I want.
Thanks for more comments.
cakencheese...love the colour combo. the fork looks stunning! I did take my time and am very particular and patient...but your finish looks good!
ive no idea on the durability. i put two layers of spray.bike clearcoat over the top so we shall see. despite my fussy mindset during the process i dont get too bothered with scratches on bikes I use. I cant be bothered to invisiframe it either. I suspect the rims will take a few hits but hopefully it will look ok for a good while.
edd... to spray my pikes i totally stripped the lowers, removed seals and cleaned and dried. then masked meticulously using masking tape and bluetac. You dont want any paint inside the lowers for obvious reasons. Im so pleased with the finish of my forks though! Sprayed the crown black too...much easier to mask the crown😀