![]() You don't need to be an 'investor' to invest in Singletrack: 6 days left: 95% of target - Find out more
You don't need to be an 'investor' to invest in Singletrack: 6 days left: 95% of target - Find out more
Surely, in 2016, what with all those clever bike designery peeps, manufacturers could work out how to route shift/brake lines without it looking like a 25 over enthusiastic playful kittens have got trapped in a arts and crafts knitting supplies shop???
On my new build, if i route the cables EXACTLY as shown in the official press pics of the bike, i can only use about 100mm of the 160mm capability of the rear suspension...........
send it back.
Do these pics show a bike with left hand front brake?
What bike? Specialized? Under bb routing?
[quote=maxtorque] On my new build, if i route the cables EXACTLY as shown in the official press pics of the bike, i can only use about 100mm of the 160mm capability of the rear suspension...........Is this something you're putting together yourself?
Cable/hose length is never an exact science, is it? I always find myself trying various routing options trying to get something long enough with too much excess. Leaving spare to avoid clashes with bar bags doesn't make thing any easier.
Lefthand front brake and cross-over cable around the headtube - if you want it to look cr@p ignore this advice!
It's on my new Dune, where the cables for the shifter and rear brake come out of the bottom of the down tube, ahead of the BB, loop under the BB and enter the front underside of the chainstays.
In the press pics they look like this:
[img] 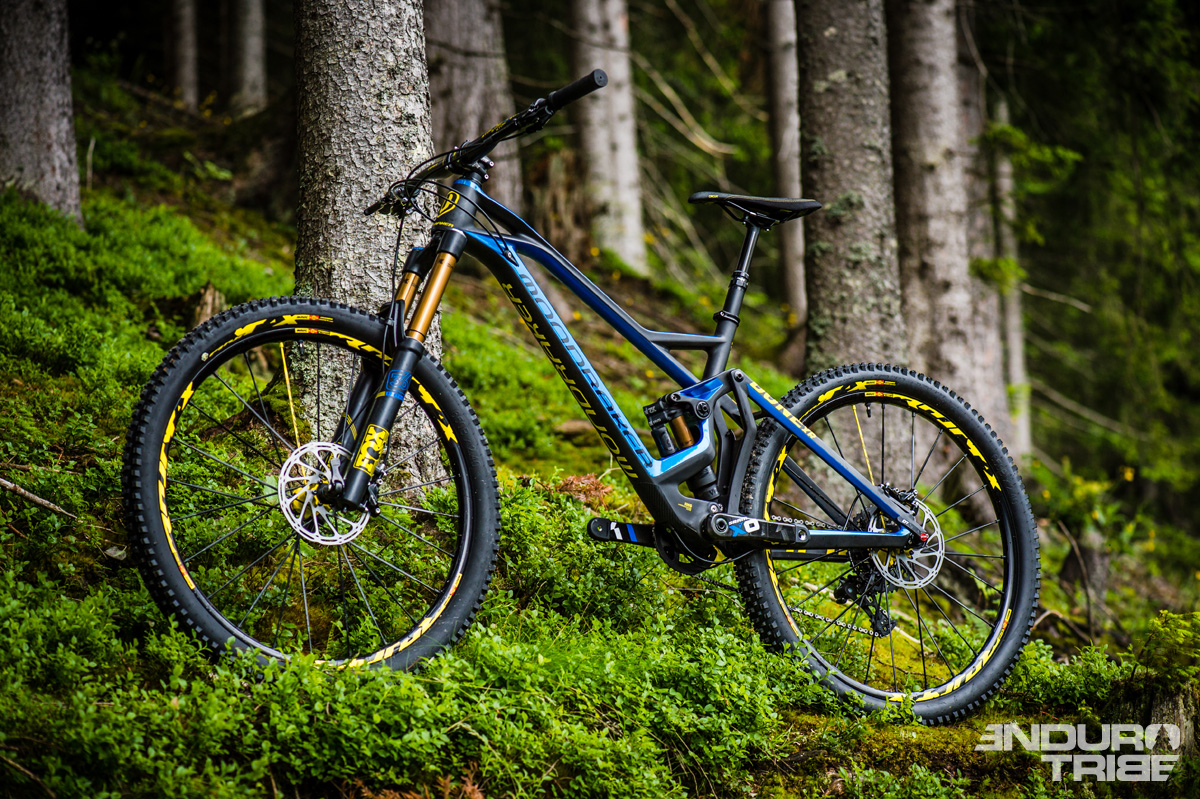 [/img]
In reality, if you make the loops that short, you will rip your cables out of the frame at about 100mm rear travel.....
I thought it'd have to be under bb routing.
Top tip...
Loosen whatever is holding the cables, remove all air from the shock compress the shock fully. Pull the cable outers taught, and give s tiny bit of slack, so they're not touching the frame. Do up the cable clips.
Now your outers will be the shortest they can be, and still not cause problems if you bottom out your shock.
remove all air from the shock compress the shock fully
A wee workshop tip - give the shaft a good spray of silicon before you fully depress the shock as i've had the "very occasional" issue with seals sticking on pressurisation
give the shaft a good spray of silicon before you fully depress
Another [s]tangent[/s] tip, keep the silicon can at room temperature and shake well before spraying. 😆
p.s. nice bike mr.
That's exactly what i have done (well, except i actually also completely removed the shock to check that i was moving the suspension through it's full travel when i had just let the air out) and the size of the loops required to do that are enourmous!! Literally twice what they show in that pic.
Now trying to come up with cunning, sprung cable guide design to let the cables auto-retract into the frame when not required...... #becausemechanicalengineer
😉
The thing is, by removing the shock you will have allowed the frame to move through its max travel and then some. This may explain why you need so much extra outer.
Id suggest what others have said, let all the air out of the shock and measure again with the shock fully compressed.
It's a Mondraker, it's design feature to hold the frame reasonably together for when it inevitably snaps 😉
You'll find that when you sit on the bike you can't actually see the cables, so it matters little............Unless you're one of these who just like to stare at their bike all day & take pictures....
#theyrenotornamentstheyrebuilttoberidden
😉
Or they are so long that they get caught on rocks/undergrowth/small children..
No, i removed the shock to check the total travel i had checked with the shock de-pressurised, in both cases, the seat stay bridge is about 5mm away from the seat post.
#biglaggybandNow trying to come up with cunning, sprung cable guide design to let the cables auto-retract into the frame when not required...... #becausemechanicalengineer
I've just had a quick look at my Dune (2013 external cables) and the cables loops under the BB are probably a bit shorter than those shown in the press photo up there. It definitely works fine because it's been like that since before an Alps trip when I was using full travel quite a lot.
I know a couple of lads with dune carbons, none of whom have issues with their cabling. With all due respect, you're probably doing it wrong...
I'm perfectly capable of "doing it wrong" but look at this:
Full Droop (big loop below BB)
[URL= http://i135.photobucket.com/albums/q137/max_torque_2006/gen%20junk/WIN_20160206_16_01_37_Pro_zpsqu7nulr1.jp g" target="_blank"> http://i135.photobucket.com/albums/q137/max_torque_2006/gen%20junk/WIN_20160206_16_01_37_Pro_zpsqu7nulr1.jp g"/> [/IMG][/URL]
Full Bump (cable tight to BB)
[URL= http://i135.photobucket.com/albums/q137/max_torque_2006/gen%20junk/WIN_20160206_16_02_19_Pro_zps1bkfyh70.jp g" target="_blank"> http://i135.photobucket.com/albums/q137/max_torque_2006/gen%20junk/WIN_20160206_16_02_19_Pro_zps1bkfyh70.jp g"/> [/IMG][/URL]
Can't see how it's possible to do anything different??
If people are running less "loop" than that, then either it's stretching your cables or pulling them out of the frame when you use full travel.....
Your first photo looks just like the Press pic.
I will have a look at mine when I get home on Tuesday for you.
Add: I'm not that worried about the brake line tbh, as those internally braided nylon pipes are really pretty tough, but the wire to the Di2 Derailure is looking vulnerable with a loop that size. I might just have to somehow incase that wire in a protective sleeve (maybe some 6mm nylon compressed air hose or something similar?)
Maybe it just looks big when it's up on the stand with no wheels??
[img]  [/img]
😆
you may have a point - that photo's a bit odd. Makes it look like you've got bright yellow pedals !! 😆
Is there clearance to take the cable above the crank spindle?
Better clearance from trail stuff and fairly neutral to suspension movement if it's possible - but it may not be.
Unfortunately there is no nice alternative routing possible. The cable entry to the chain stays and the exit from the downtube is on the underside, with no way of locating or supporting a cable running above the BB area etc
scaredypants
you may have a point - that photo's a bit odd. Makes it look like you've got bright yellow pedals !!
It's not a proper Enduro bike without matched colourways......... 😆
My Specialized Enduro looks like that with a big loop of cable/brake hose under the BB and my Stumpjumper did before that. I set my cable and hose lengths the same way with the shock completely depressurised. Never had a problem in several years of riding in all conditions and places. It doesn't look great but it works and you can't see it when riding so #wgaf
Doesn't look too bad, similar amount of cable to my Reign.
I've cabled up a few bikes with under BB cable routing (including a few Di2) and where i've felt they needed a bit more protection i've slid a length of [url= http://www.heatshrink-online.co.uk/heatshrink/cat_147046-Black-Expandable-Braided-Sleeving.html ]braided heatshrink tubing, similar to this[/url] over the cable and used gentle heat to shrink it to fit - probably a bit overkill but if it offers a tad more protection then it's worth it.
Your photo shows you detatching the shock rather than taking all the air out - you might be allowing for more movement than is necessary. Even then the loop doesn't look too bad really.
would be better routed over the BB with a house mount suitably positioned to keep it off the crank at any point in it's travel
I'm going to cut join the rear derailleur Di2 wire to get a perfect length so i'll re-enforce the underBB area of the cable when i do that, which will also let the std cable frame exit clamps hold it properly (bare cable is too small a diameter currently)
I'm also machining a custom steerer/stem top cap, that uses a Hope Head Doctor style clamp arrangement but that holds the Di2 battery pack hidden below in the steerer tube! Hopefully for full integrated looking shifting.
Have decided that drilling handle bars for the wire to the shifter is a step too far (carbon bars) but will use heli-tape to hold the small wire tight and neat to the underside of the bar, so should be pretty invisible once installed.
(i'm also reverse engineering the Di2 communications protocol (things to do on a rainy day eh! ) as i thought that might open up some interesting future possibilities......
That's a tiny amount of cable loop, look at Specialized Enduro photos.
Also, you think too much. If the hoses and outer were tight enough to the frame so as you wouldn't notice them, then you'd rip the rear mech and caliper off the frame.
I generally disagree with under bb routing, its lazy.
(i'm also reverse engineering the Di2 communications protocol (things to do on a rainy day eh! ) as i thought that might open up some interesting future possibilities......
Sounds interesting, what are you thinking?
My 2010 Dune has similar cable routing. No drama so far with damaging anything