![]() You don't need to be an 'investor' to invest in Singletrack: 6 days left: 95% of target - Find out more
You don't need to be an 'investor' to invest in Singletrack: 6 days left: 95% of target - Find out more
I managed to buy a nice but rough Orange Alpine 160. It has a few knocks etc but is solid apart from this (below) 'X' shaped crack around a vent hole in the swing arm brace (behind the seat tube).
The seller says it hasn't changed in some time but I am somewhat heavy on kit.
Do I get her welded up or leave it because it won't get worse?
Please either reply with some technical knowledge or prior experience...I'm not one to have bags of cash to just go and replace it all.
I have dealt with numerous cracks etc but never one like this-hence the thread.
Cheers all.
[IMG] 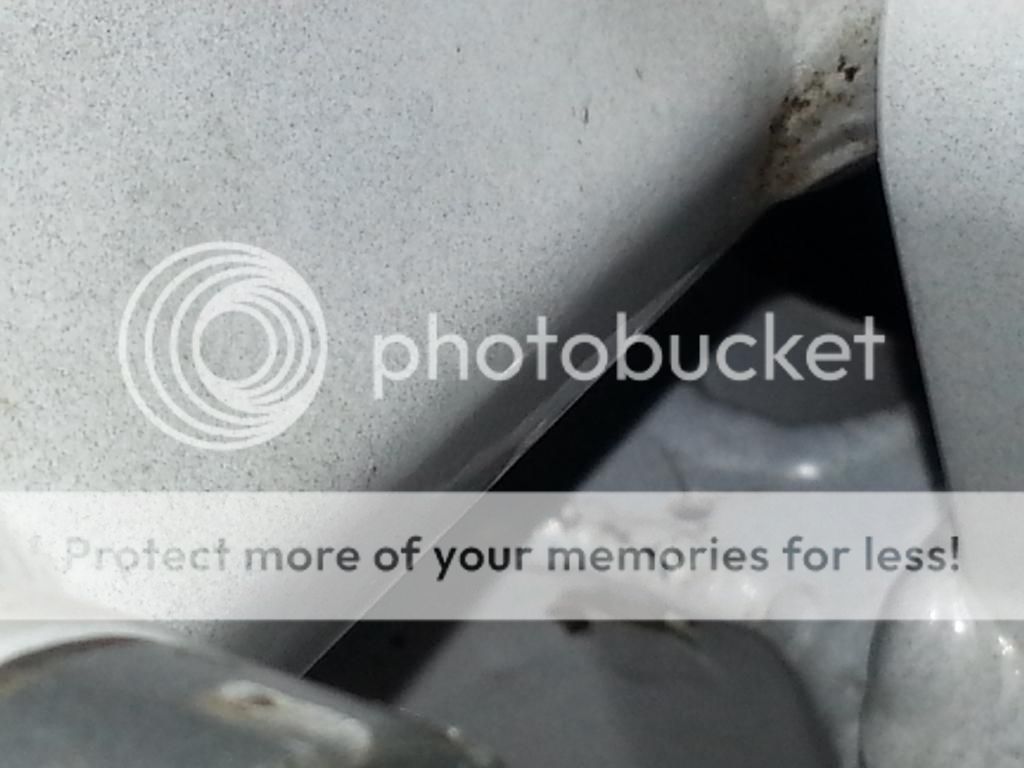 [/IMG]
Get it nipped up.... it might not fail catastrophically, but it could lead to a knackered frame. Wouldn't cost that much to do.
a weld won't stop a crack spreading unless it's drilled at the end..I'd leave it
That's a pretty common Orangey crack and they do tend not to grow. I'd be talking to a good bike welder for advice more than anything else.
I was thinking a narrow plate over the lot! (in between the existing welds). I have messages the guys at BTR who know their stuff-although their main material is steel.
Cheers!
Just ride it and see if it gets bigger
ring orange?
Good idea Rob. I will do but in the past haven't really had any info of any use out of them.
Friend found a crack like that on his Alpine on the first day of our Alps trip, it was triple the size within a few days.
Pointed the thread out to a mate who's riding buddy works for orange
Cheers Rob!
Chak: I think it does need doing just unsure. I can get it fixed in a nuclear grade MOD facility, I'd just rather not mess up the strength of it in terms of heat treatment etc.
Cheers
What about a new swing arm
Too expensive new Rob, more than I paid for the lot. And the reason I went for this is because I'm skint!
If I could get a used one or one for a reasonable price I'd jump at it.
Cheers
FIXED!
[IMG] 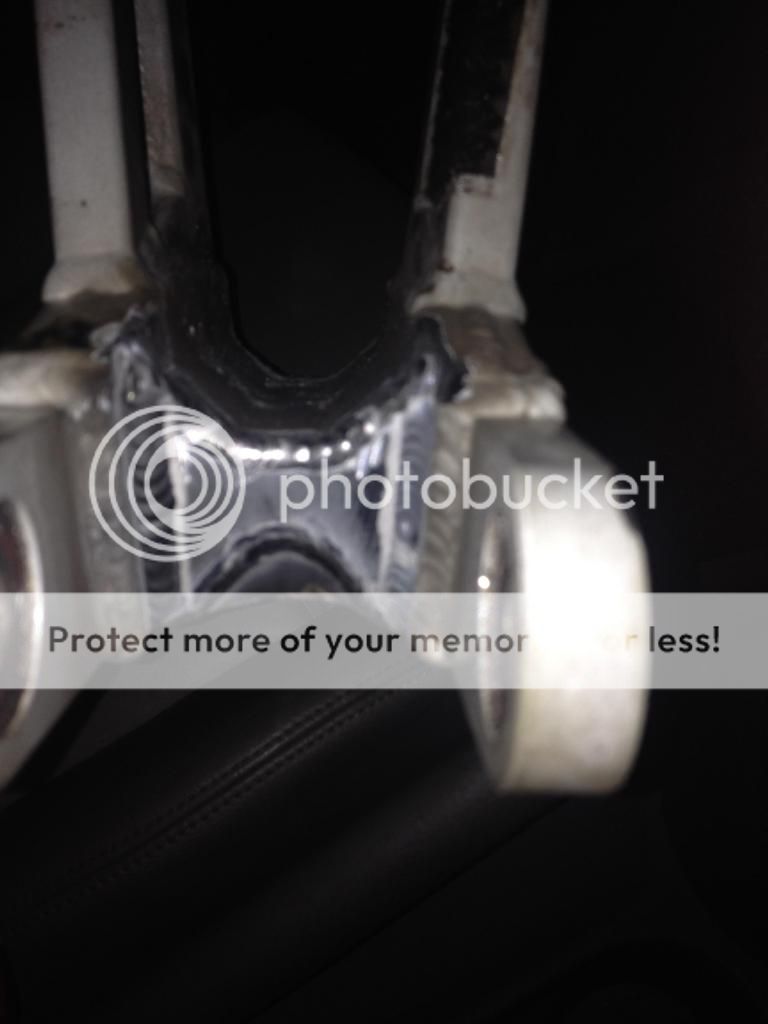 [/IMG]
Fixed by an engineer pal of mine who works on aircraft parts. Next is shot blast (lightly), then heat treat and full frame Powdercoat.
Cheers all.
Nice repair job right there.
Pretty impressive isn't it! He's quite a geek when it comes to Tig welding, absolutely loves it. The welds actually look better than the originals-he reckoned orange let the apprentice have a bash at welding this one!
that is some tasty welding
YETIboyJAY - Member
Pretty impressive isn't it! He's quite a geek when it comes to Tig welding, absolutely loves it. The welds actually look better than the originals-he reckoned orange let the apprentice have a bash at welding this one!
Hand Made, a sure sign of quality 😉
Yeah, I guess so. I must admit, although I'm no expert some of the original welds were quite raised and 'blobby' compared to my buddies. I guess that's what happens when you weld frames all day long
The welds actually look better than the originals
that's what I thought too. Hmmm, quite tempted to learn how to weld, but it looks like the sort of thing that you need to do as a job to be really good at. Any other amateur welders on here I wonder?
Looking good Jay, nice to have mates like that!
That is spot on work. Post up pics when you are done.
Thats tidy,
learning to weld is quite easy, getting good at it is the tricky bit.
Speshpaul - Memberlearning to weld is quite easy, getting good at it is the tricky bit.
Yep, and going by mine, Orange have a few guys who've managed the former but not the latter 😆
Cheers guys, i am well happy with it. If it holds up- which according to my buddy when its all done it will be stronger then its been a winner.
The external welds on the frame were ok, its the more hidden ones like in and around this area on the swingarm, some of them were so tall and blobby. Im no expert but the visual difference in what i have had done and what Orange did is night and day.
I ordered a proper Orange decal kit and headbadge yesterday so all being well it will be like new.
Jay
Nice to see the update.
Now get it built up!
As soon as it's treated and powedercoated and ive fitted the decals (and of course put it back together) i will be building it into a ride everywhere beast!
Thanks guys.
Proper Factory job!
[IMG] 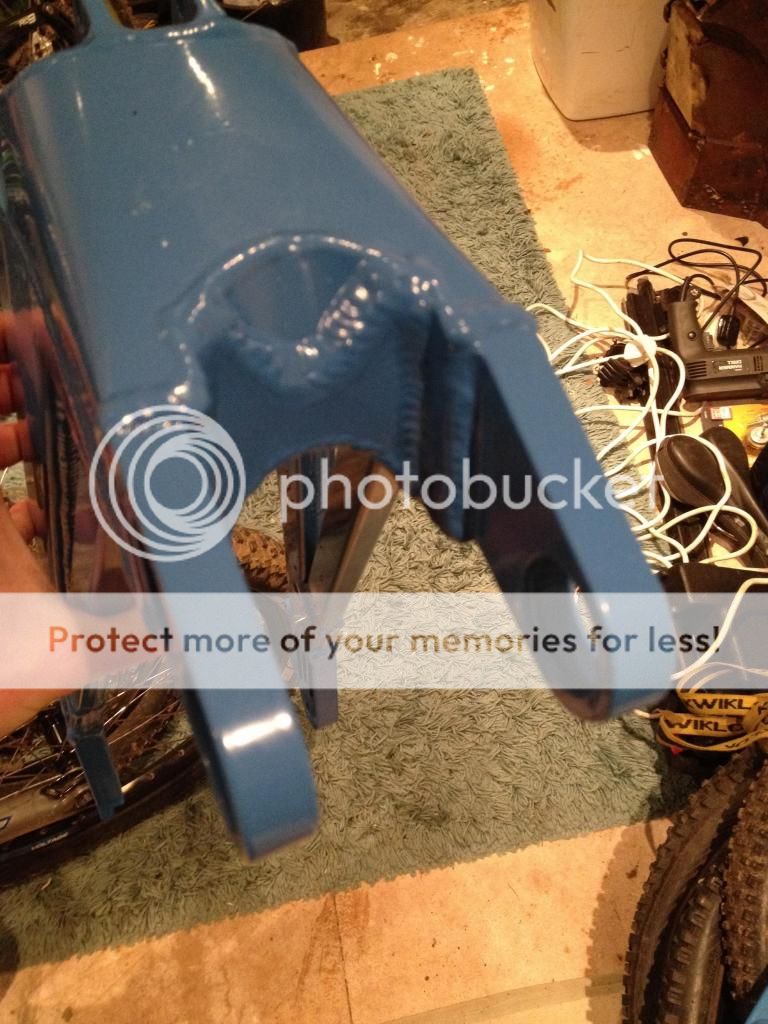 [/IMG]
Just need to finish building it and fit the orange 2012 decal kit I have (black outline silver/grey centre)
[IMG] 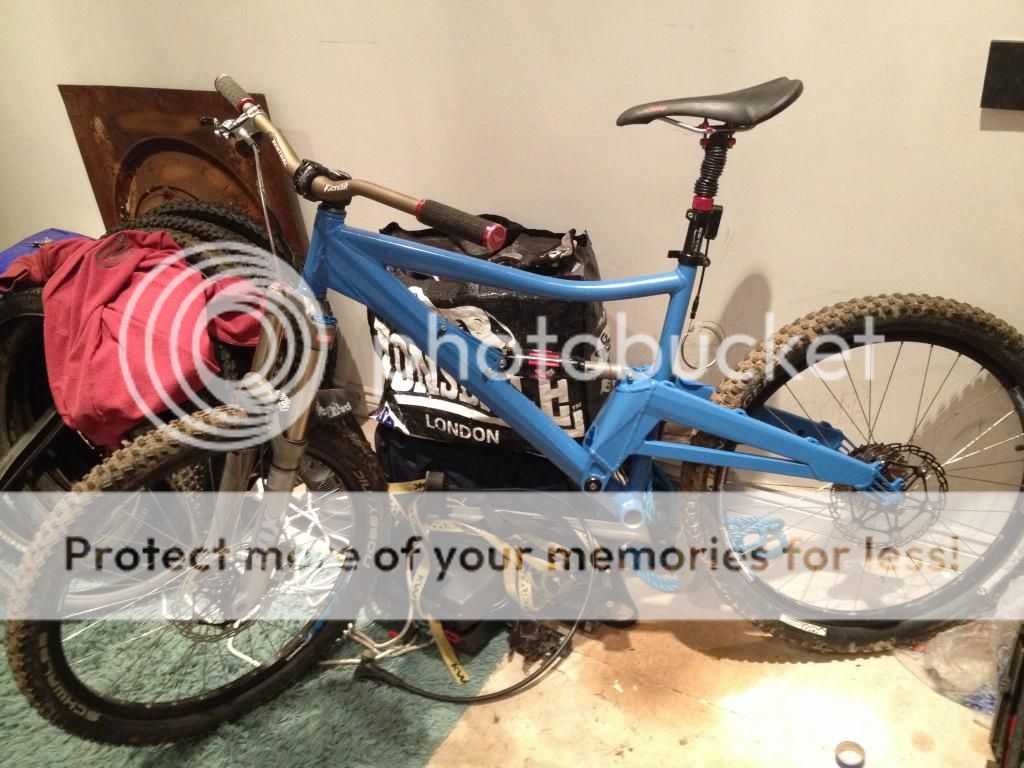 [/IMG]
Thanks guys
Ok now I'm done 'flashing it' ha ha. Only change coming is a shock change. The Monarch doesn't feel great. Hopefully an RP23 or similar will go on there.
Cheers,
[IMG] 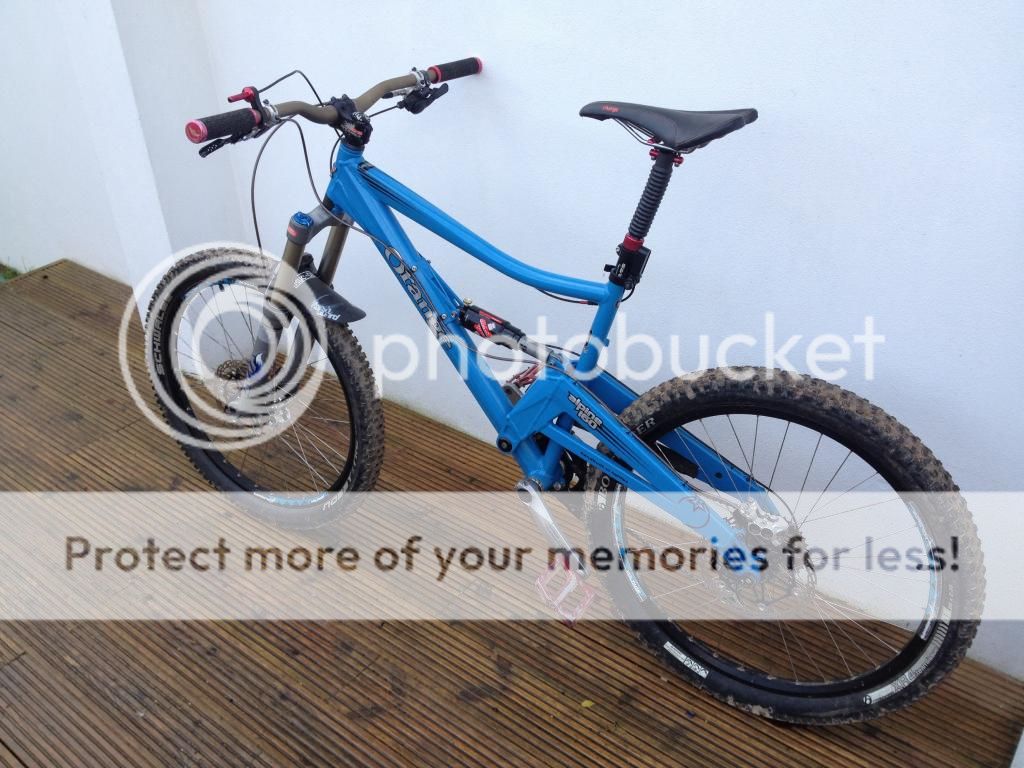 [/IMG]
[IMG] 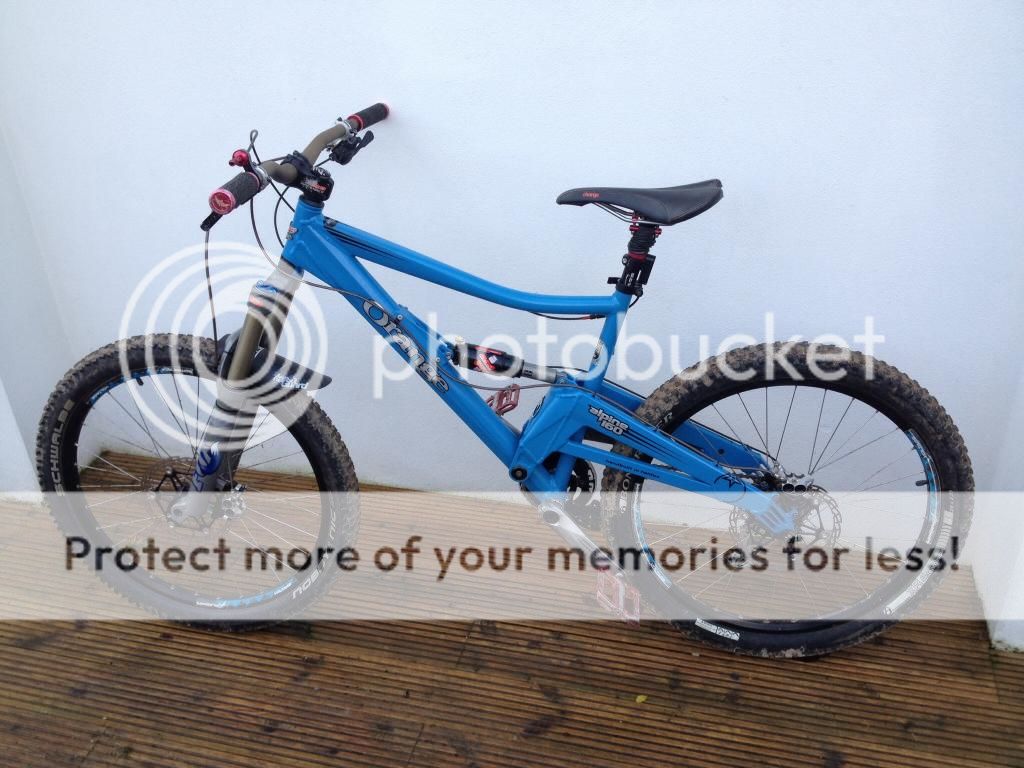 [/IMG]
Little change Of use on the HT badge. Stuck with the original 'orange' wings up front and modified this for the swing arm.
[IMG] 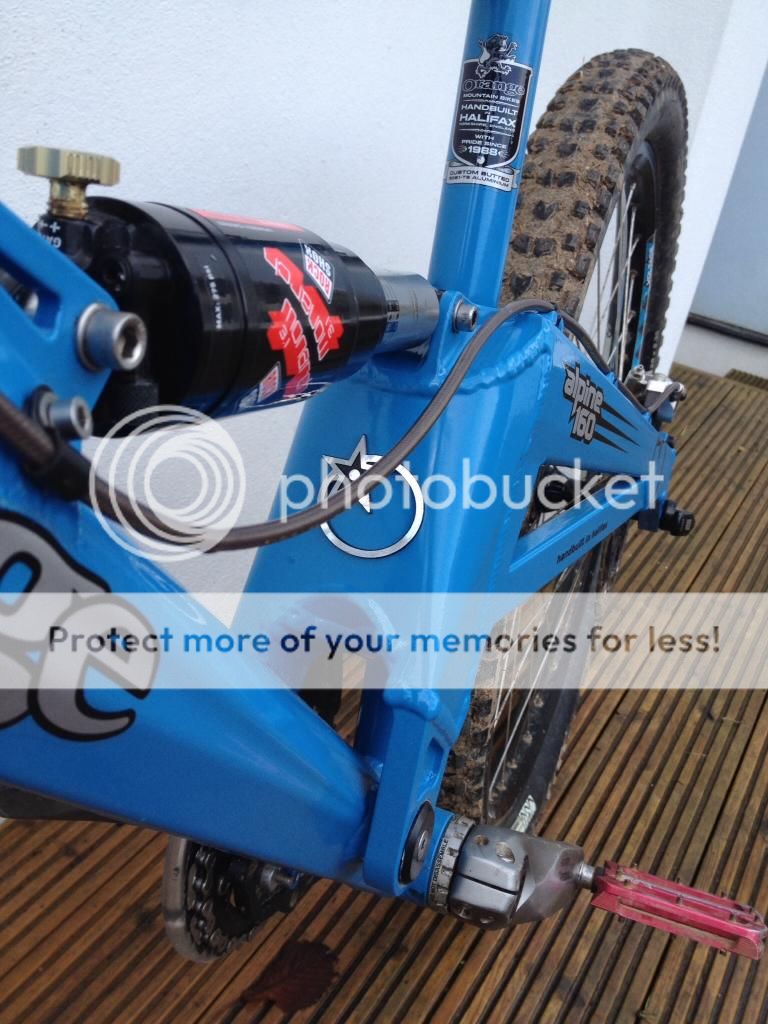 [/IMG]
Looks great mate!
My mate is building an alpine too
Jelous!
Looking good Jay, shame about the monarch. Love the alternative placement of the head tube badge!
off centre seat tube decal nice.
Good effort sir.
I've just bought a 2013 Fox CTD Factory series shock for it...hopefully that will sort it!
FYI- the decal on the seat tube is square, I think it's the angle of the pic!
Cheers!