So here we go, finally on with the build on Neil’s new handcycle! For those that aren’t keeping up, the demise of Neil’s old handcycle was the topic of our last Back From The Dead.
All caught up? On we go…
Now I have to admit I had a certain amount of trepidation going into the build, I’ve built loads of weird bikes before but never a handcycle. And after a night spent looking for any kind of instructions online proved fruitless I eventually resolved that I’d have to trust my instincts and just get on with it. Looking at the array of parts spread across the workshop floor it was difficult to visualise how it all wedged together in the shape of a bike!
Once I’d got my head around it’s non-traditional shape and reconciled myself with the fact that it’s basically an upside down, back to front mountain bike it started to make a lot more sense. Most of the build was nice and easy, but as with any build, especially on something out of the ordinary, there are always a few surprises.
Latest Singletrack Merch


Buying and wearing our sustainable merch is another great way to support Singletrack
First up was the seat (saddle? I reckon it’s more of a seat). Due to the distraction of the broken frame e hadn’t noticed this had also given up the ghost.

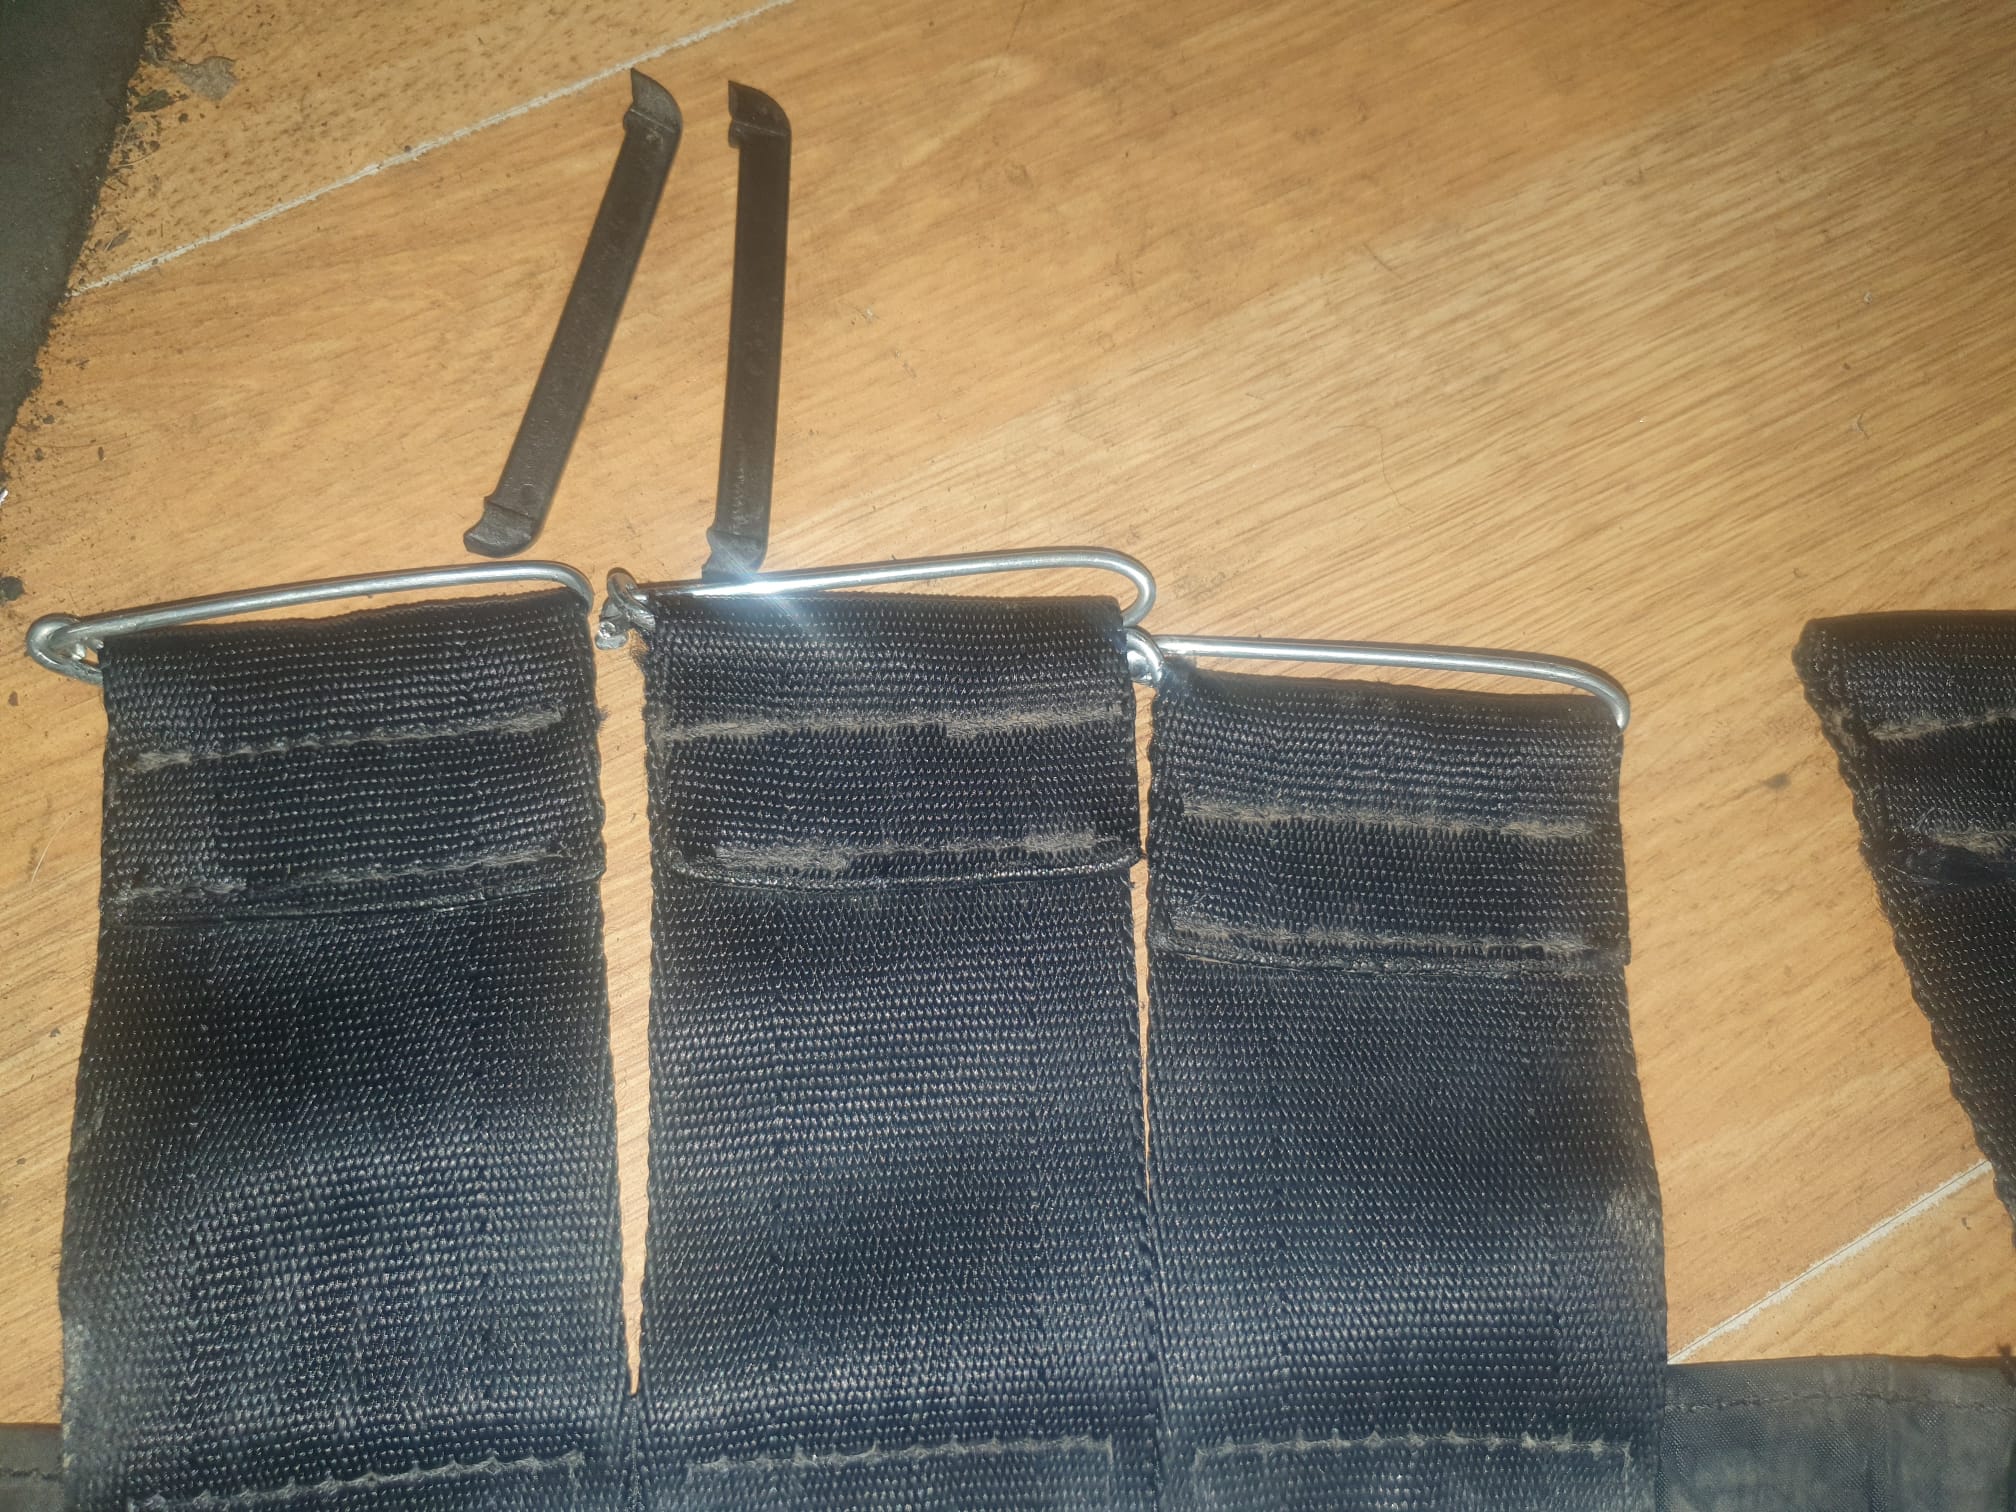
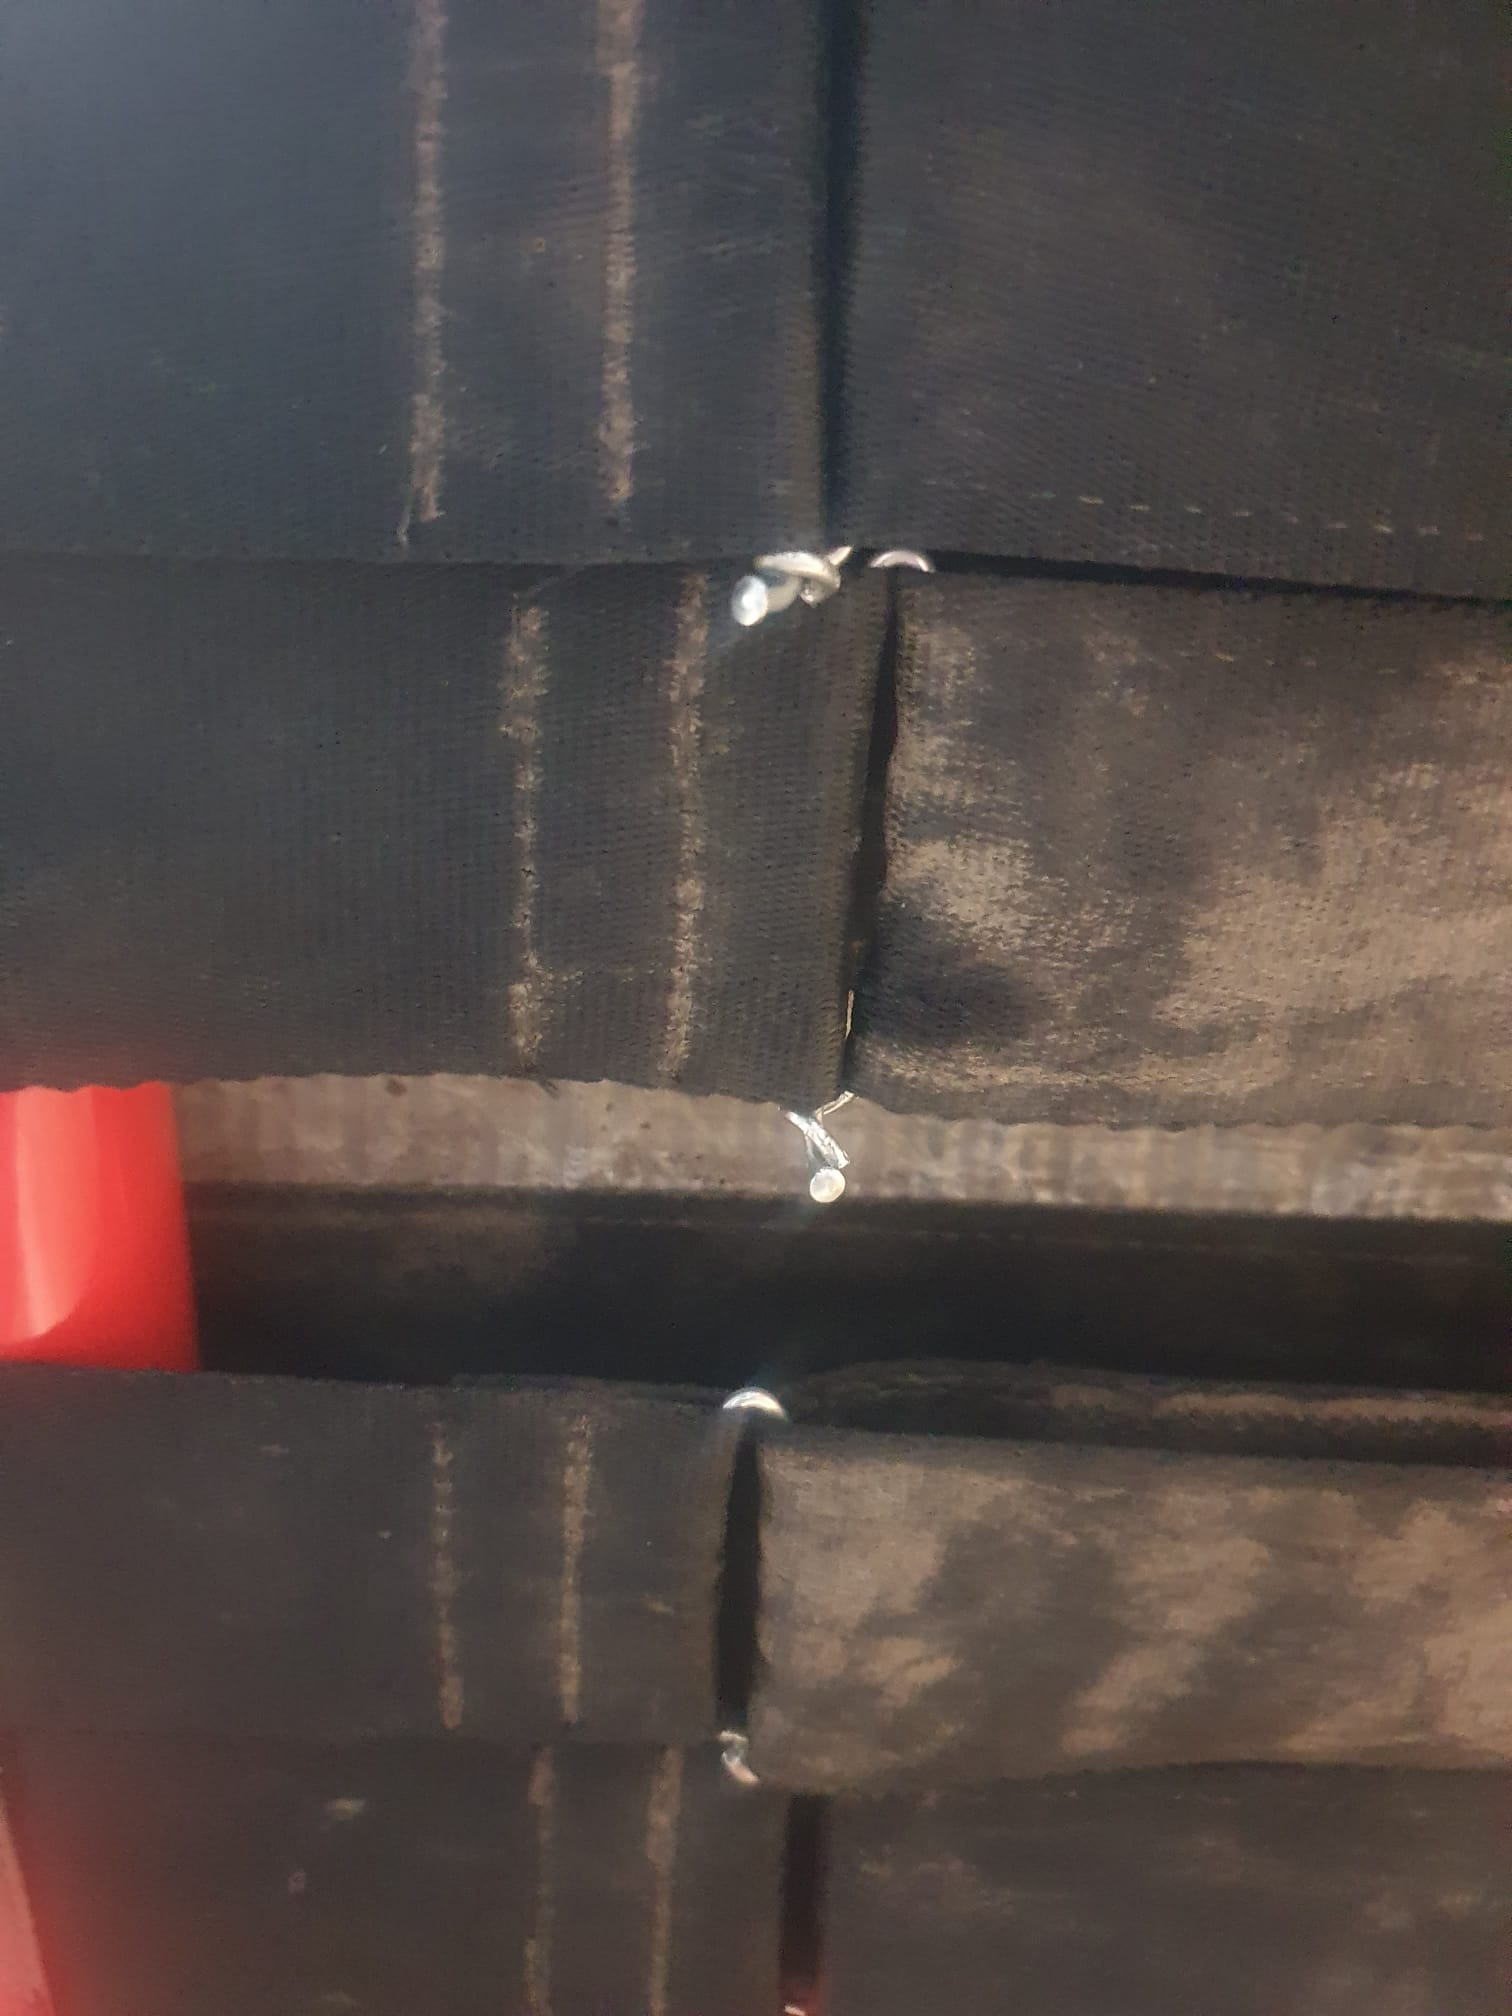
The seat is made up of a removable cushion that sits on top of a sheet of nylon. This sheet is secured with strips of what looks like velcro backed, car seat belt wrapped through little plastic buckles, most of which had given way when the old frame broke. This was a nightmare! The bike was part way built and Neil was supposed to be riding it at the weekend and we had no way of securing a seat. After a good few minutes of assorted swears and curses at the impossibility of getting new buckles in time for the weekend my MacGyver brain kicked in as I scoured the workshop for a solution.
The answer was SPOKES! Used for years in bike shops the world over as rudimentary hooks for all manner of things that need to be hung up. The humble spoke, I would even venture to say, is one of the most important little day savers that you can have rattling about in your toolbox. It can be a spike, it can be a hook, it can be a long, thin reachy thing for poking places other pokey things can’t get to, or in this case it can be a buckle.
The spokes made perfect replacement buckles possibly even stronger than the originals. I put some good force through them with a highly scientific, good sharp tug test and a single buckle stood up to my not inconsiderable bulk admirably. So surely a whole seat’s worth of them will provide more than enough support.
Problemo numero uno: solved!
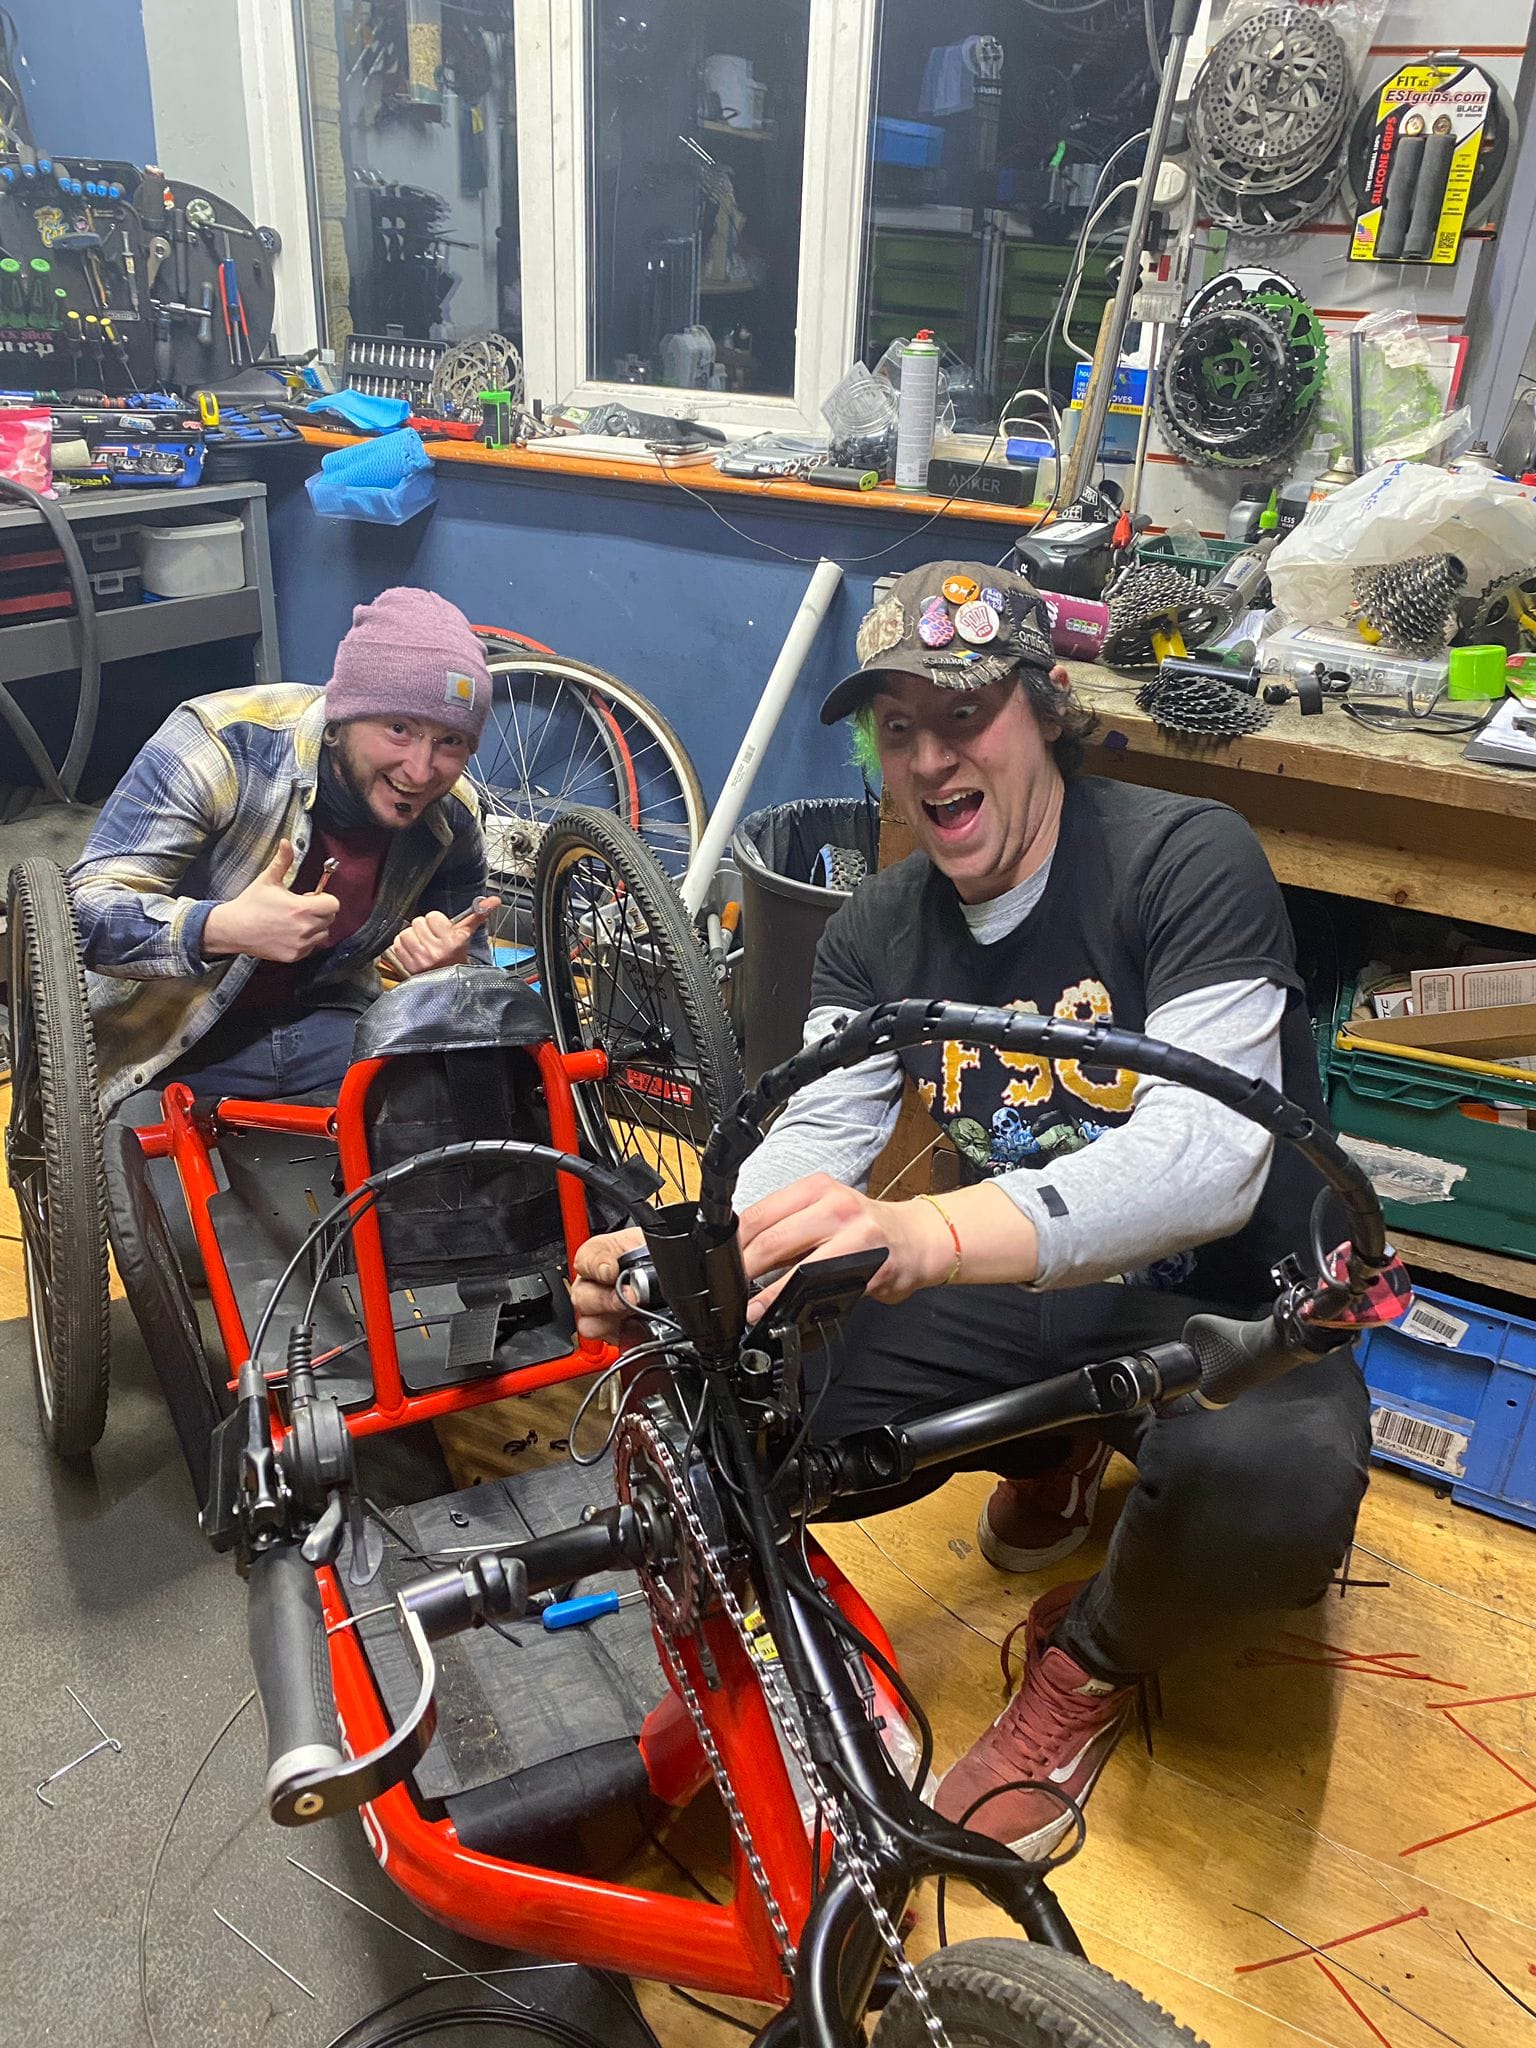
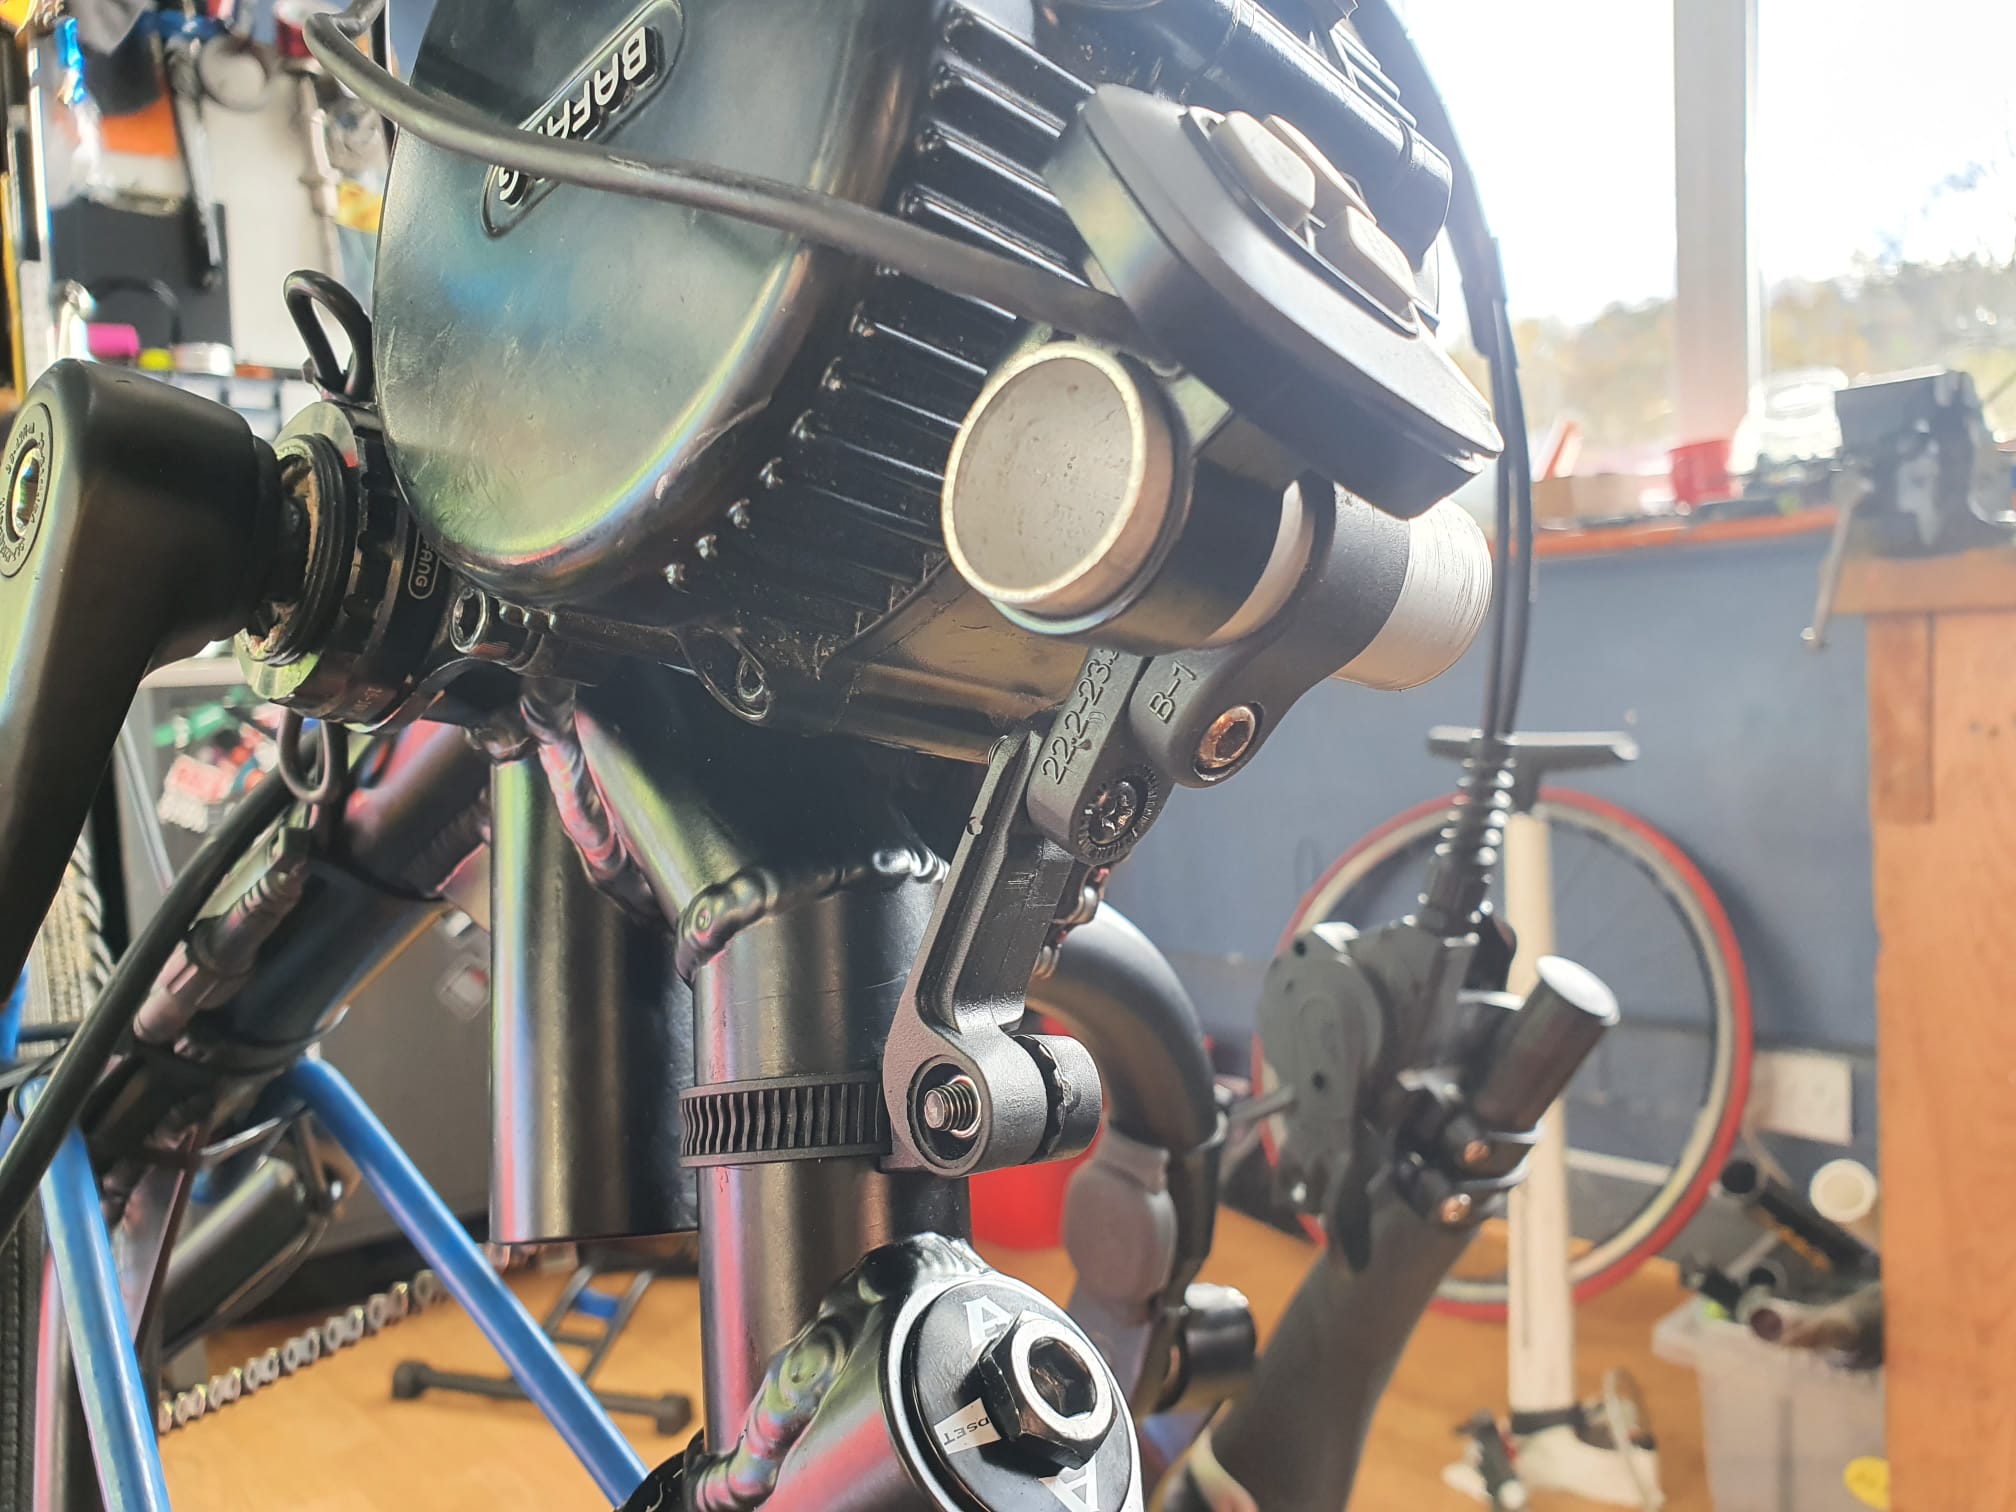
Next little problem was how to mount the controller for the motor. This had been fitted to Neil’s old handcycle with a simple sticky backed pad attaching it directly to the motor, but this not only looked ghetto but it was also subject to a fair amount of heat build up from the motor while riding, which I’m sure isn’t ideal for tiny electronics.
This one took a lot less thinking than the spoke buckles as I have a giant box full of reflectors and their various mounts in the workshop. Teaming a few of these with an off-cut from a pair of handlebars meant that in no time at all Neil’s control switch had its own bespoke mounting in a much more user friendly and less damage prone position in case of a crash.
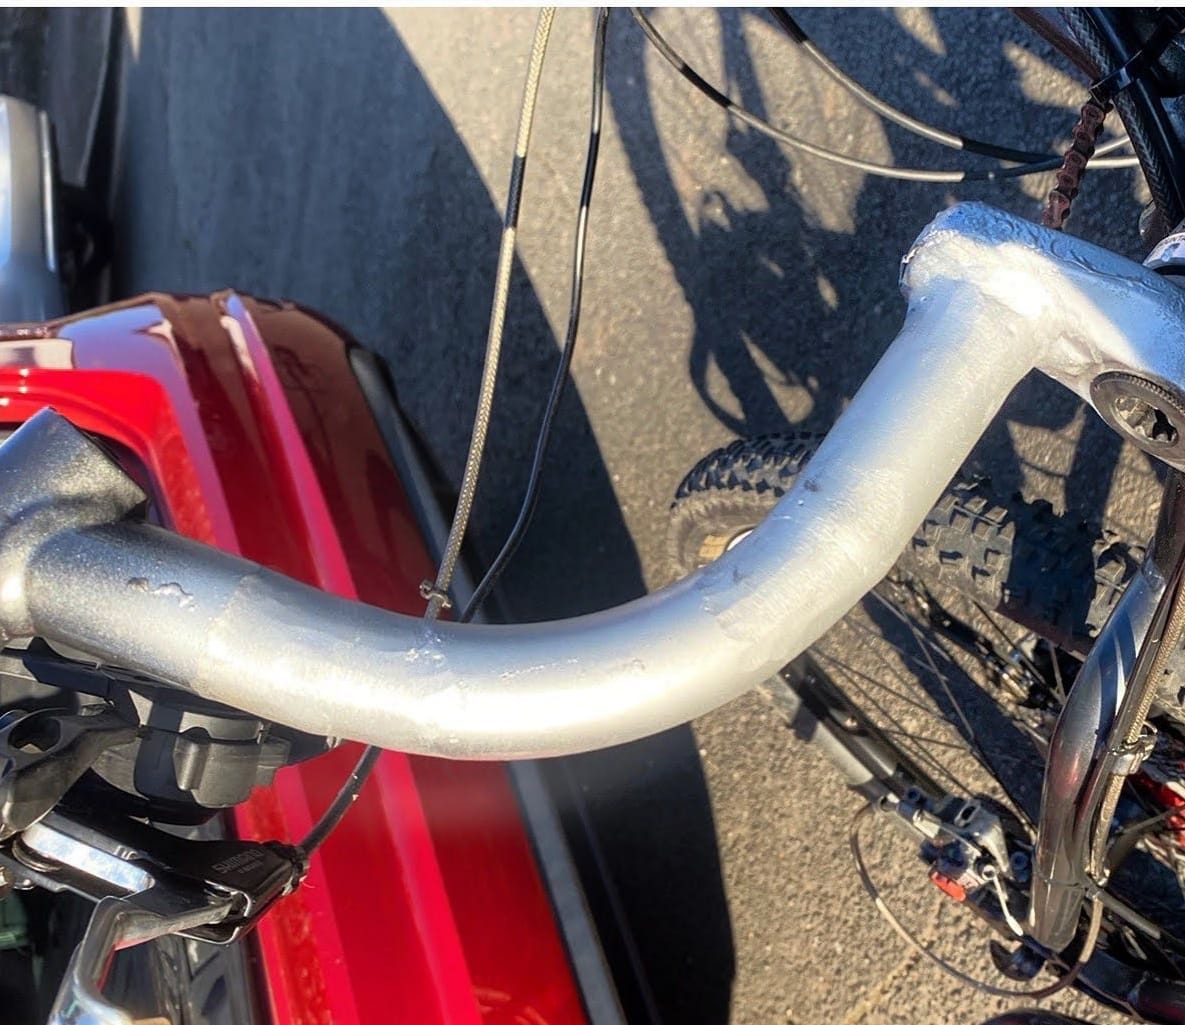
Next problem was droopy cable syndrome! Due to the handlebars also being the crankset on a handcycle, there’s an unholy amount of cable needed to be able to make nice friction free circles as you pedal. The last thing you want is the gears shifting unprompted as you pedal or steer and so the only solution is two big unwieldy loops of cable sticking out in front of the rider.
Anyone who knows me knows that cable management on bikes is one of my biggest cycling bugbears, and while in recent years bike companies have got wayyyy better at it I’ve still seen far too many frames rubbed to within (or sometimes past) an inch of their lives by some designer treating it as an afterthought.
On Neil’s bike the cable coming from the right hand crank had both the brake and gear shifter attached and fed through some of that coiled plastic cable “tidy” stuff that you use behind a computer. The gear cable outer provided enough stiffness to ensure a nice smooth loop that won’t drop down onto the drivetrain.
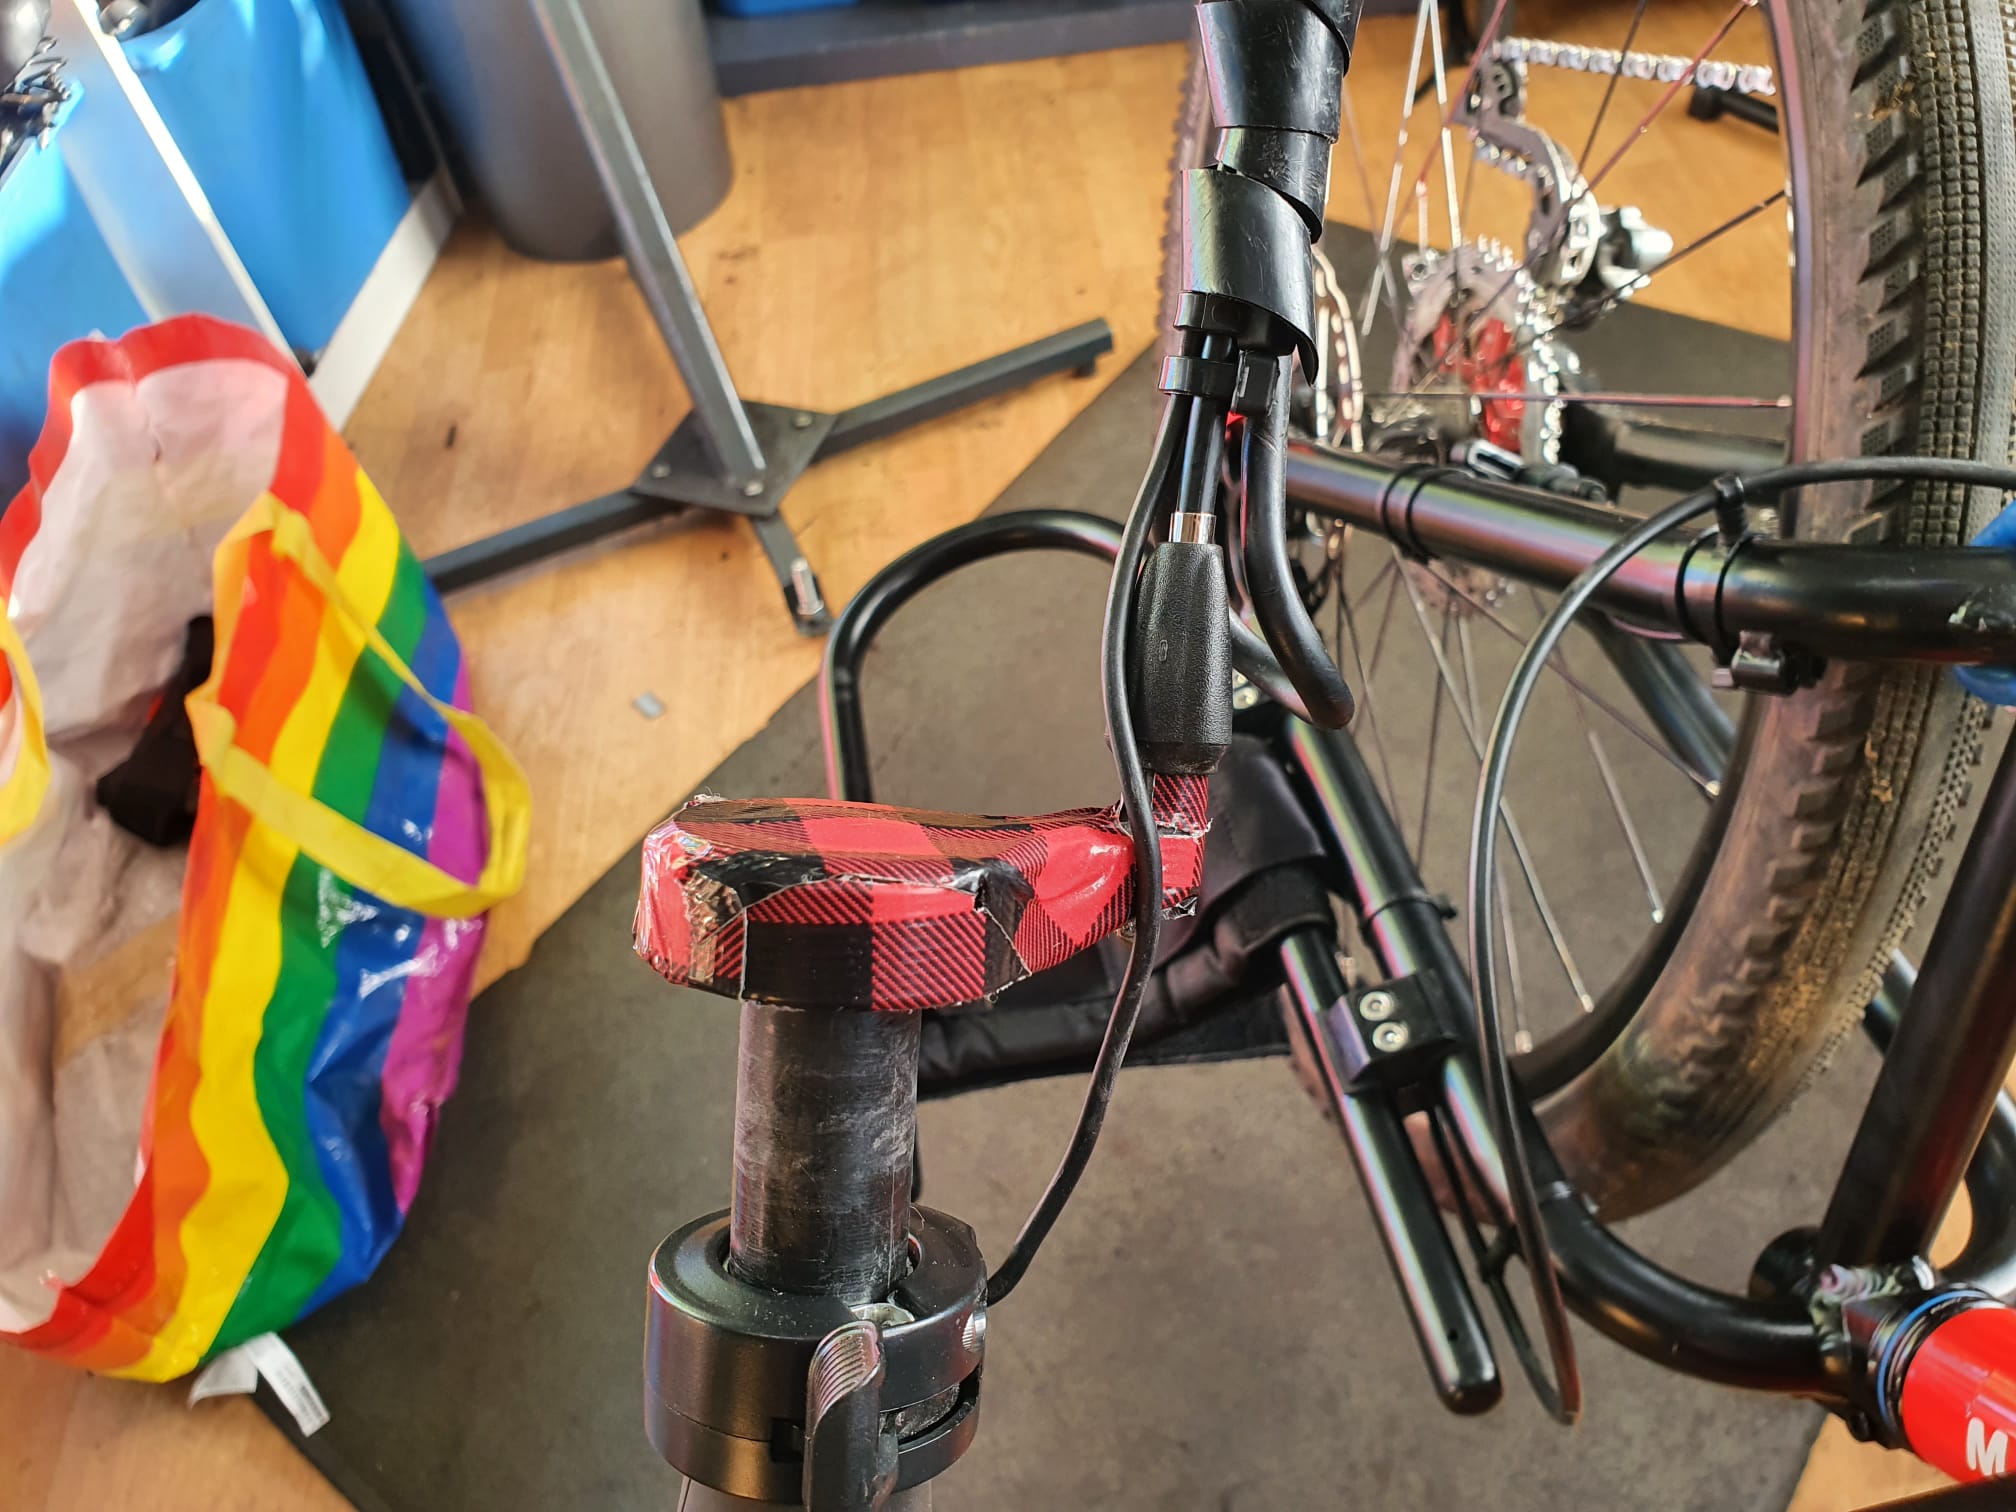
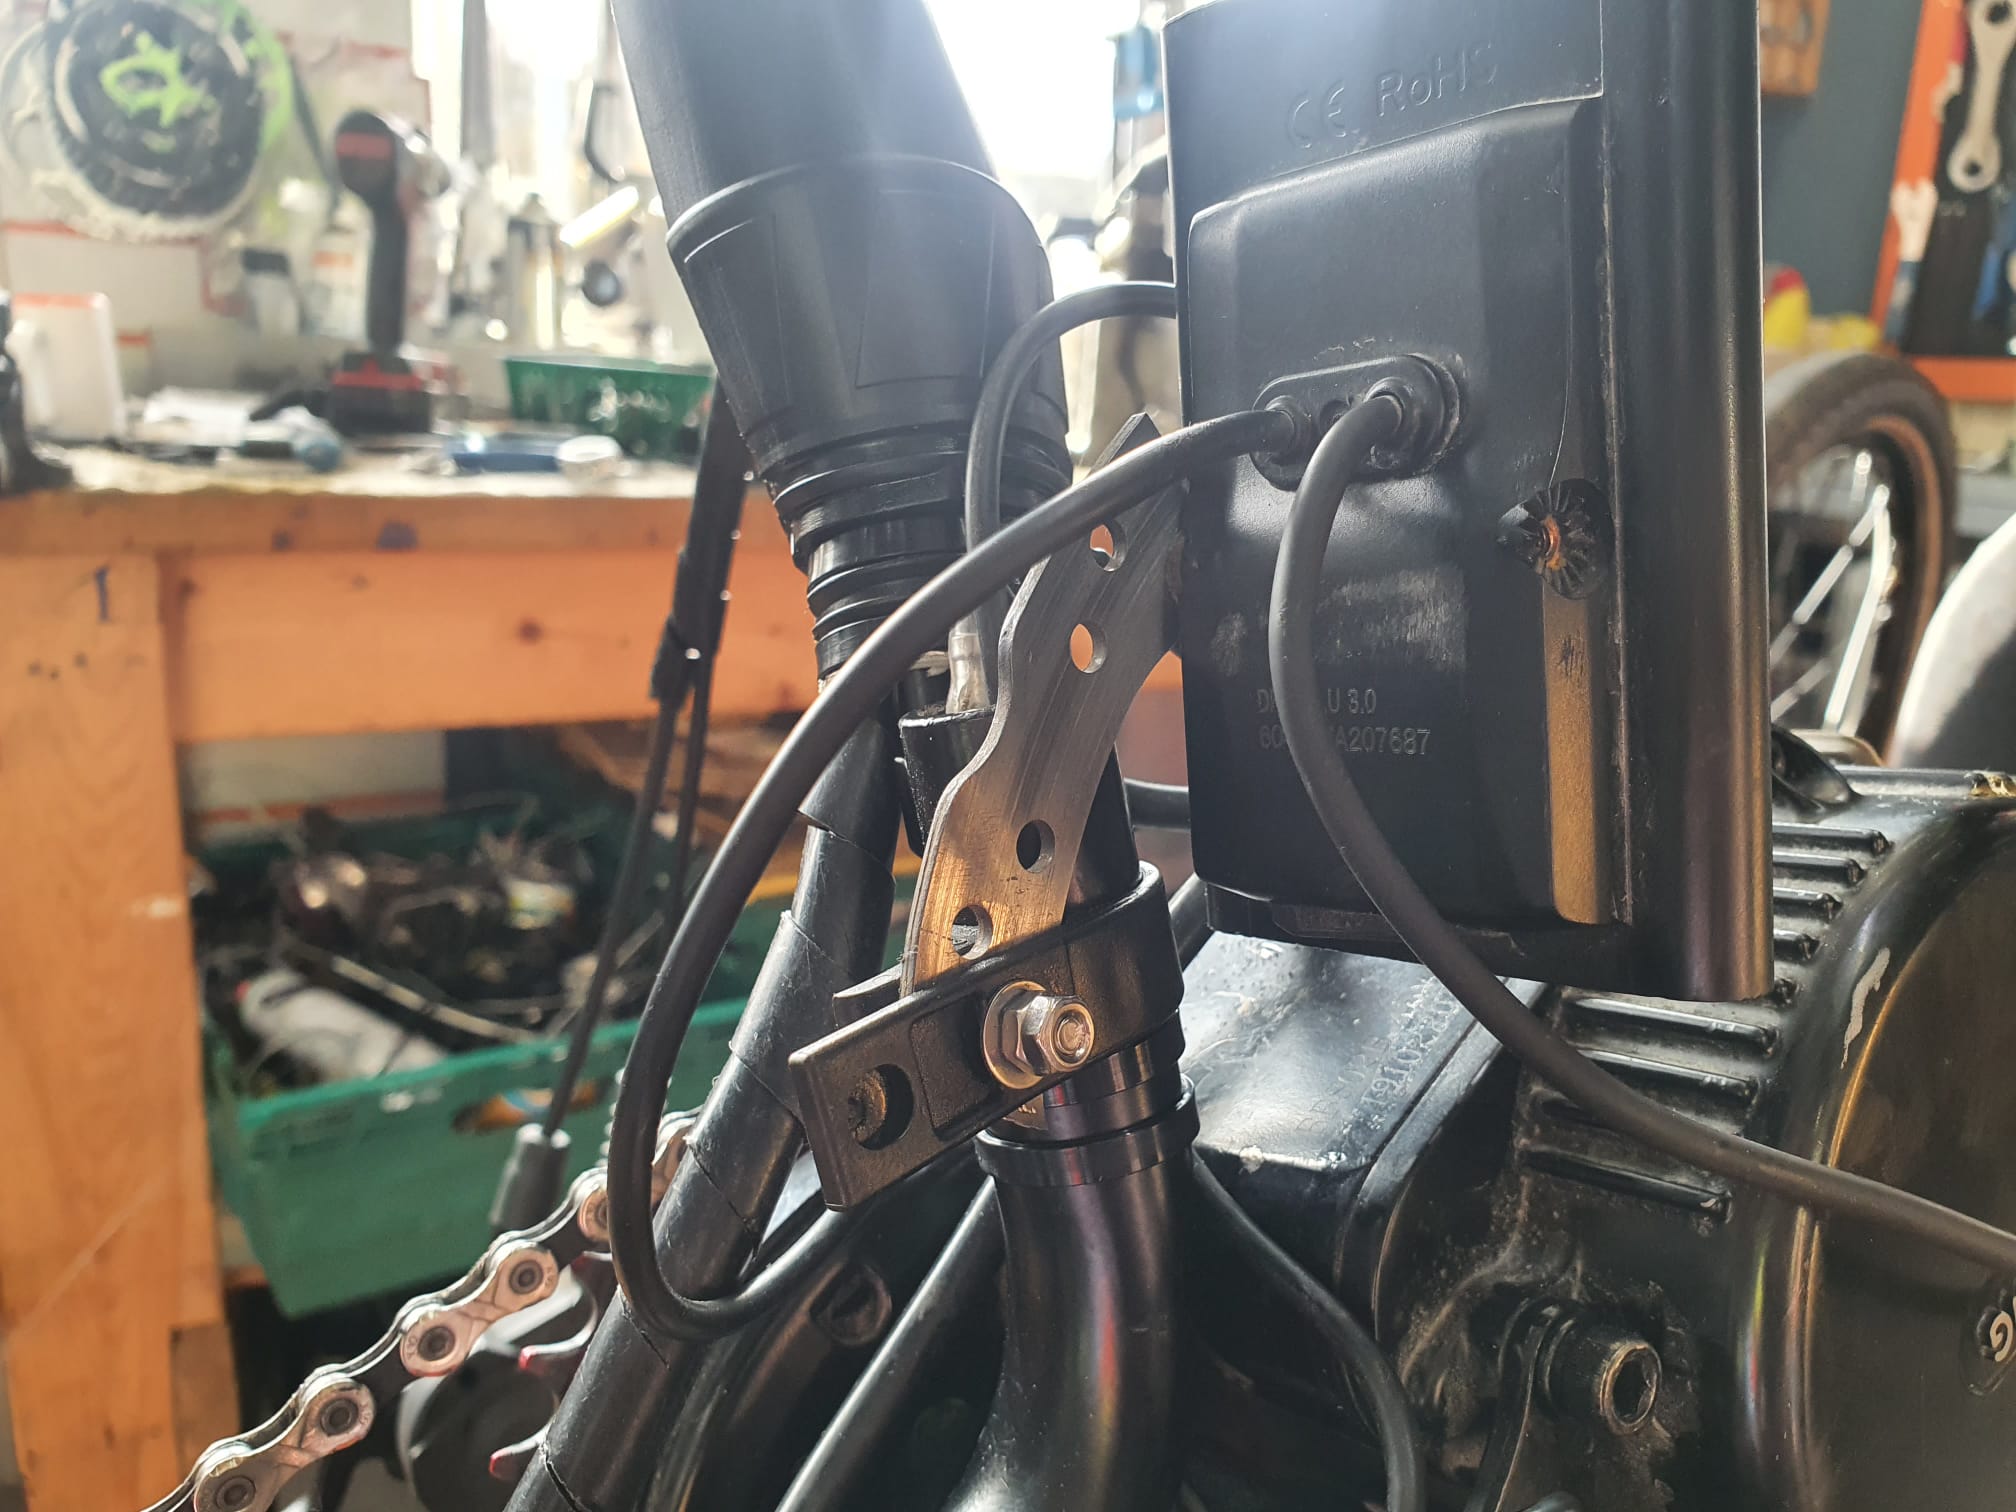
However on the left hand side was the throttle lever for the electric motor and its floppy electrical cable was going to need a little extra support to make sure it stayed tangle free. An old grip shift shifter housing, tastefully decorated in a fetching tartan duct tape (to give Neil a taste of home wherever he goes) fitted with a length of gear cable and outer made a fitting support and added a little more protection to the delicate throttle cable again wrapped in that horrible computer cable management coil stuff… I’ll talk about my better solution to this on Neil’s next bike in a minute!
The final little hack needed for the cables was to fix where the cables attach to the fork (which is like where they attach to the frame on a normal bike but subject to a lot more bending and movement). The cables were bending out from their stops at almost right angles when the bike was stationary but if we tied them together then they kinked when pedalling. We needed some way of supporting the cables without restraining them too much: the solution was a funnel. Made from an old mineral oil bottle with the bottom sliced off and attached with a couple of cable ties, sometimes the simple answer is all you need!
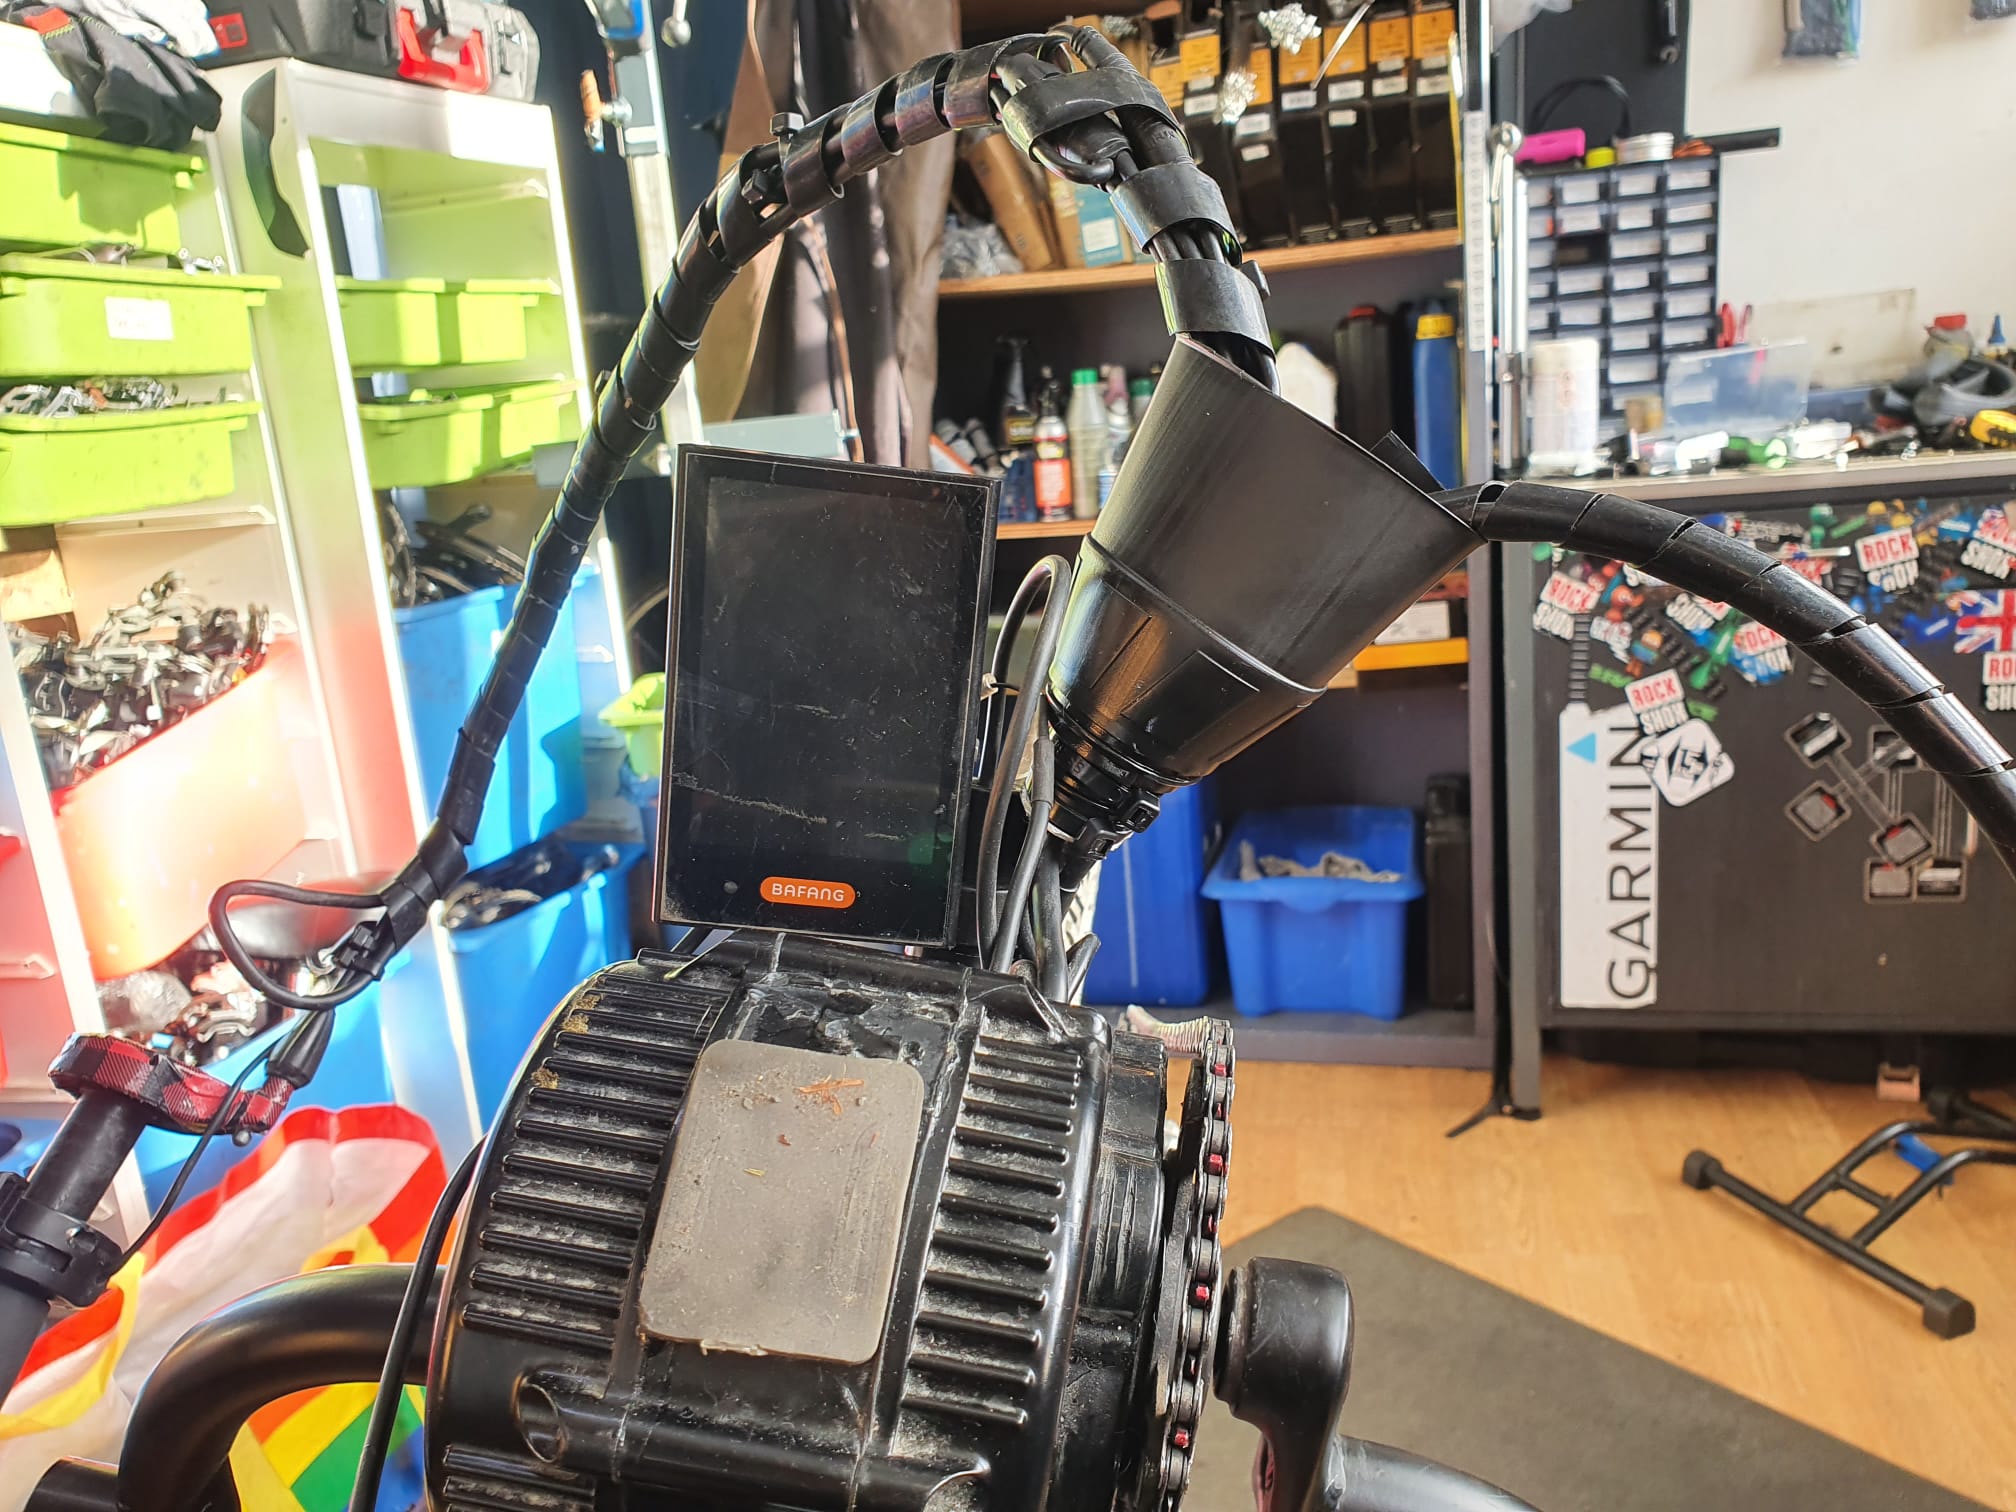
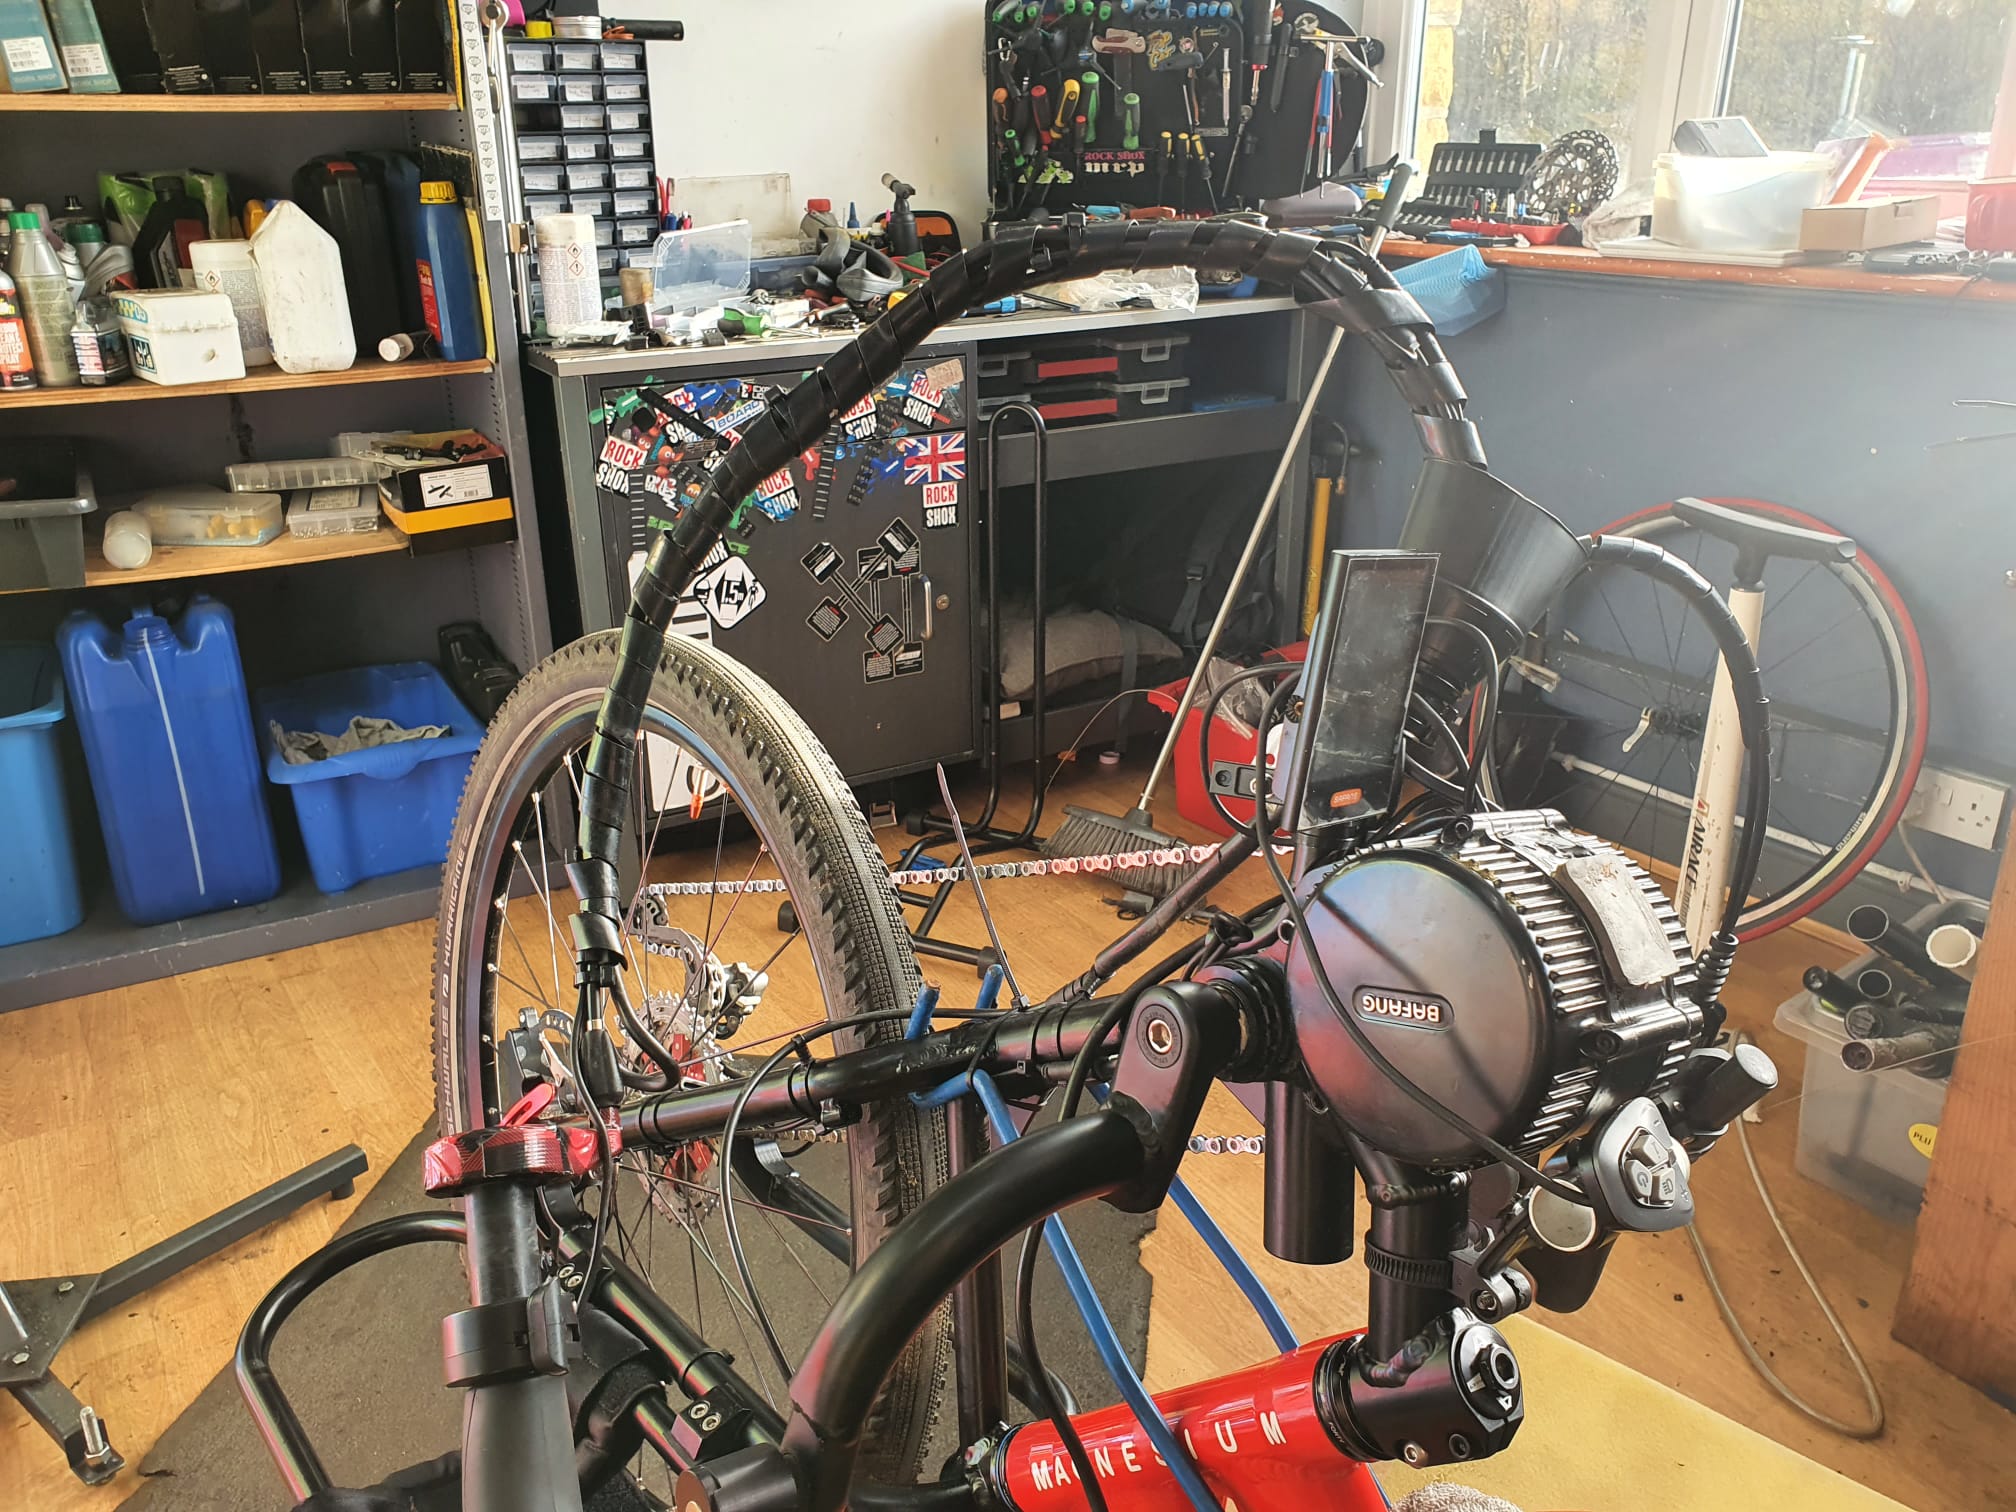
Final hack for this one was to mount the display for the motor. For this, once again I called on the reflector mount box, but nothing in there quite did the trick, I did however have a slice of an old disc brake rotor that I’d been using for another hack that in combination with a piece out of the reflector box made an ideal mount for the display.
So that’s it for Neil’s original handcycle, Back From The Dead!
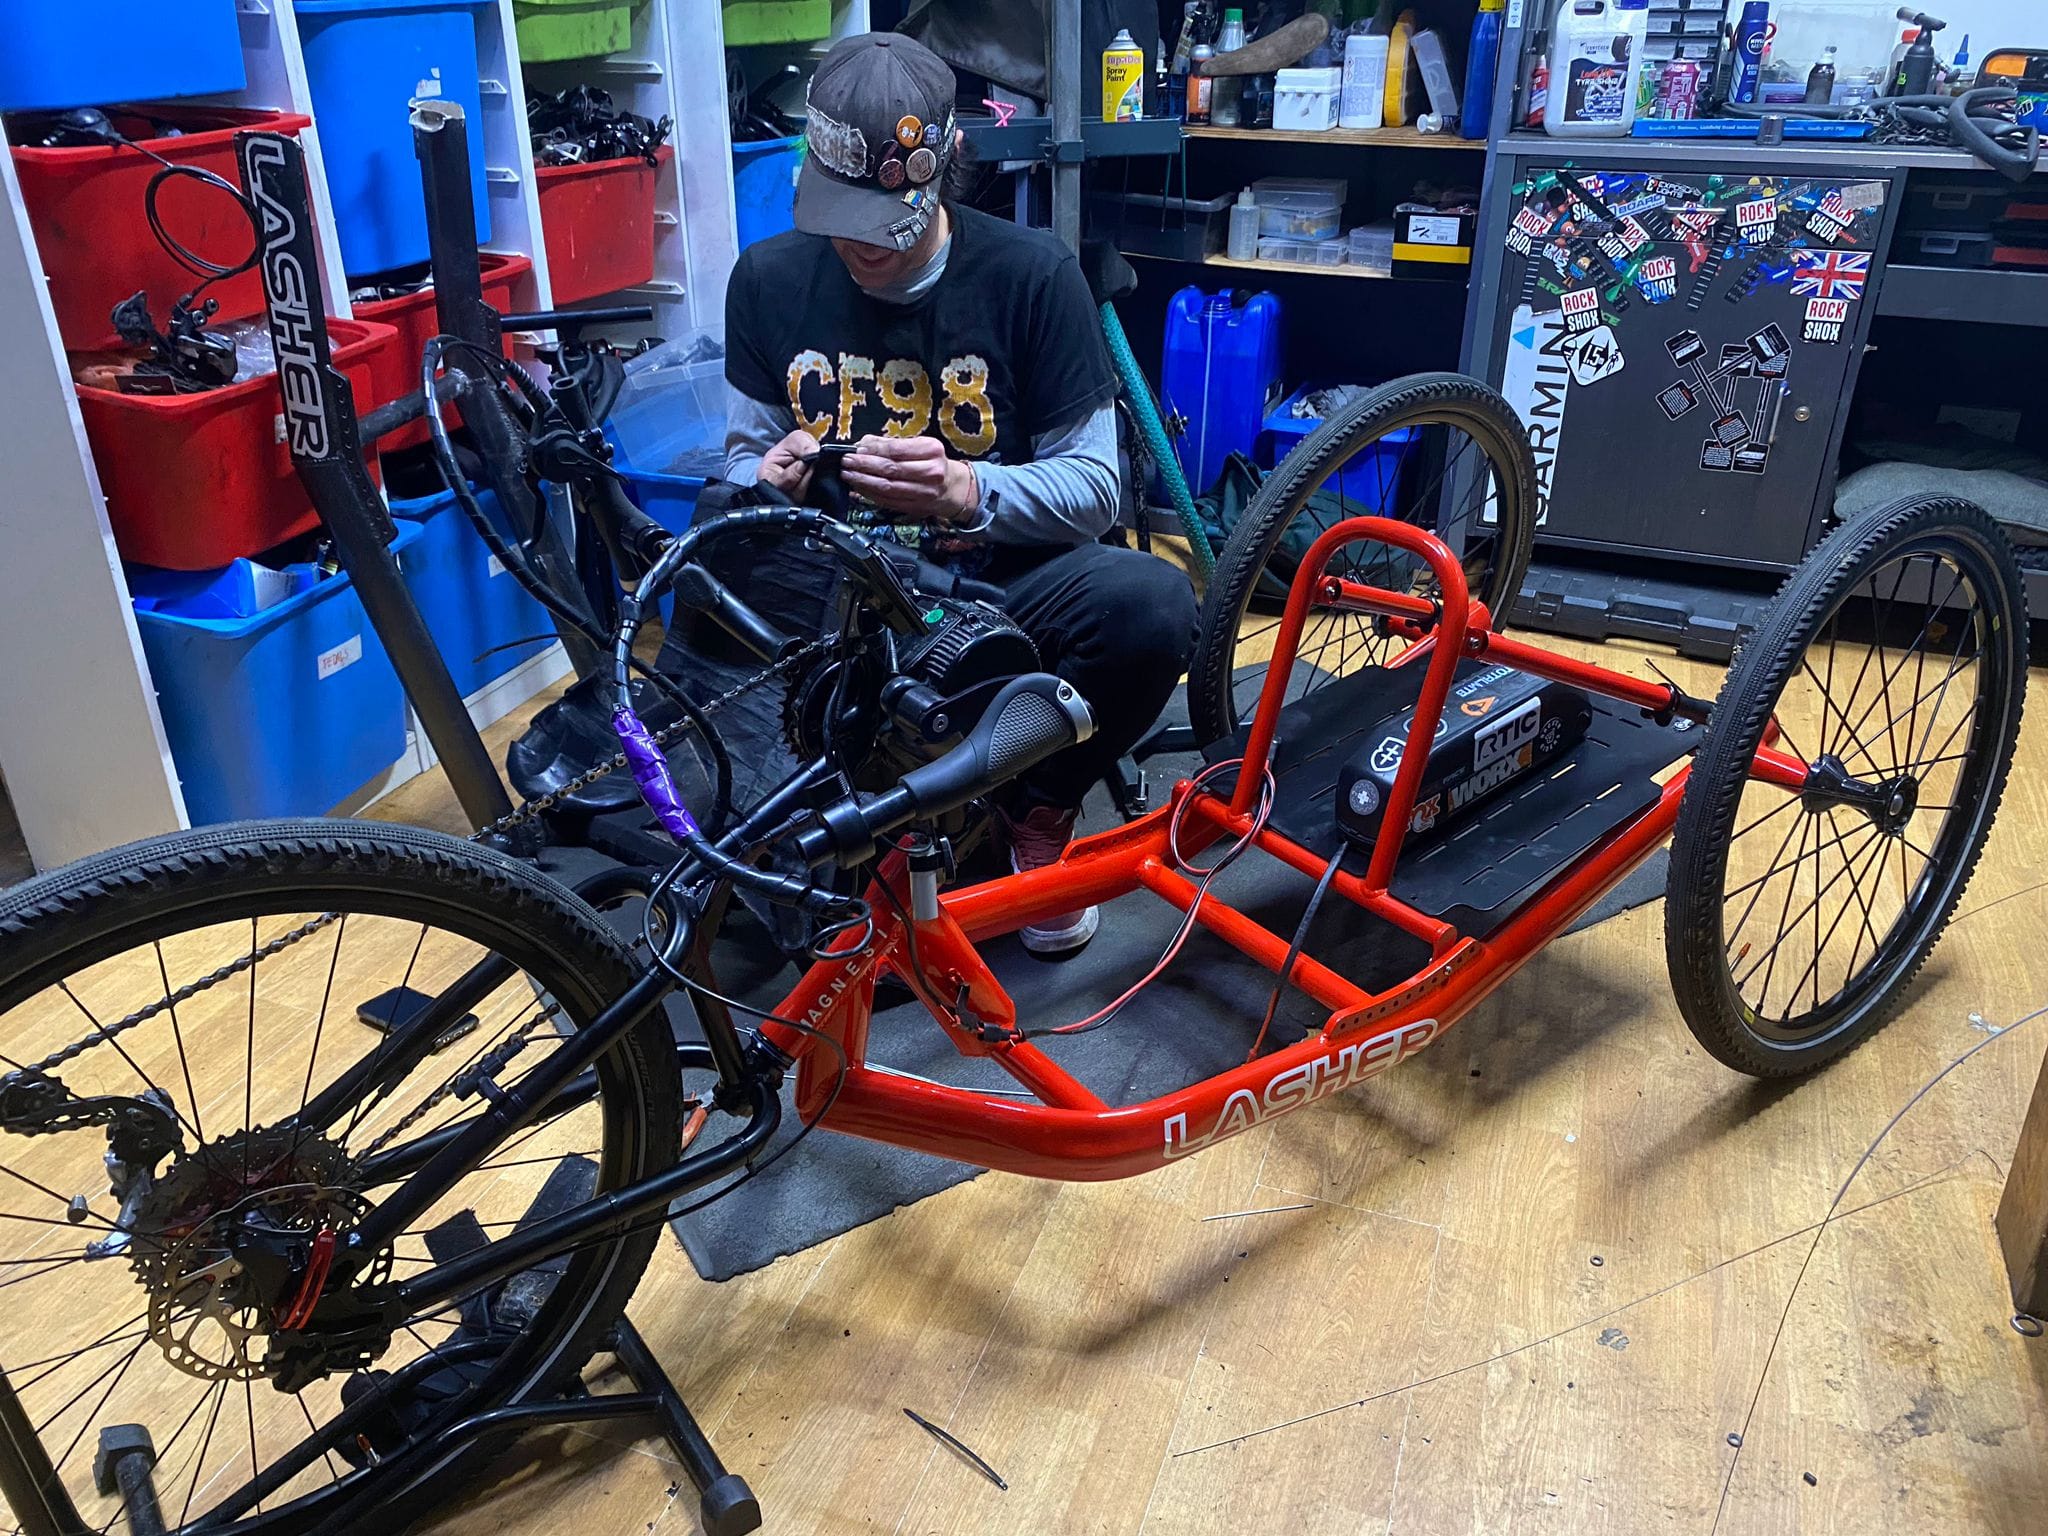
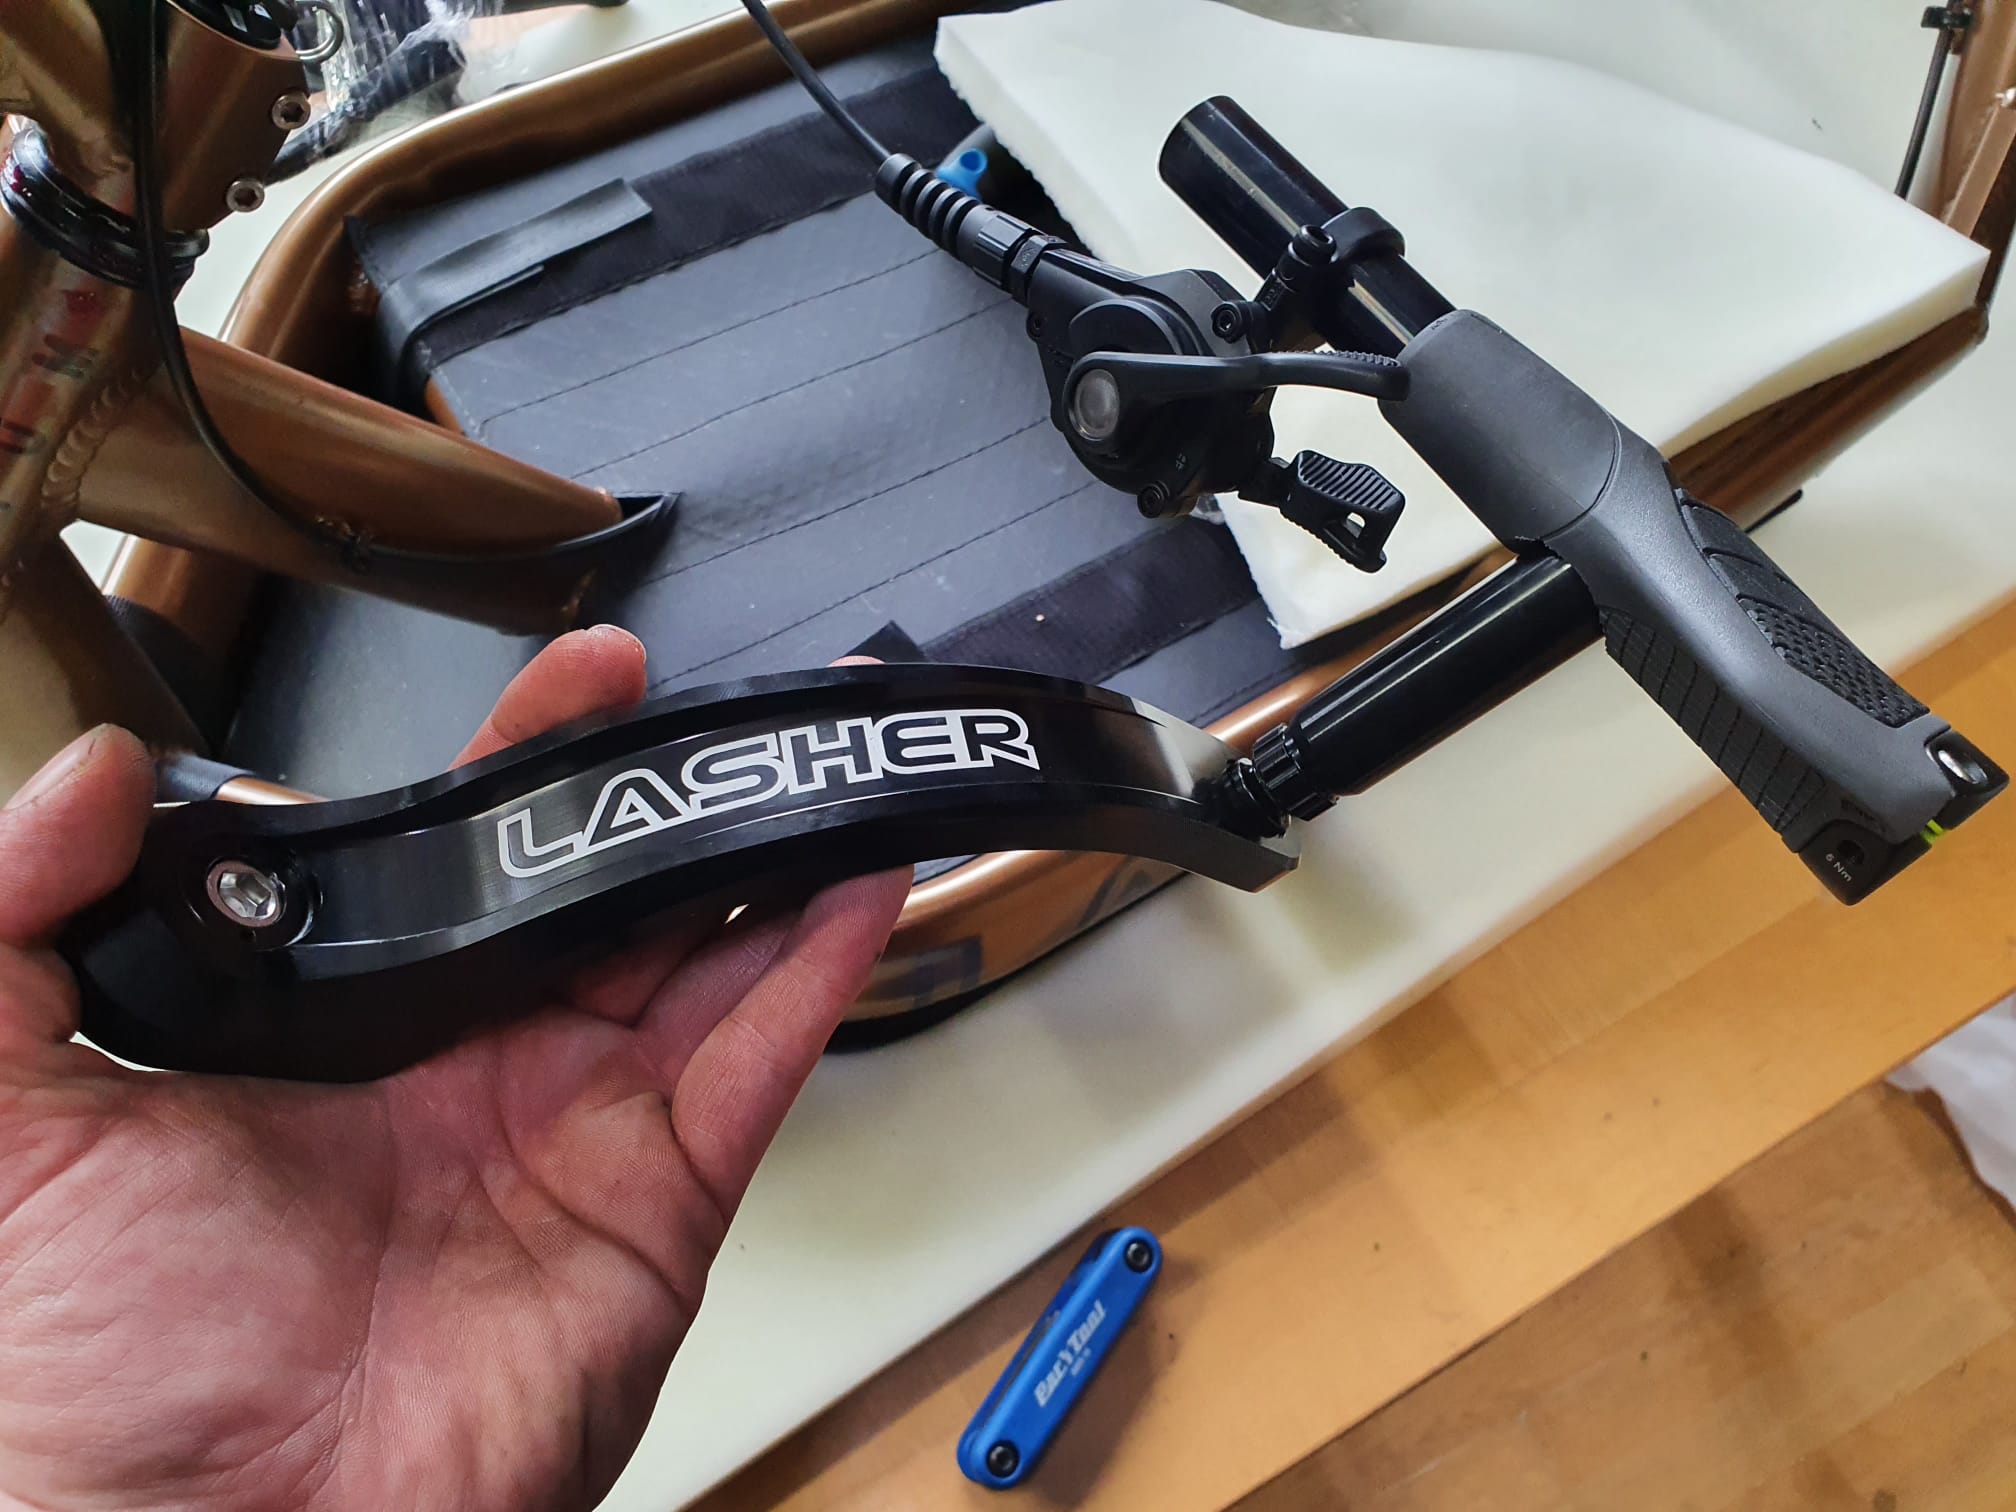
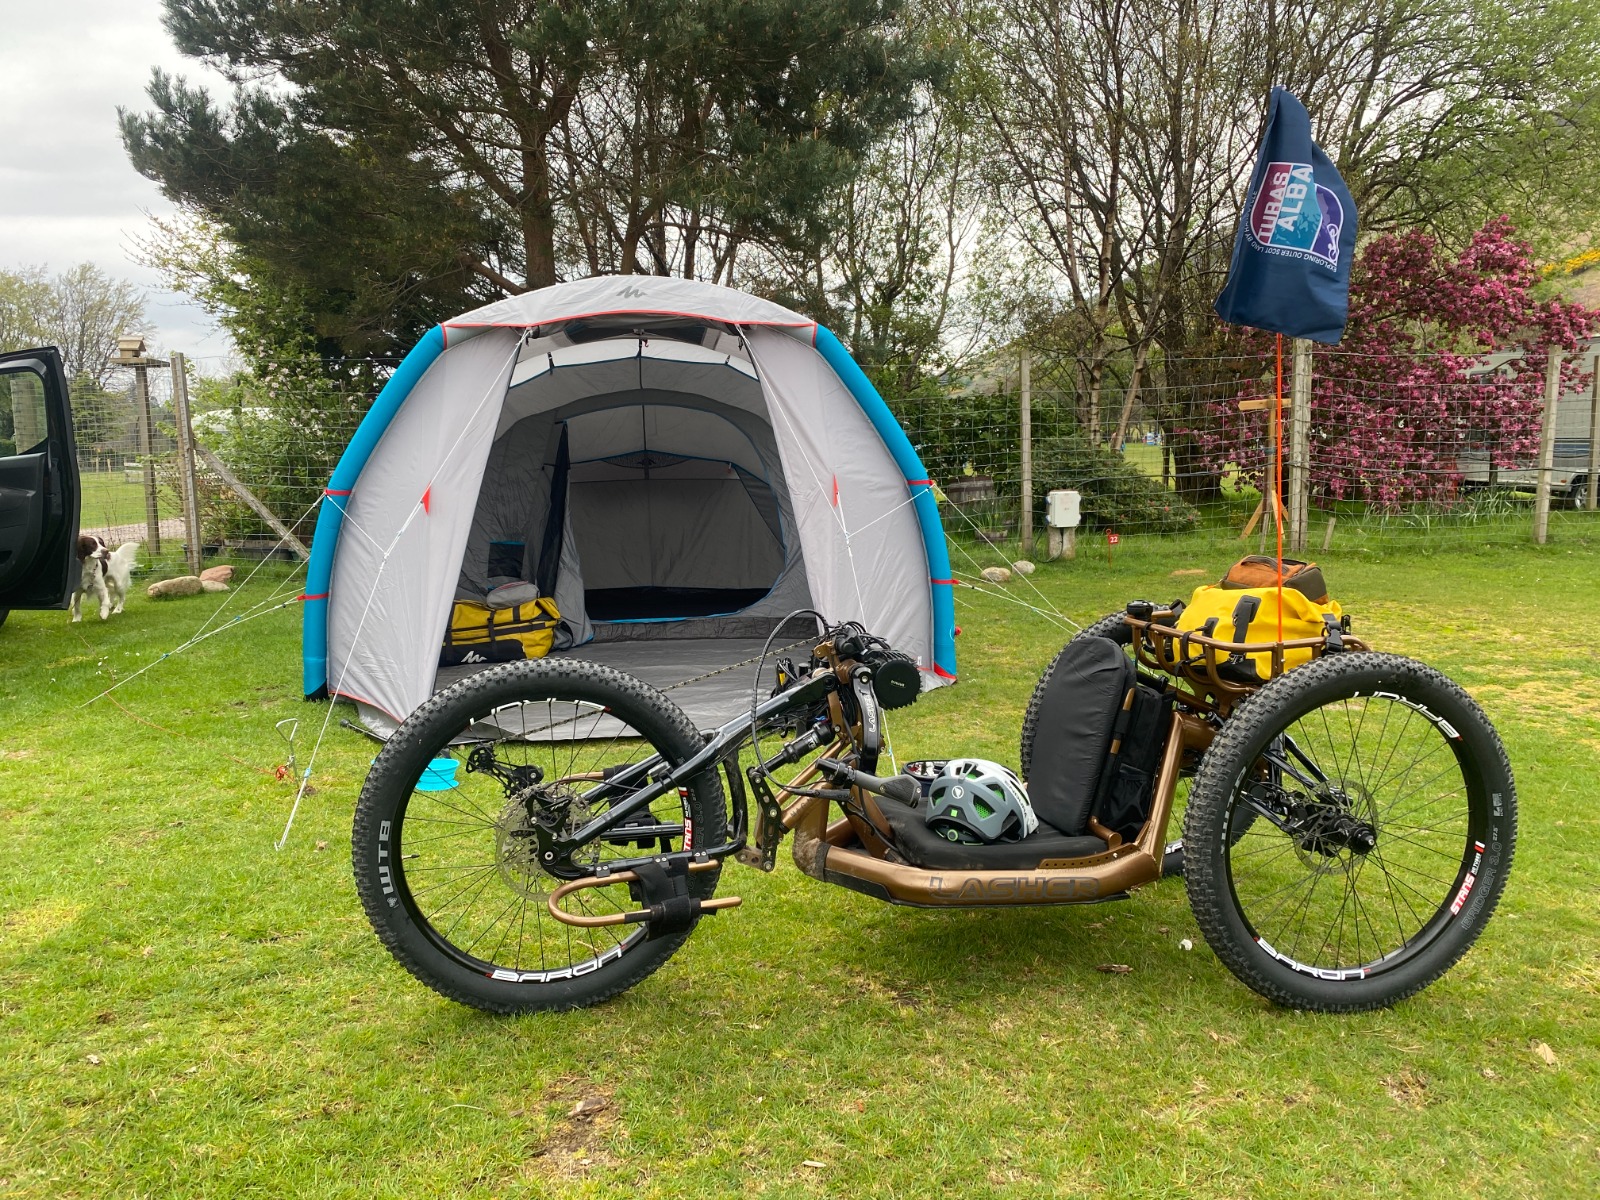
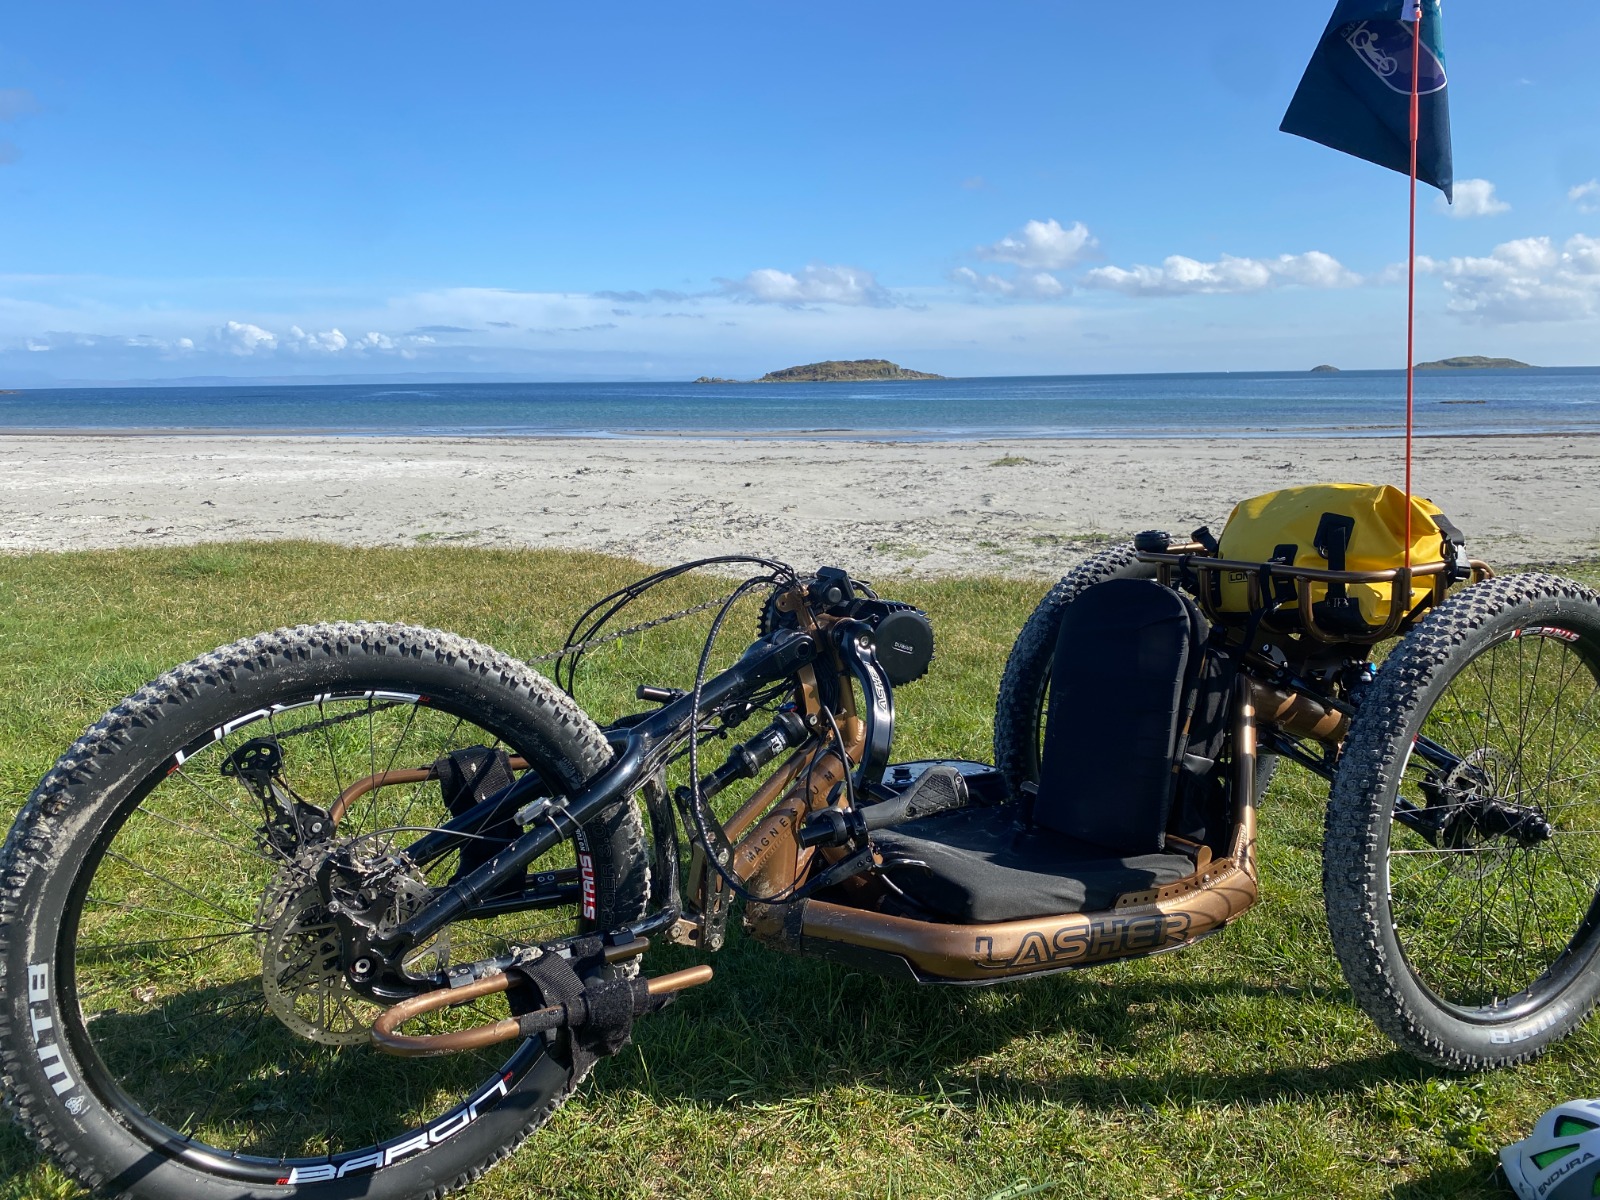
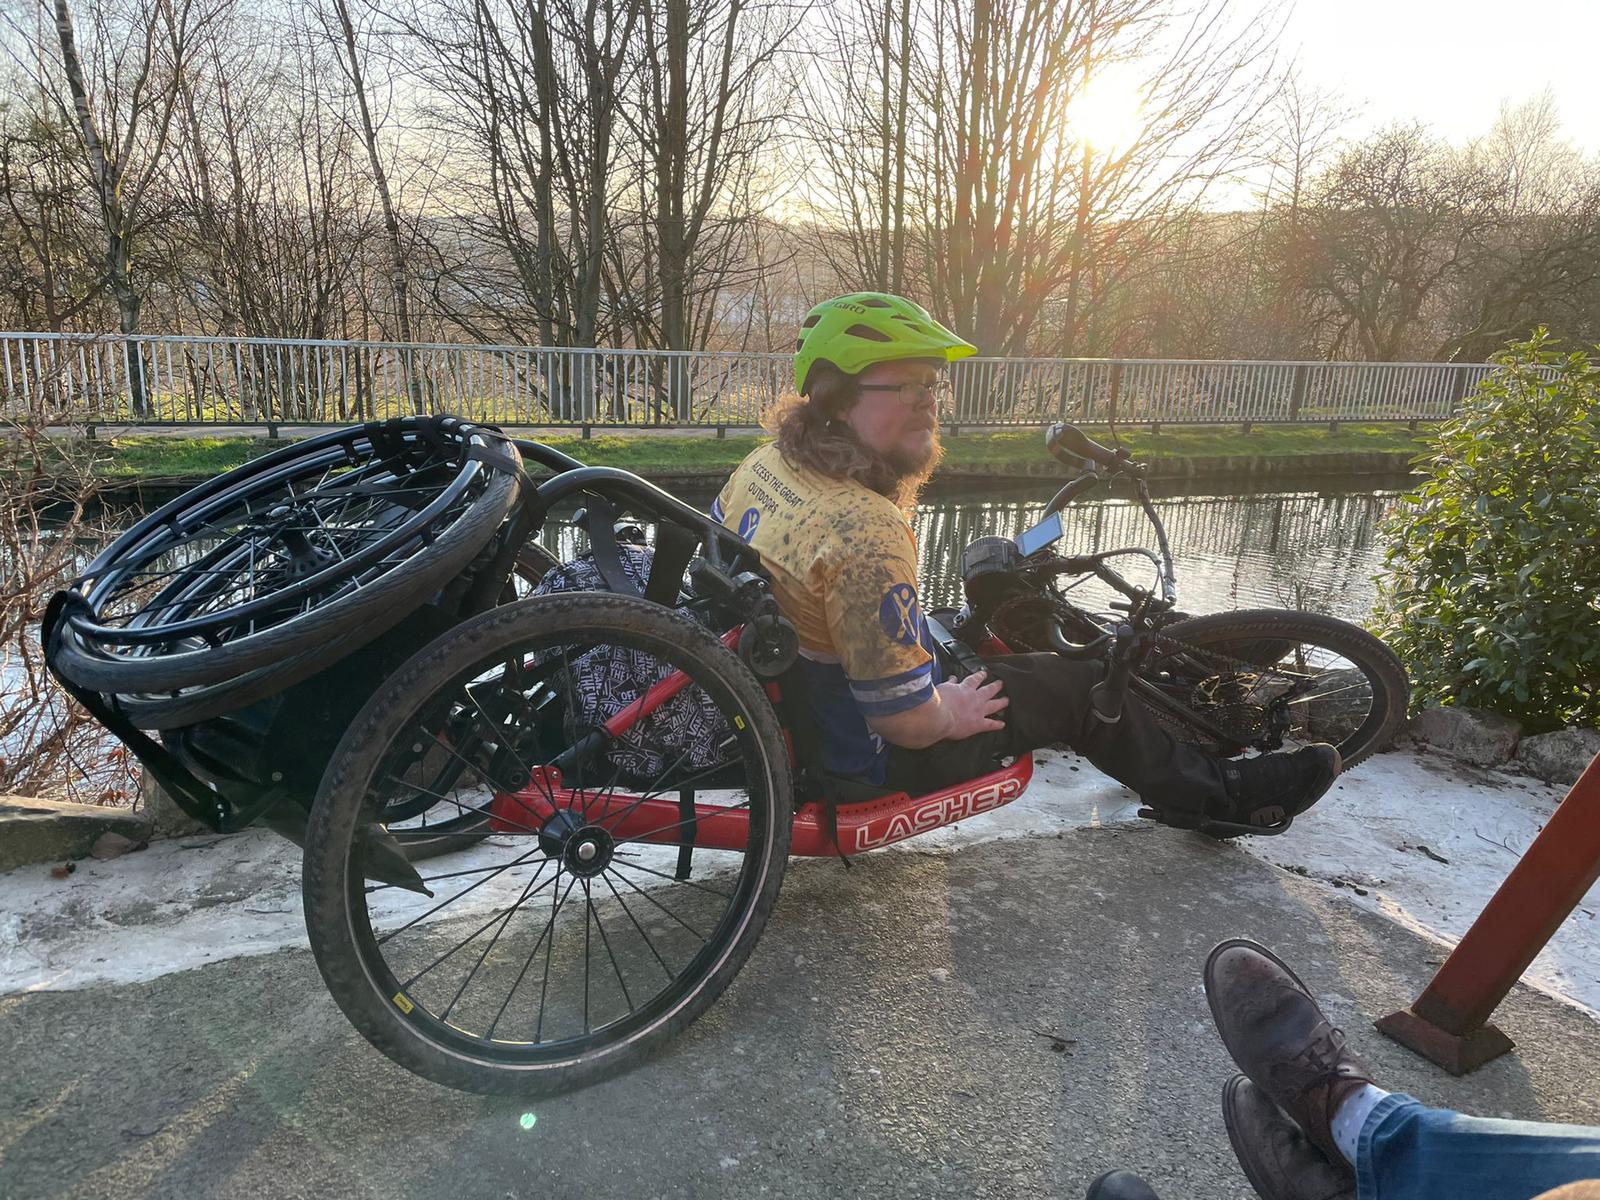
Before his original frame broke Neil had already put an order in for something a bit special, and something that would potentially make his older handcycle redundant. Enter stage left, The Lasher ATH-FS! This is the first one to make its way over to these shores and oh boy is it something special!

It’s like the equivalent of watching the evolution of mountain bikes from the rigid, canti equipped boneshakers of the past to the most advanced modern day, multi link, disc equipped, full suspension mountain bike you can imagine. Except instead of taking place over nearly fifty years it’s taken place over two models of bike! This thing has it all!
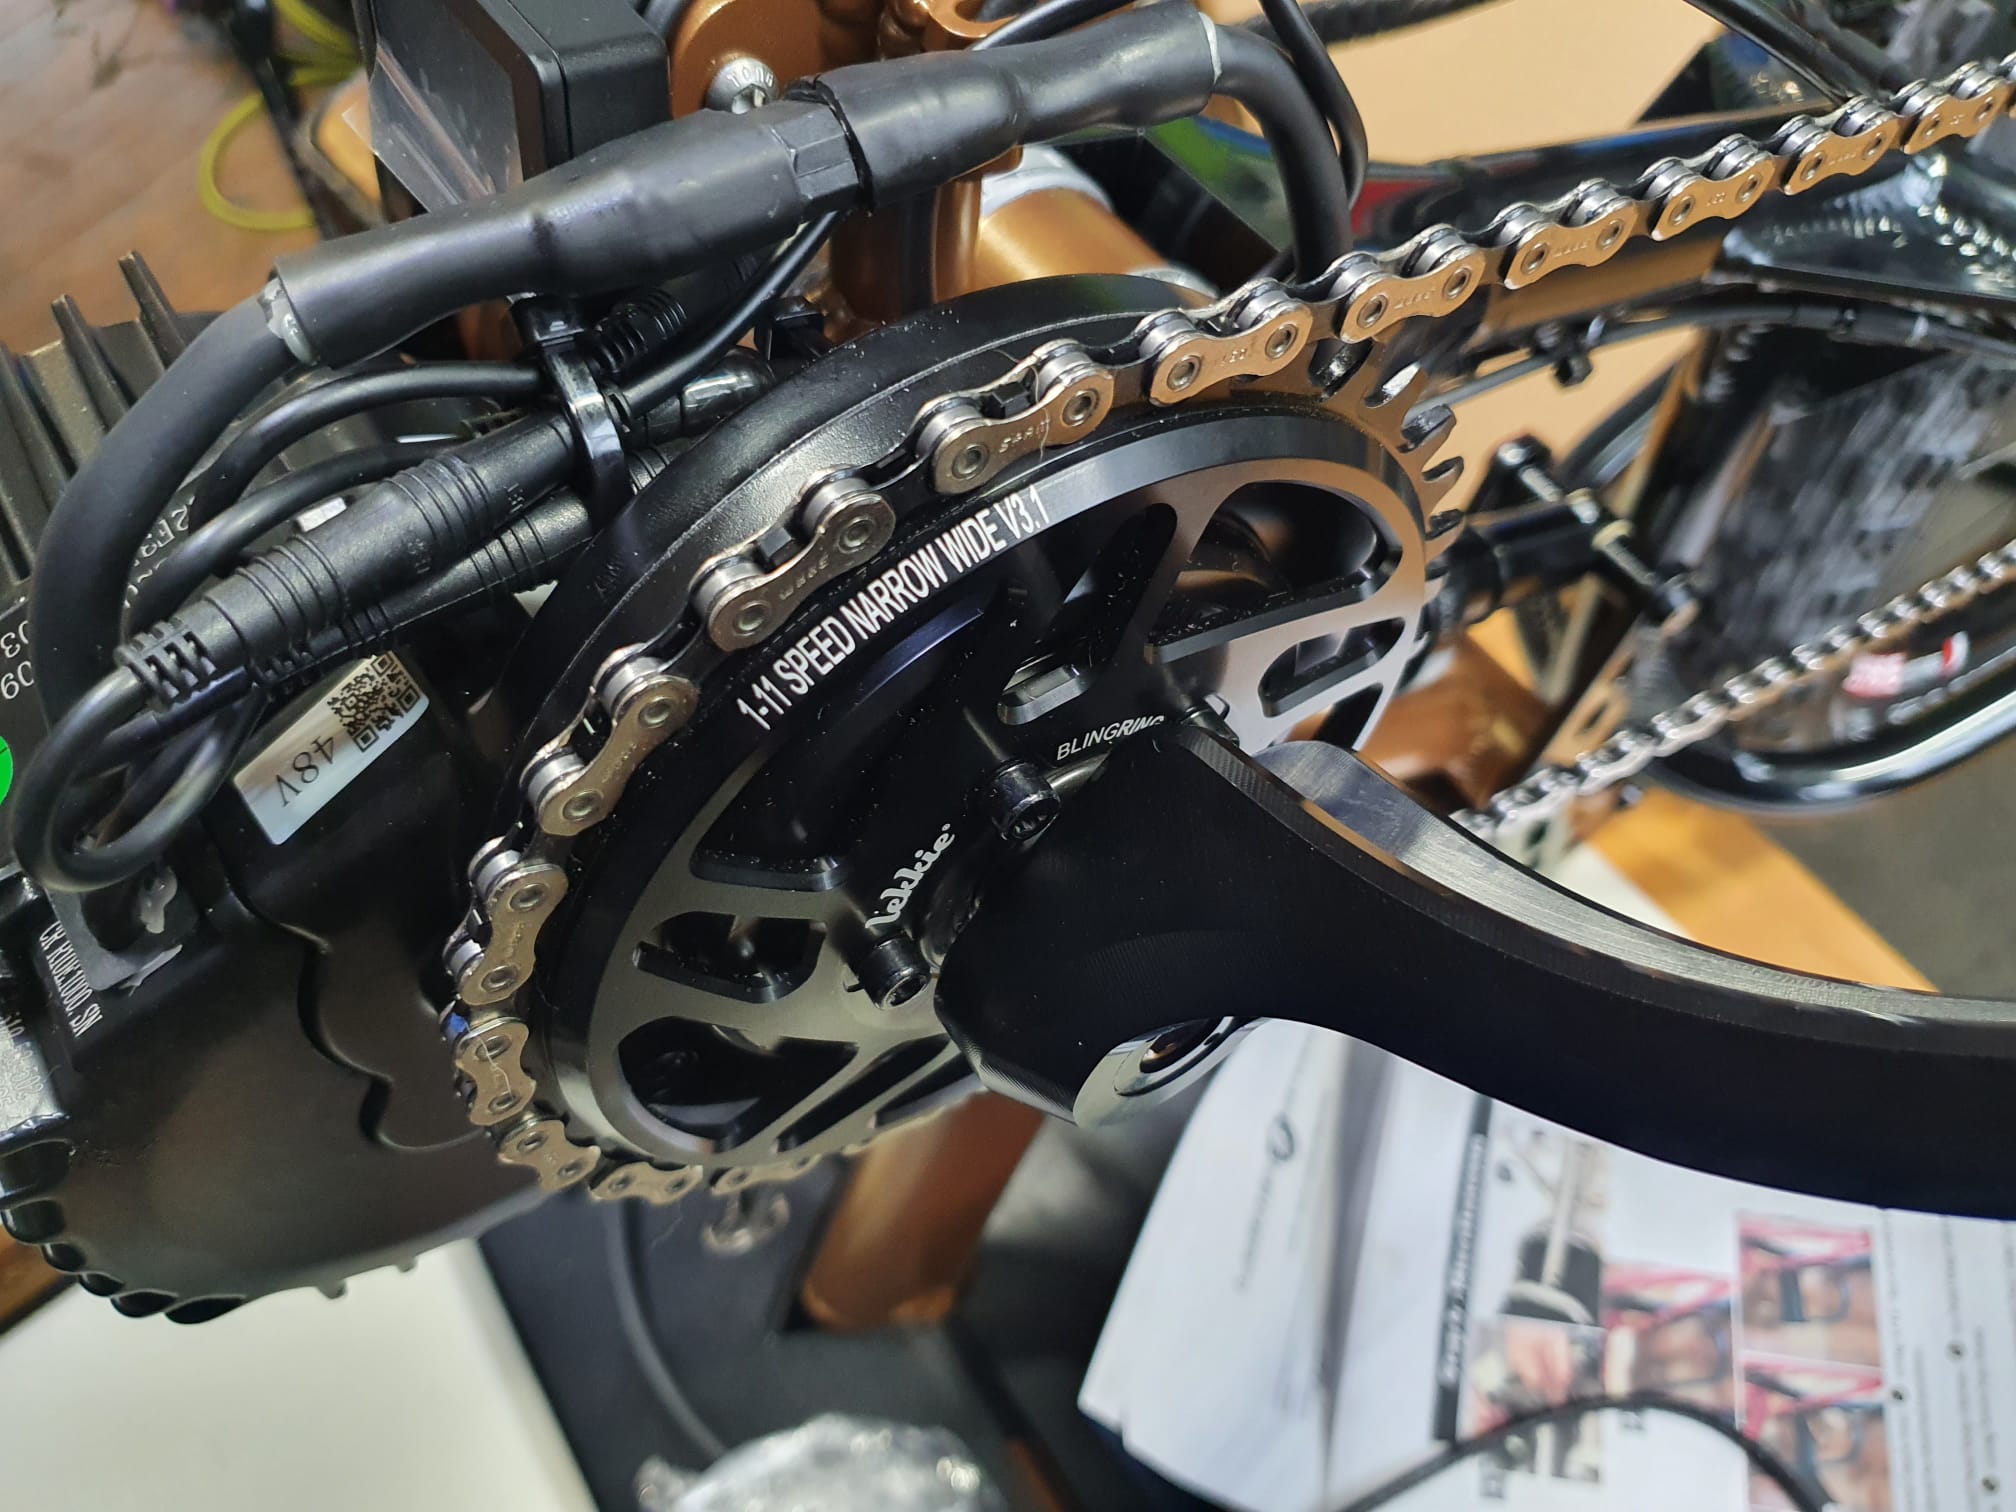
Where the cranks on the original bike were just bent tubes with fittings for the BB axle and pedals/grips this thing has one of the coolest cranks I’ve ever seen on it. It kind of reminds me of the old Raceface Diabolus cranks but about 2lbs lighter and a whole lot bendier. Where the original crank looked like it coulda been knocked up by your local hobbyist welder with a bit of spare time these new ones are a real bespoke solution for a real bespoke bike.
The linkage at the back of the bike was a sight to behold as well, an absolute feat of engineering prowess. From the shop suspension squash test (which we probably spent far too long doing but it’s mesmerising to watch the linkage at work) It certainly looks like it’s gonna do the trick and teamed with the enormous tyres it should have grip for days.
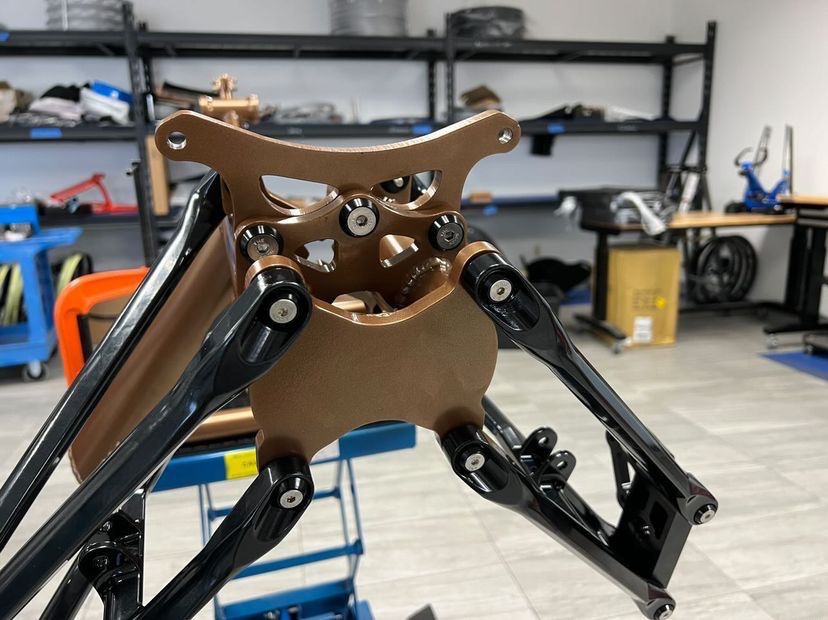
Another really cool feature that I liked was the use of a standard 24mm bottom bracket for the front suspension pivot, I’ve seen this done on a few full suspension frames in the past from smaller framebuilders and Santa Cruz used to run a fairly similar setup on the Bullit back in its single pivot freeride days. It seems like such a simple and easy method of bearing replacement that also prevents any wear on the bearing seats with repeated removal and fitting over the years.
Another really nice feature with this one is that it’s actually designed for E-assist, where the last one was a bit of a bodge to rig it up with a motor. This one has dedicated mounts for everything, so I could leave the reflector box alone and not have to start cutting up bottles this time!

Rather than using that weird plastic coil cable tidy stuff for computers (it must have a better name than that!) I used my patented old cable end cable guides. Made from gear cable end caps trimmed down with a cable tie fed through, these keep the cables tied neatly and keep them positioned so they’ll make nice smooth circles when pedalling but they also allow access to each cable individually without having to unwrap that coily cable stuff. These cable guides also work great on bikes where you want to run more than one cable along one guide like on this E-converted tandem I worked on a few weeks ago.
All in all the ATH-FS was a dream to build, it went together so easily that I thought I must have missed something when it was done. Thankfully I hadn’t, things just tend to work more easily if they’re properly designed to work that way.
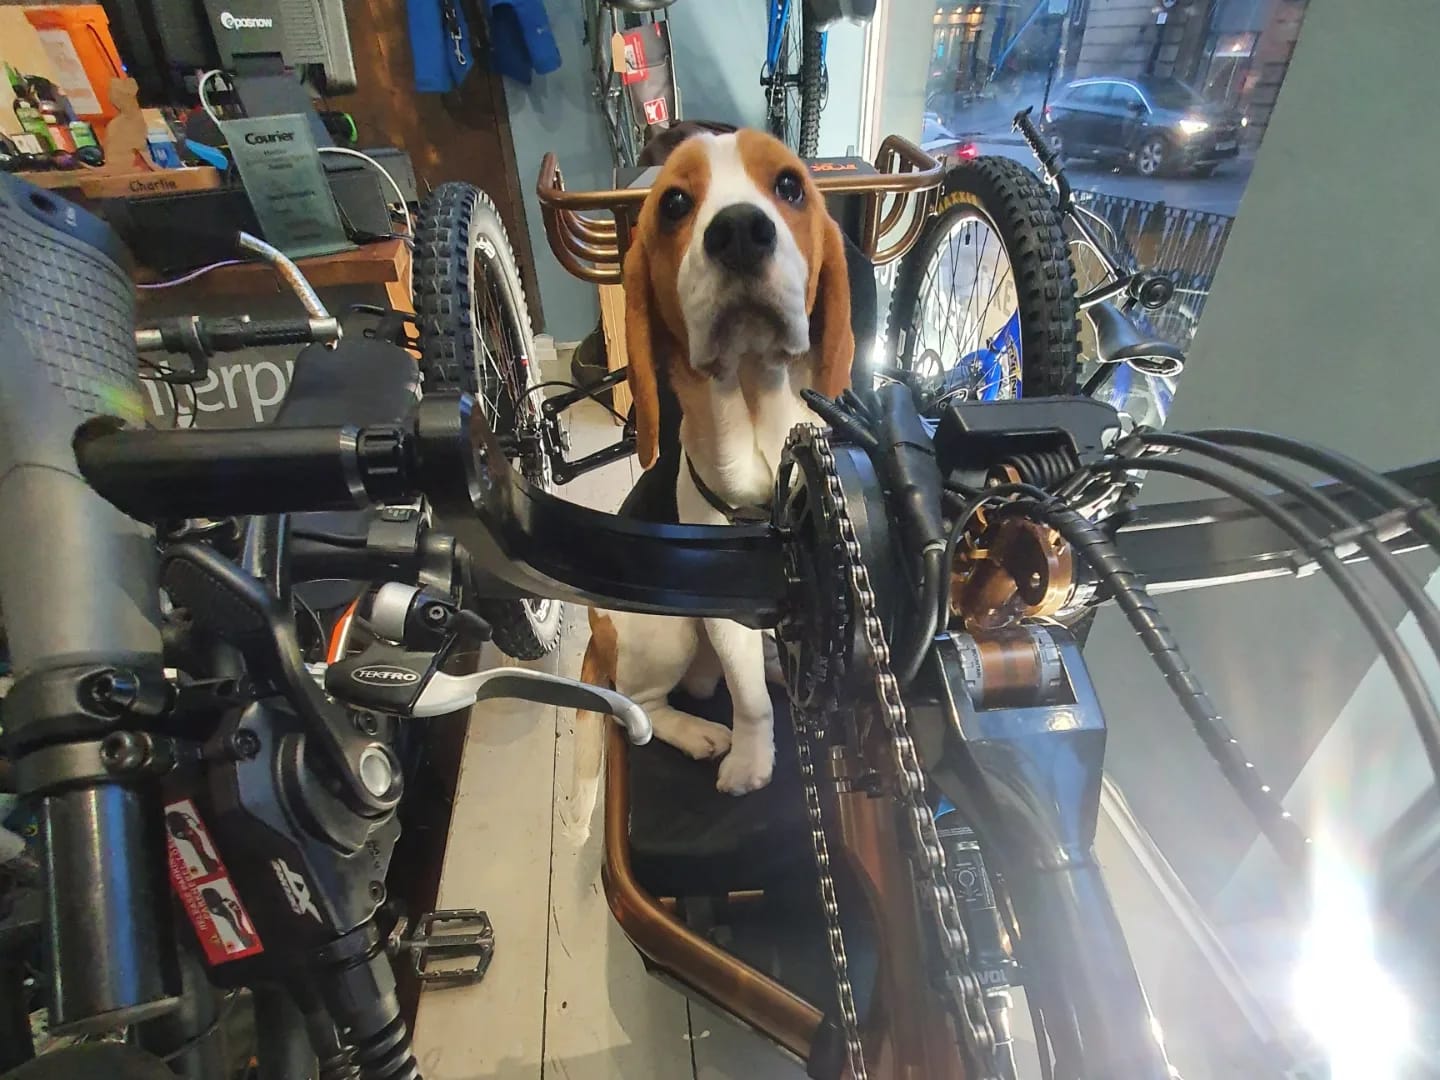
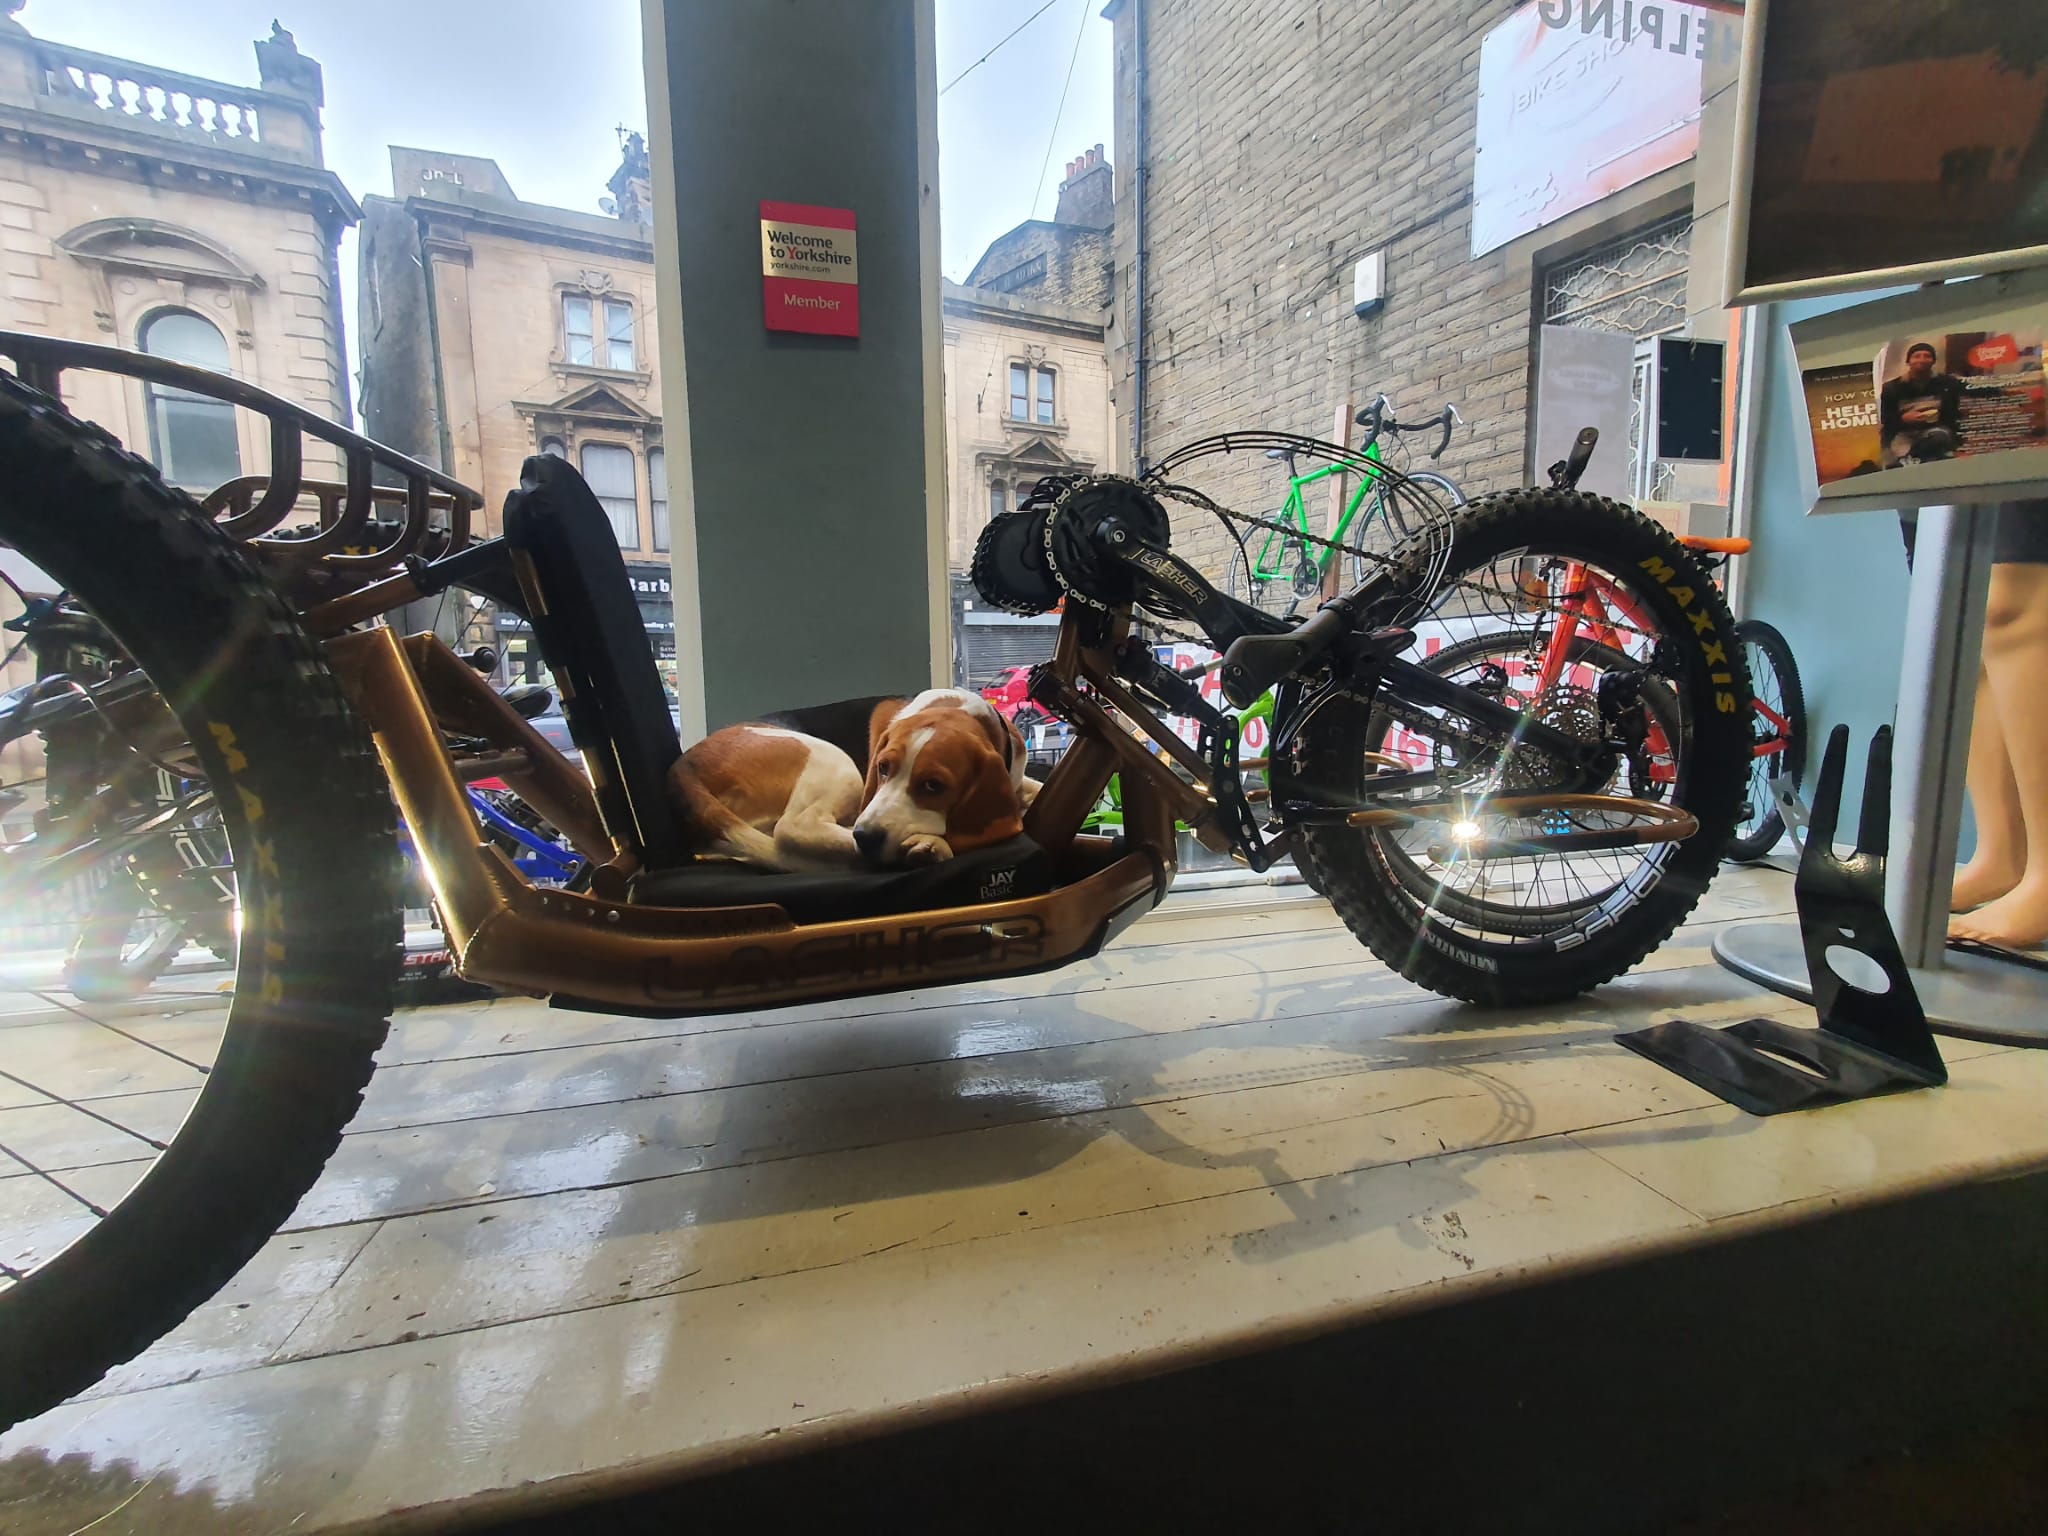
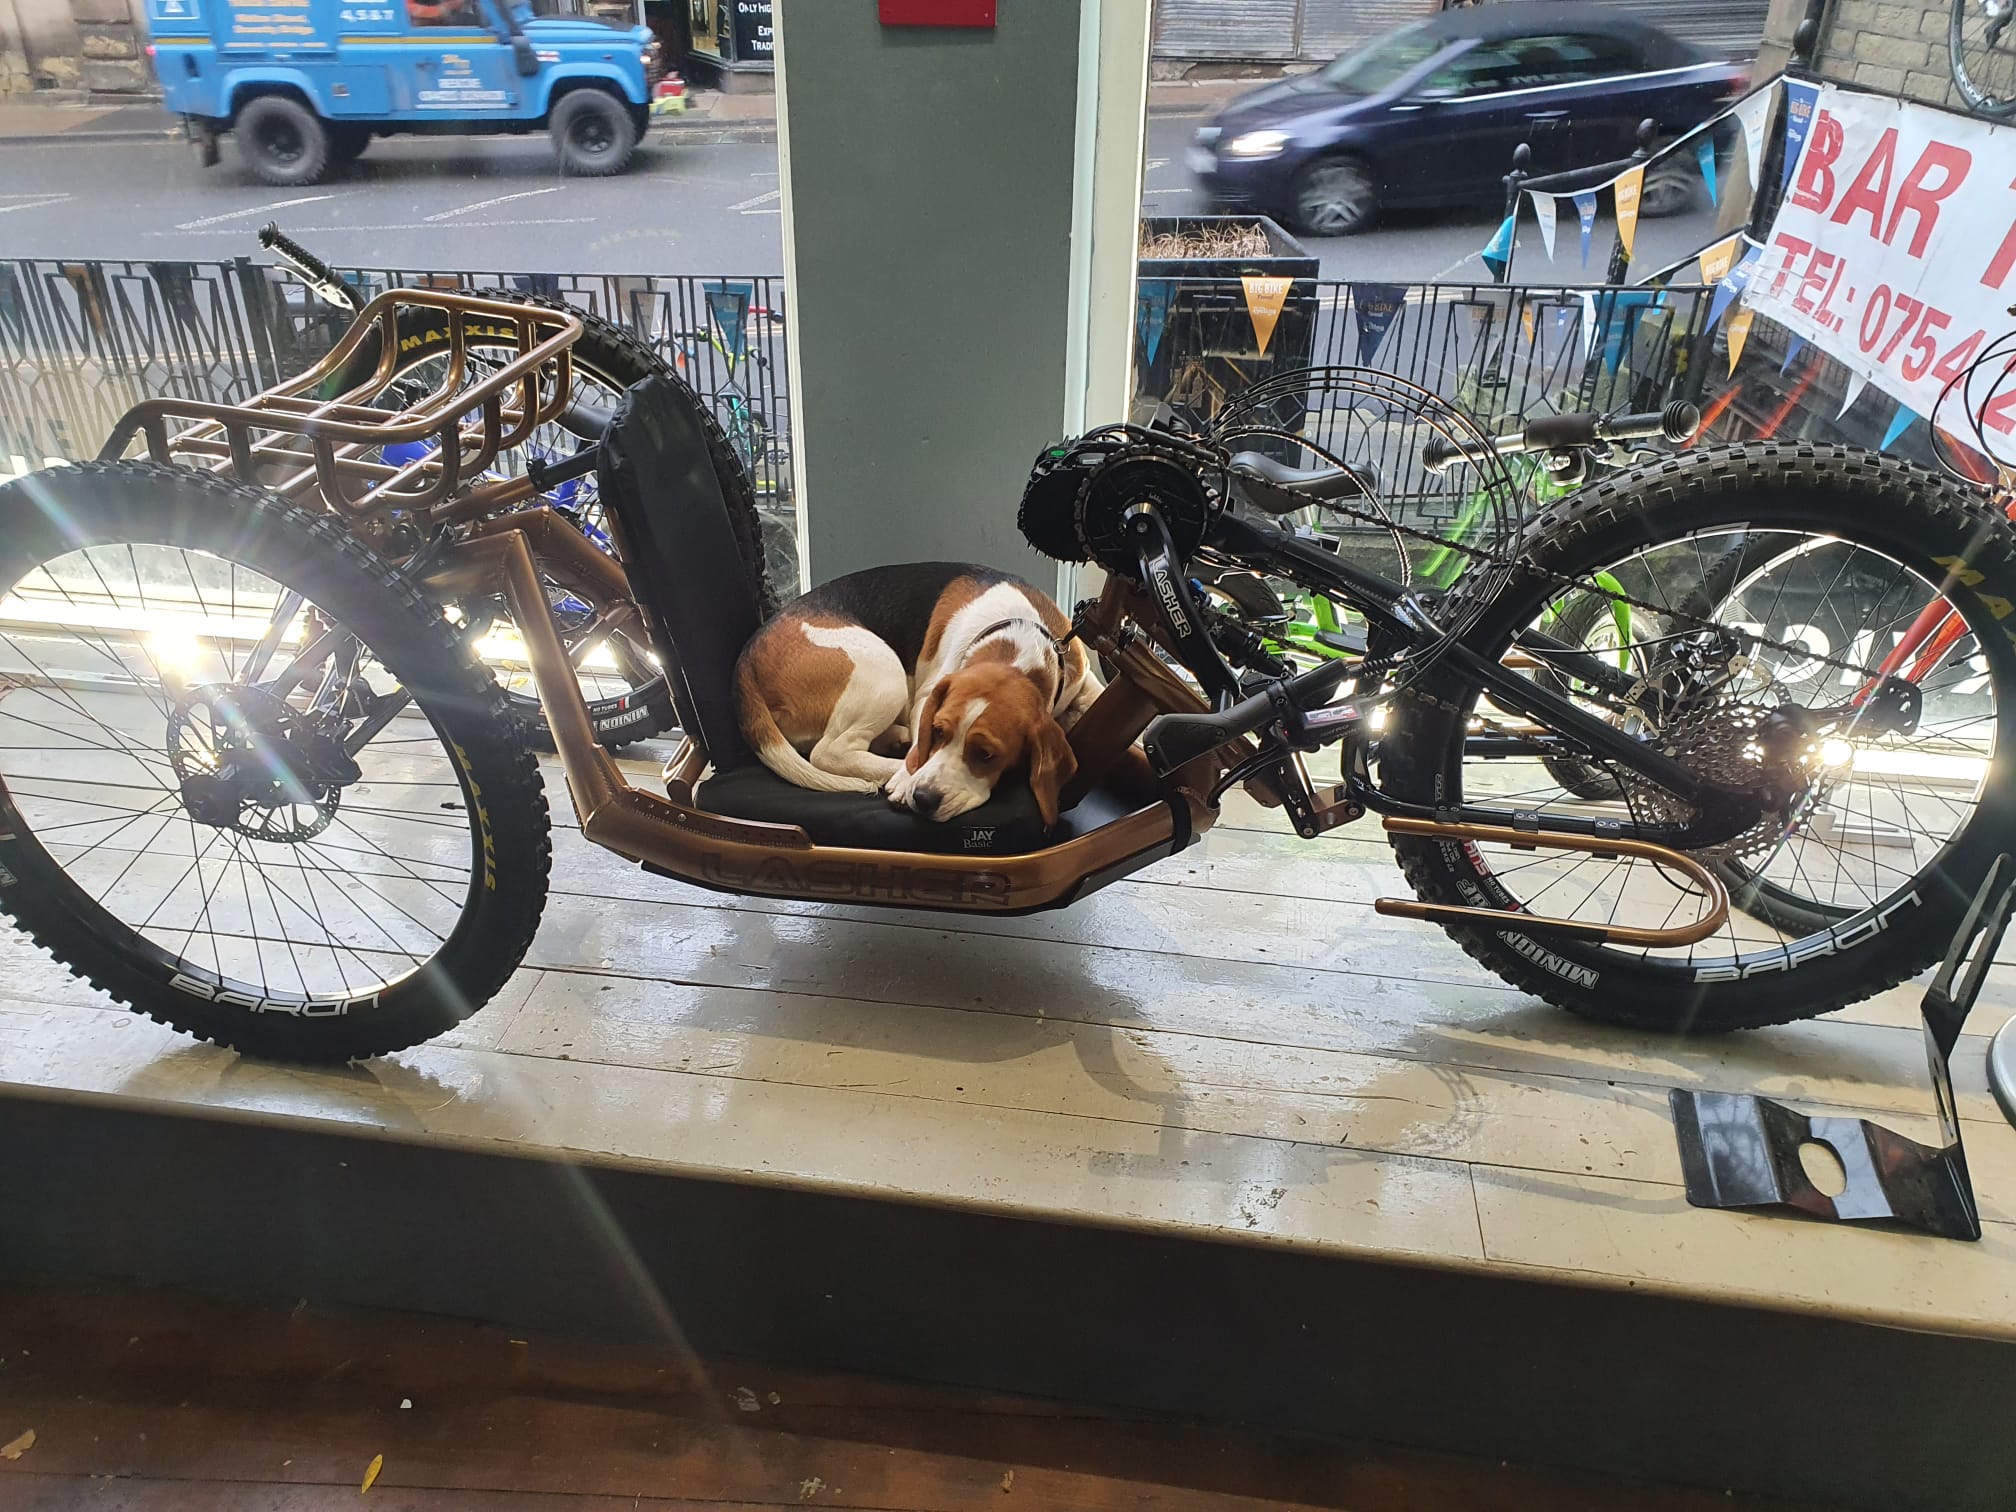
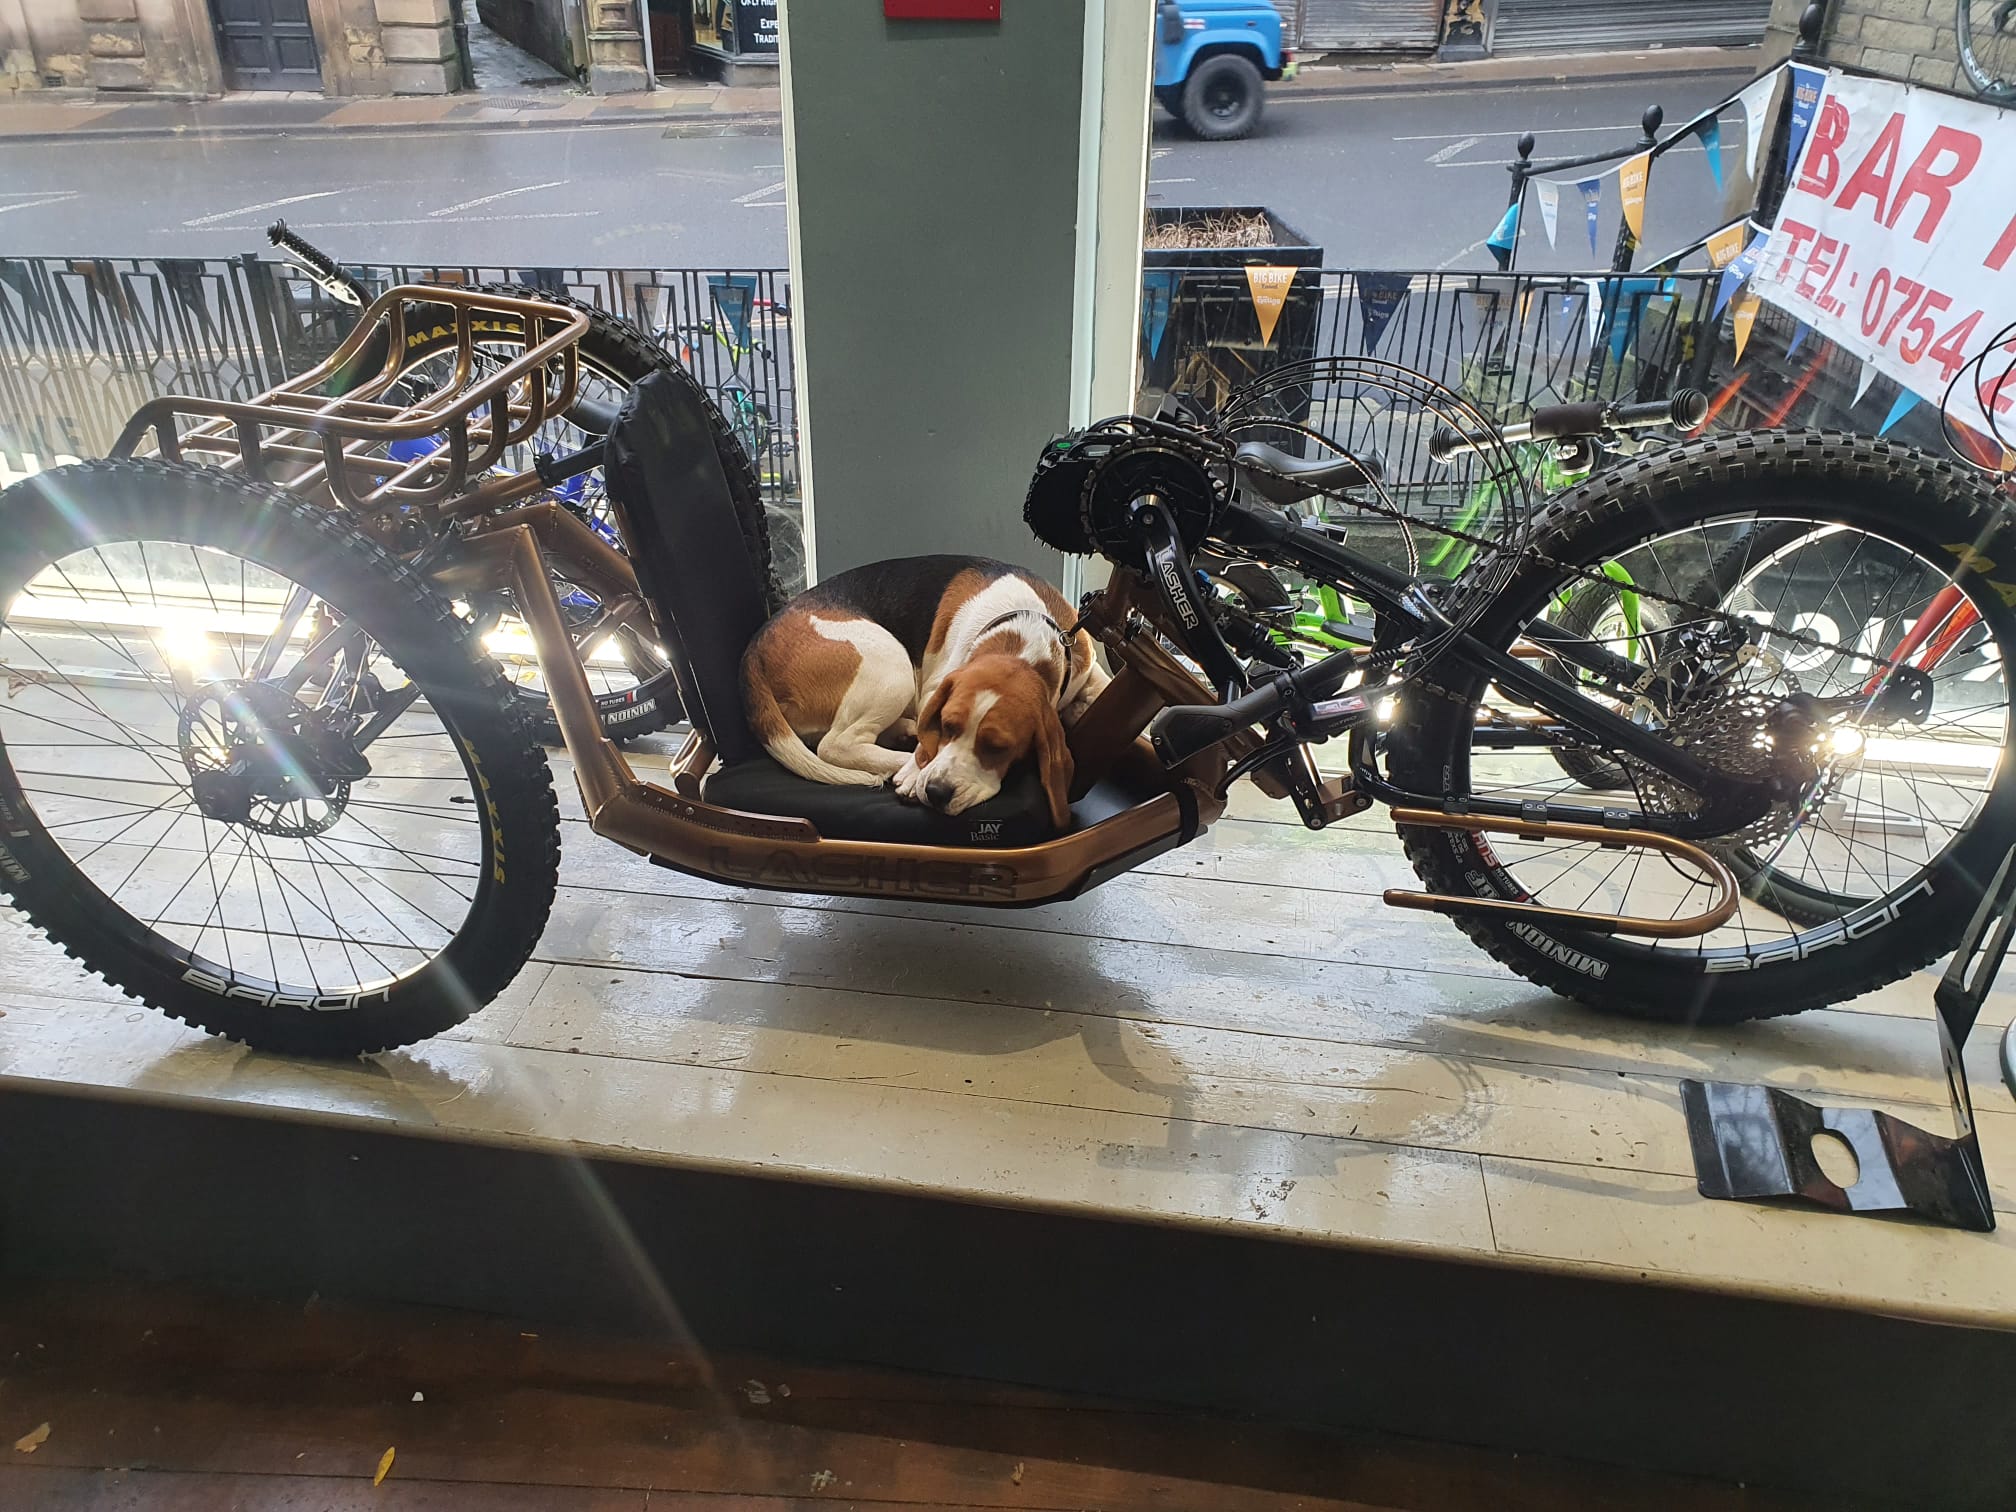
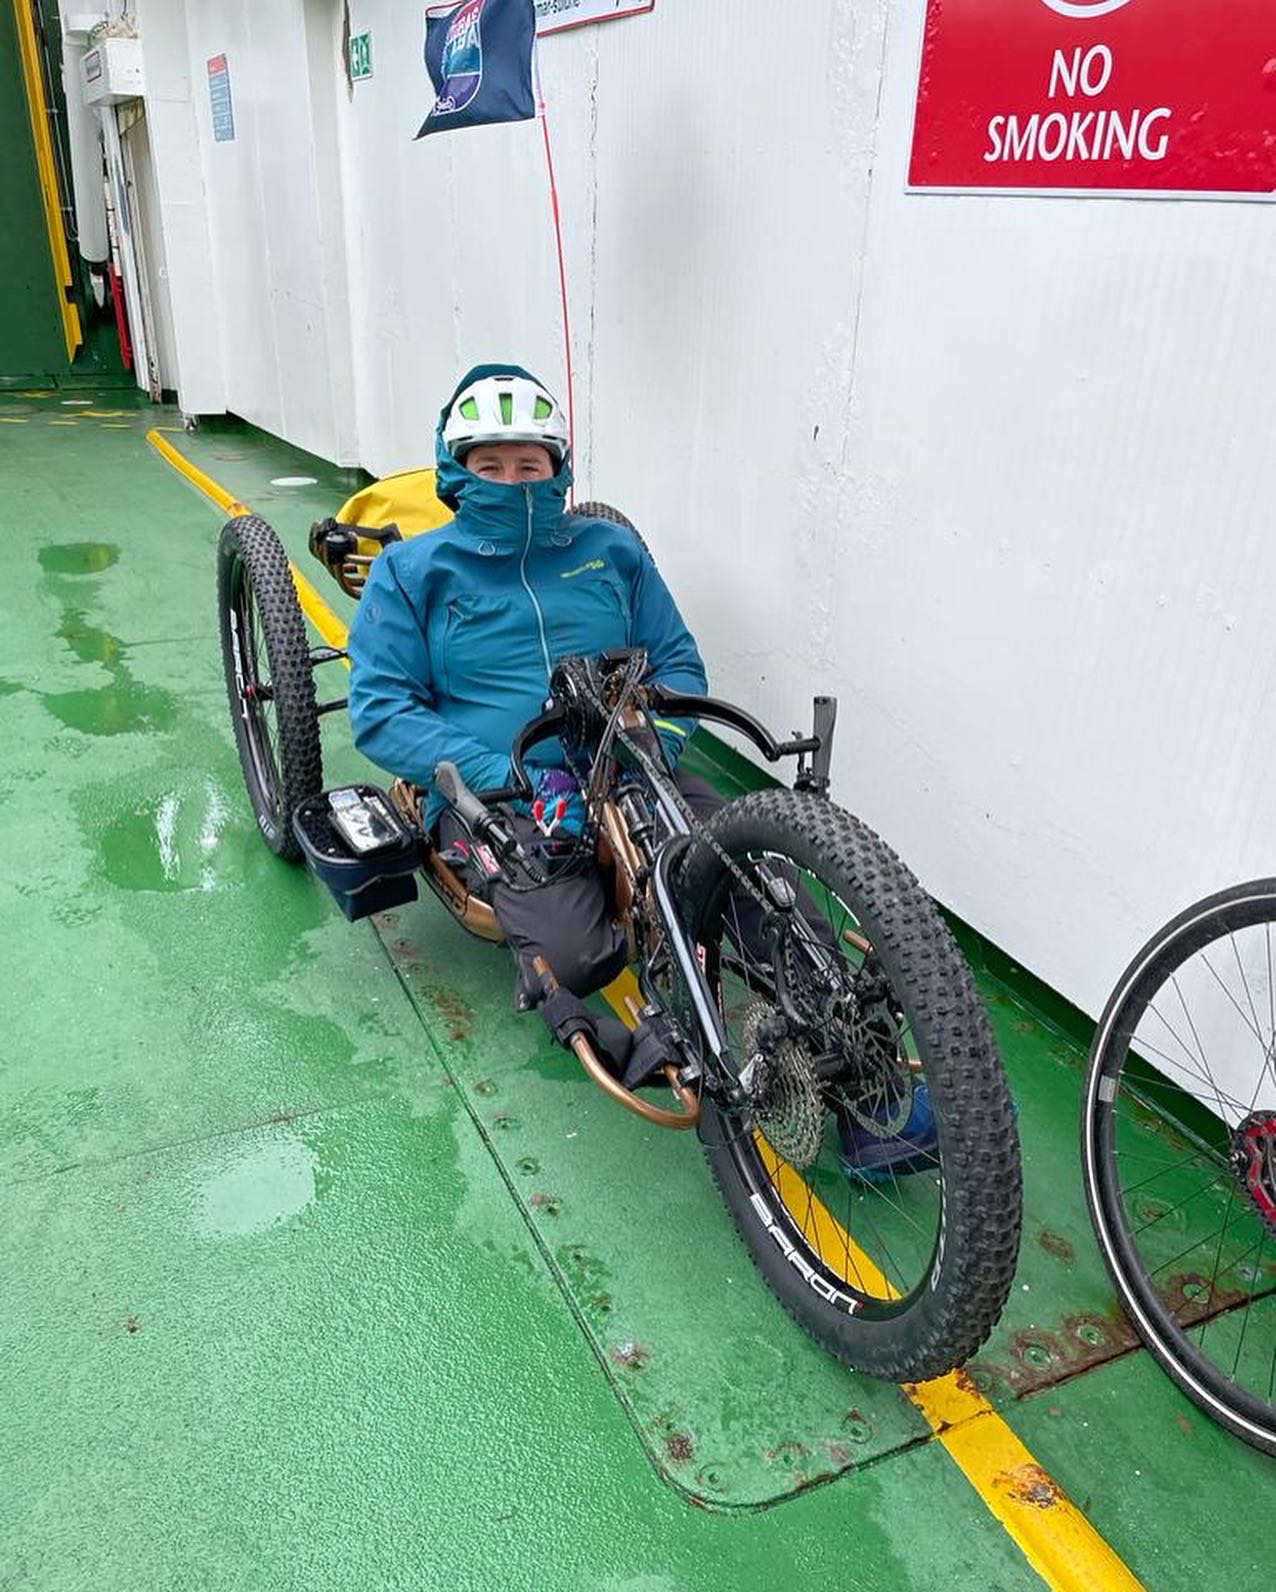
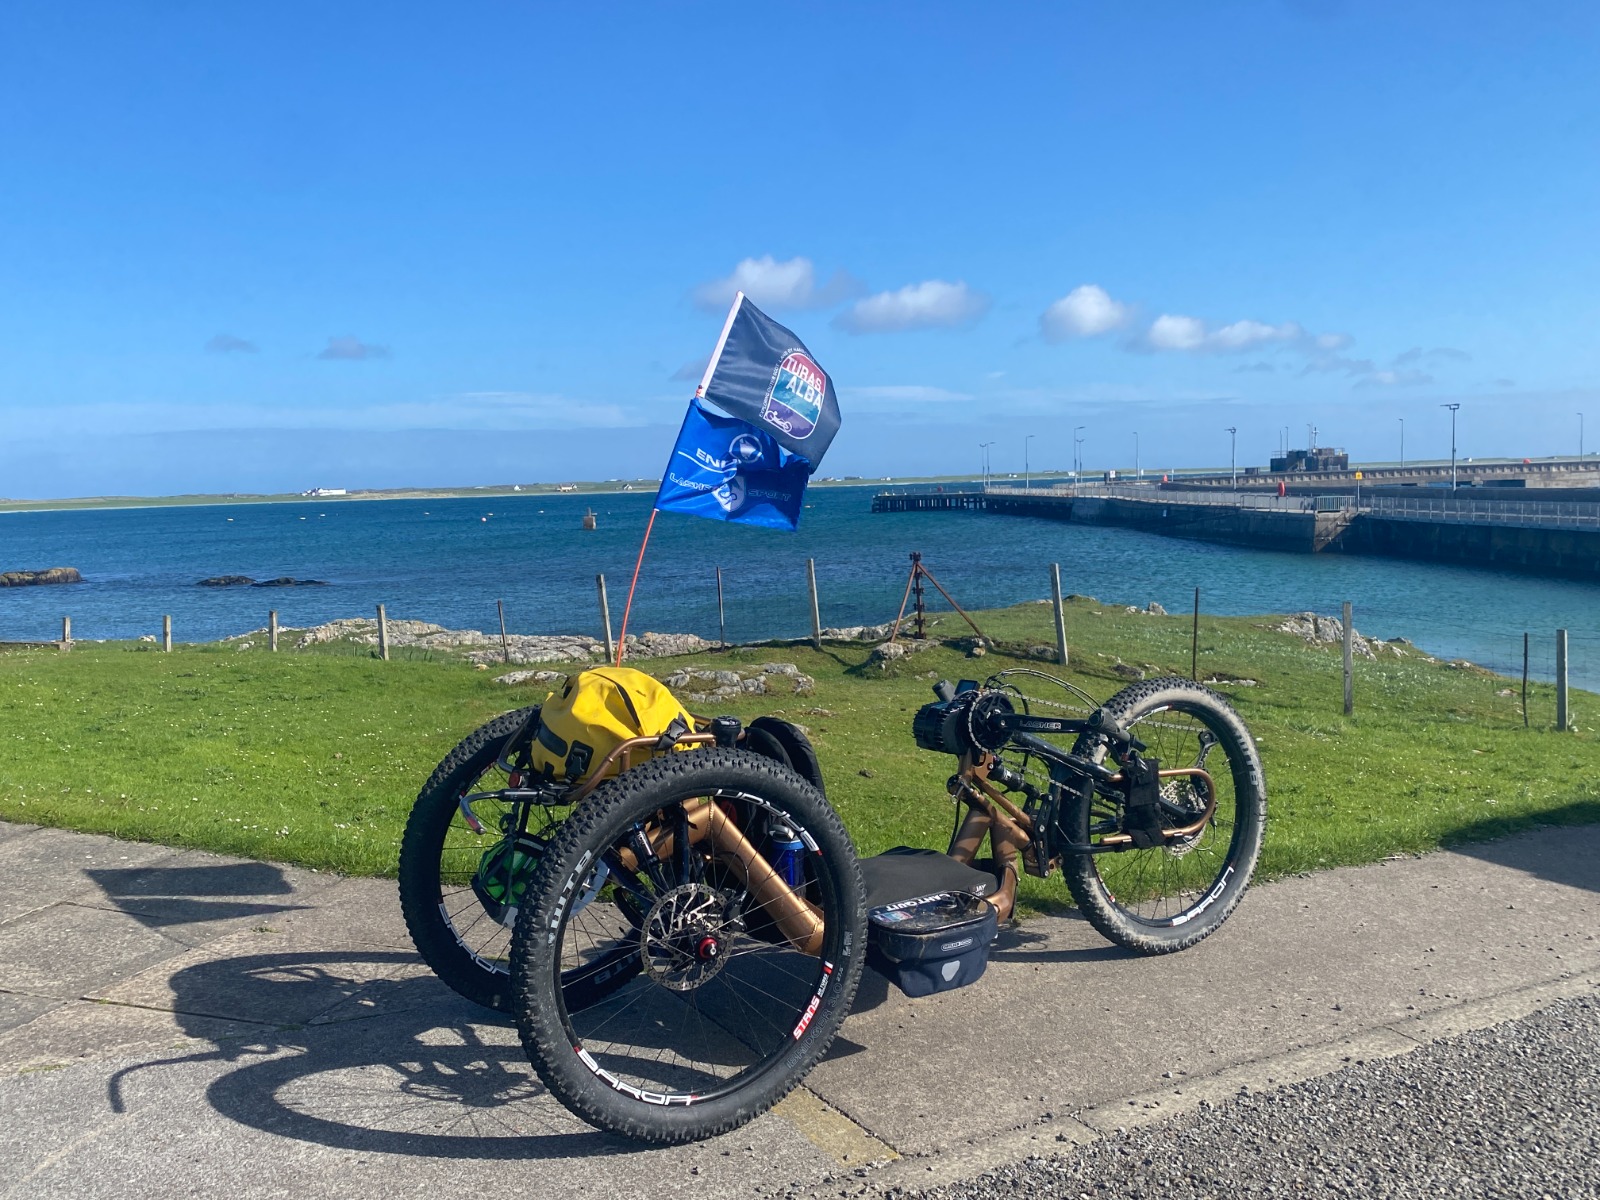
More glamour shots of chester on the handcycle
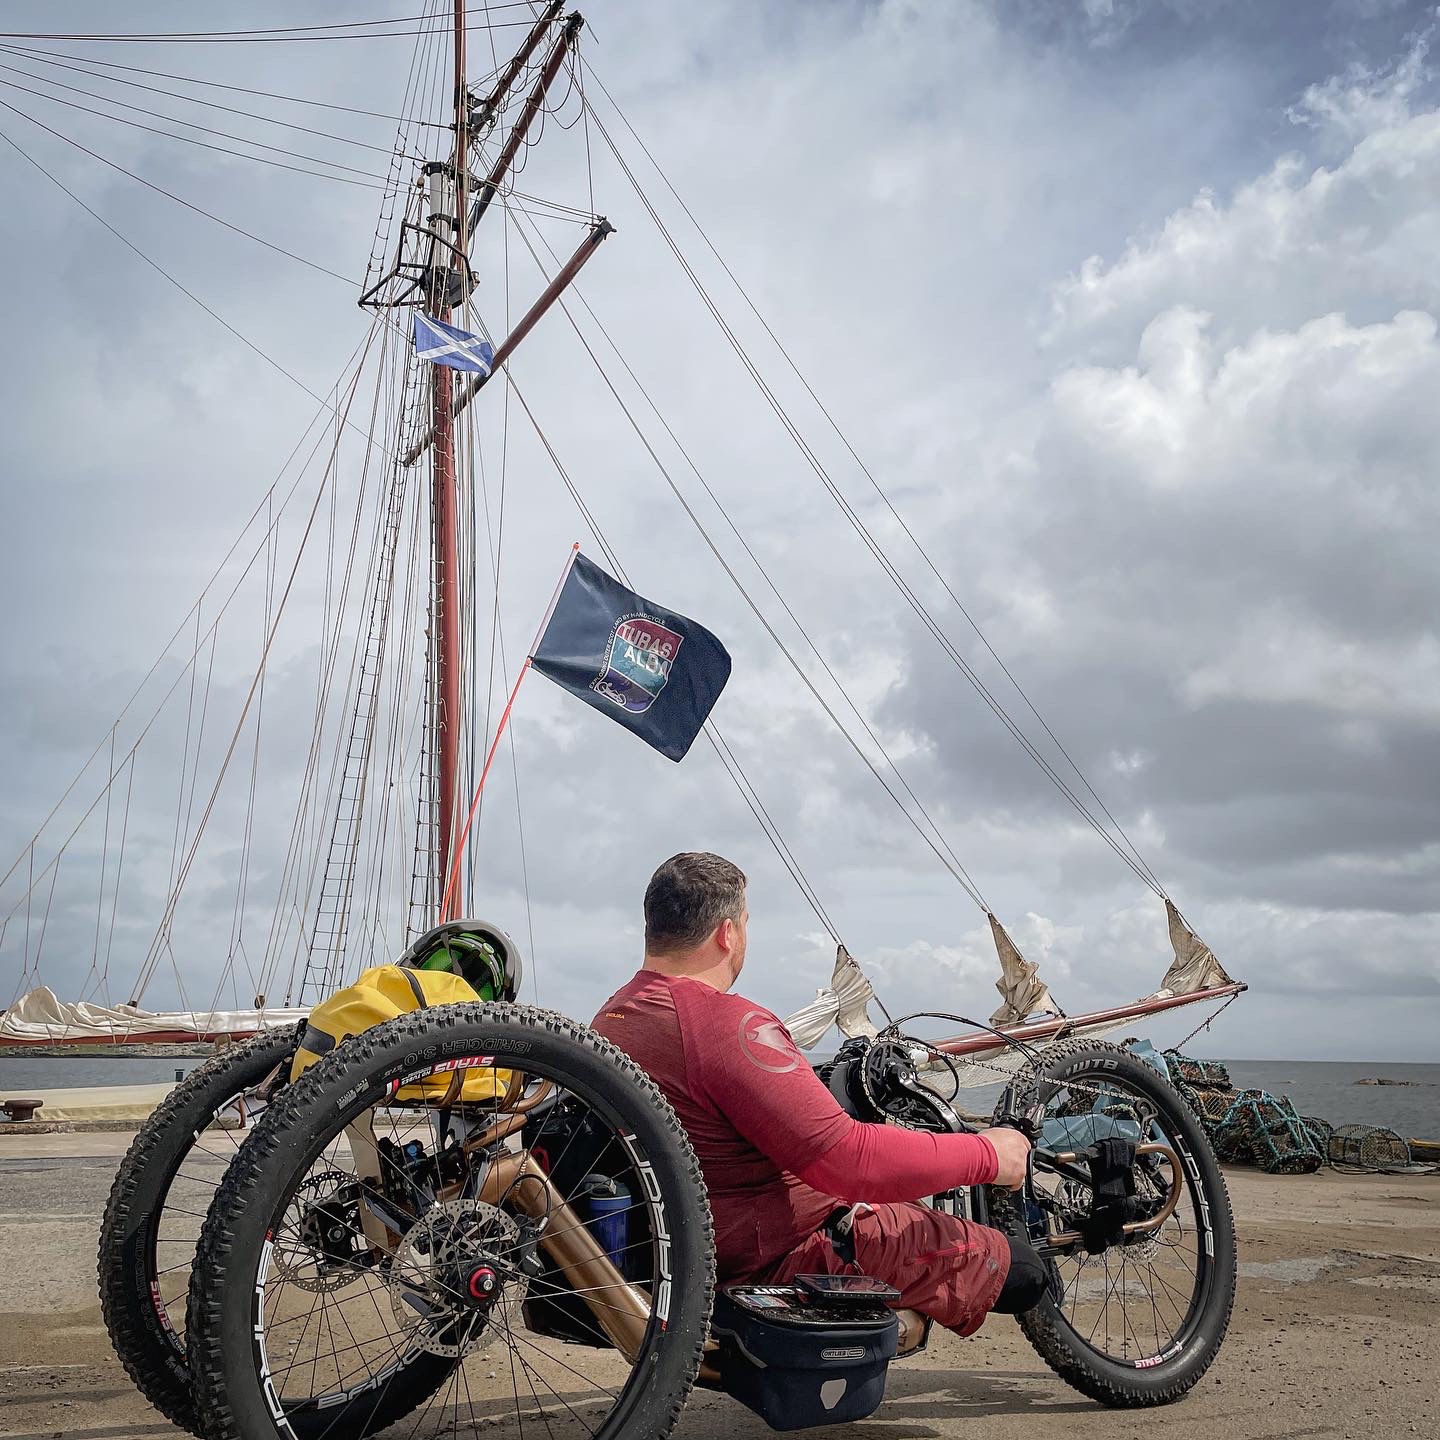
Seeing Neil’s face light up when he first set eyes on his new baby was rad and we couldn’t get it out of the shop for a test quick enough. But the real test for the bike would be coming soon, as I type this Neil has just finished his Turas Alba trip around the islands of Scotland. I’ve not had any panicked phone calls during the trip so hopefully the bike has worked well and got him everywhere he needed to go!
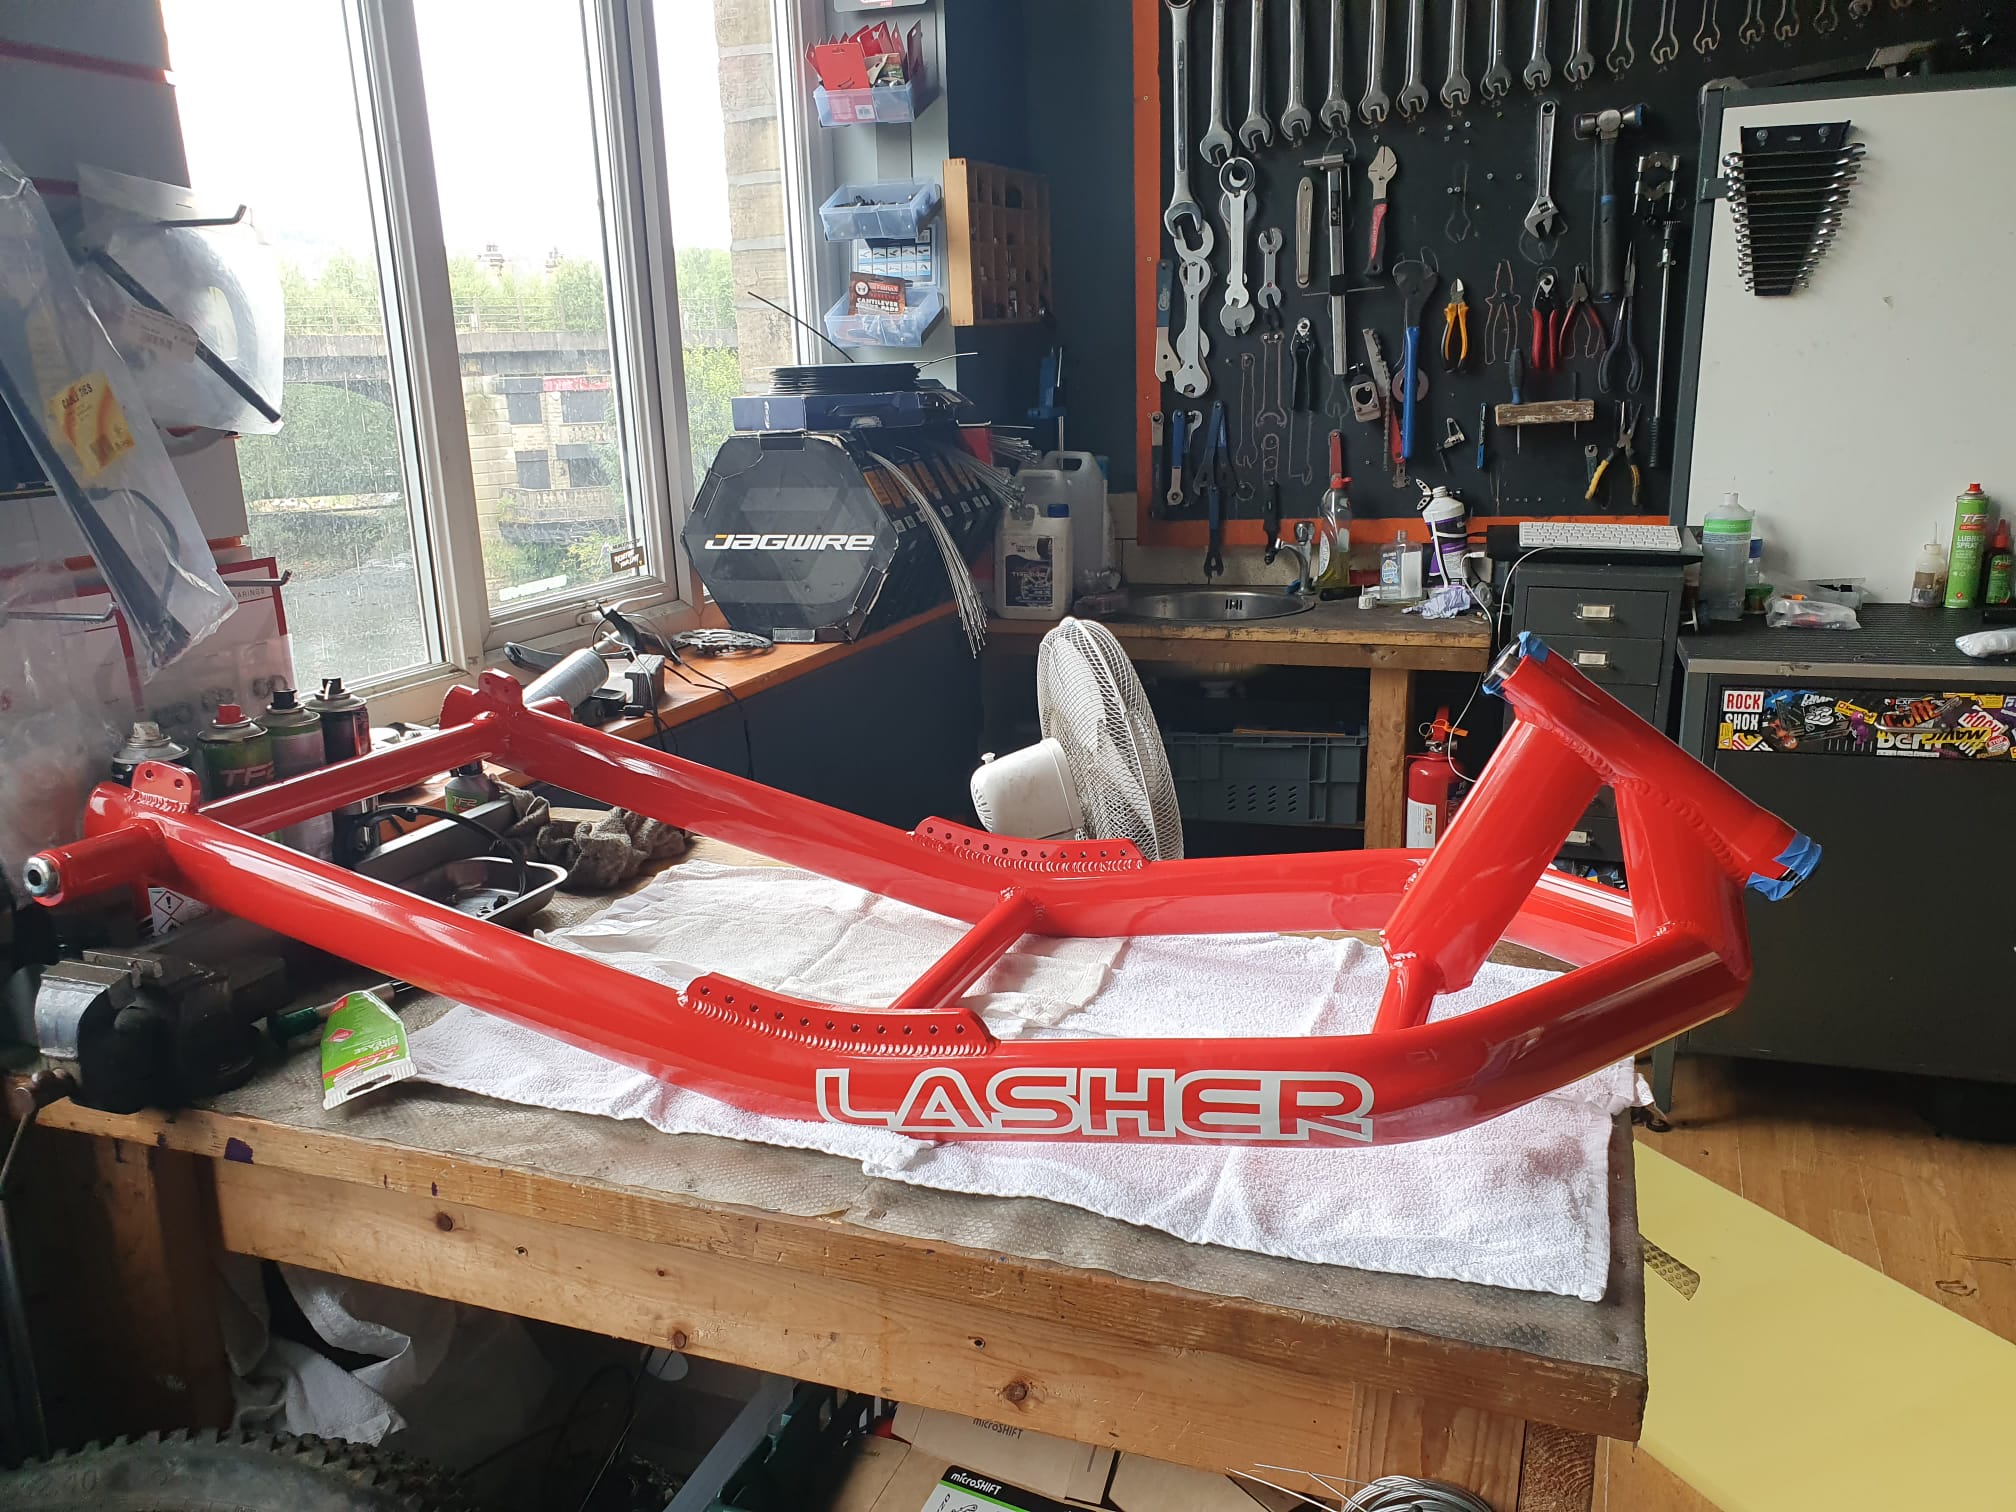
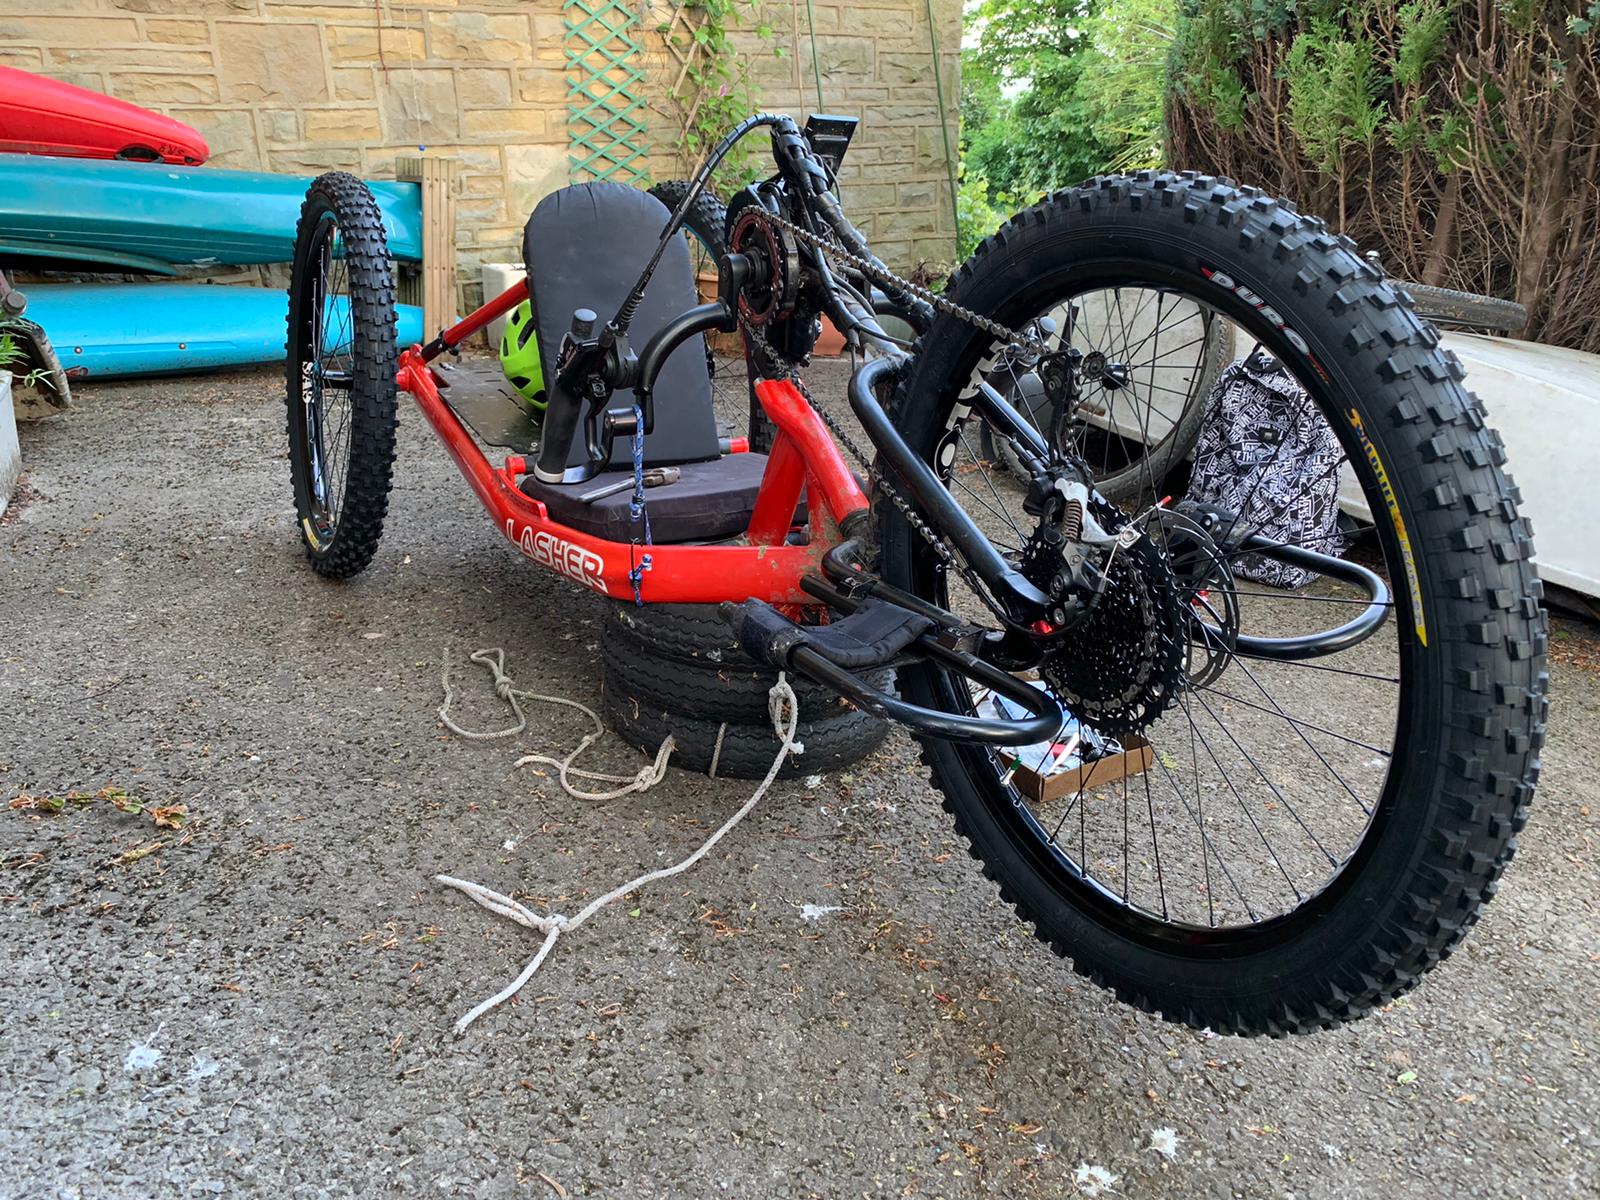
It’s a happy ending for Neil’s red handcycle as well. Rather than being relegated to the back of the shed behind the full sus, gathering dust and not being used, Neil sold the bike to a lad called Will who has made some pretty awesome changes to it!
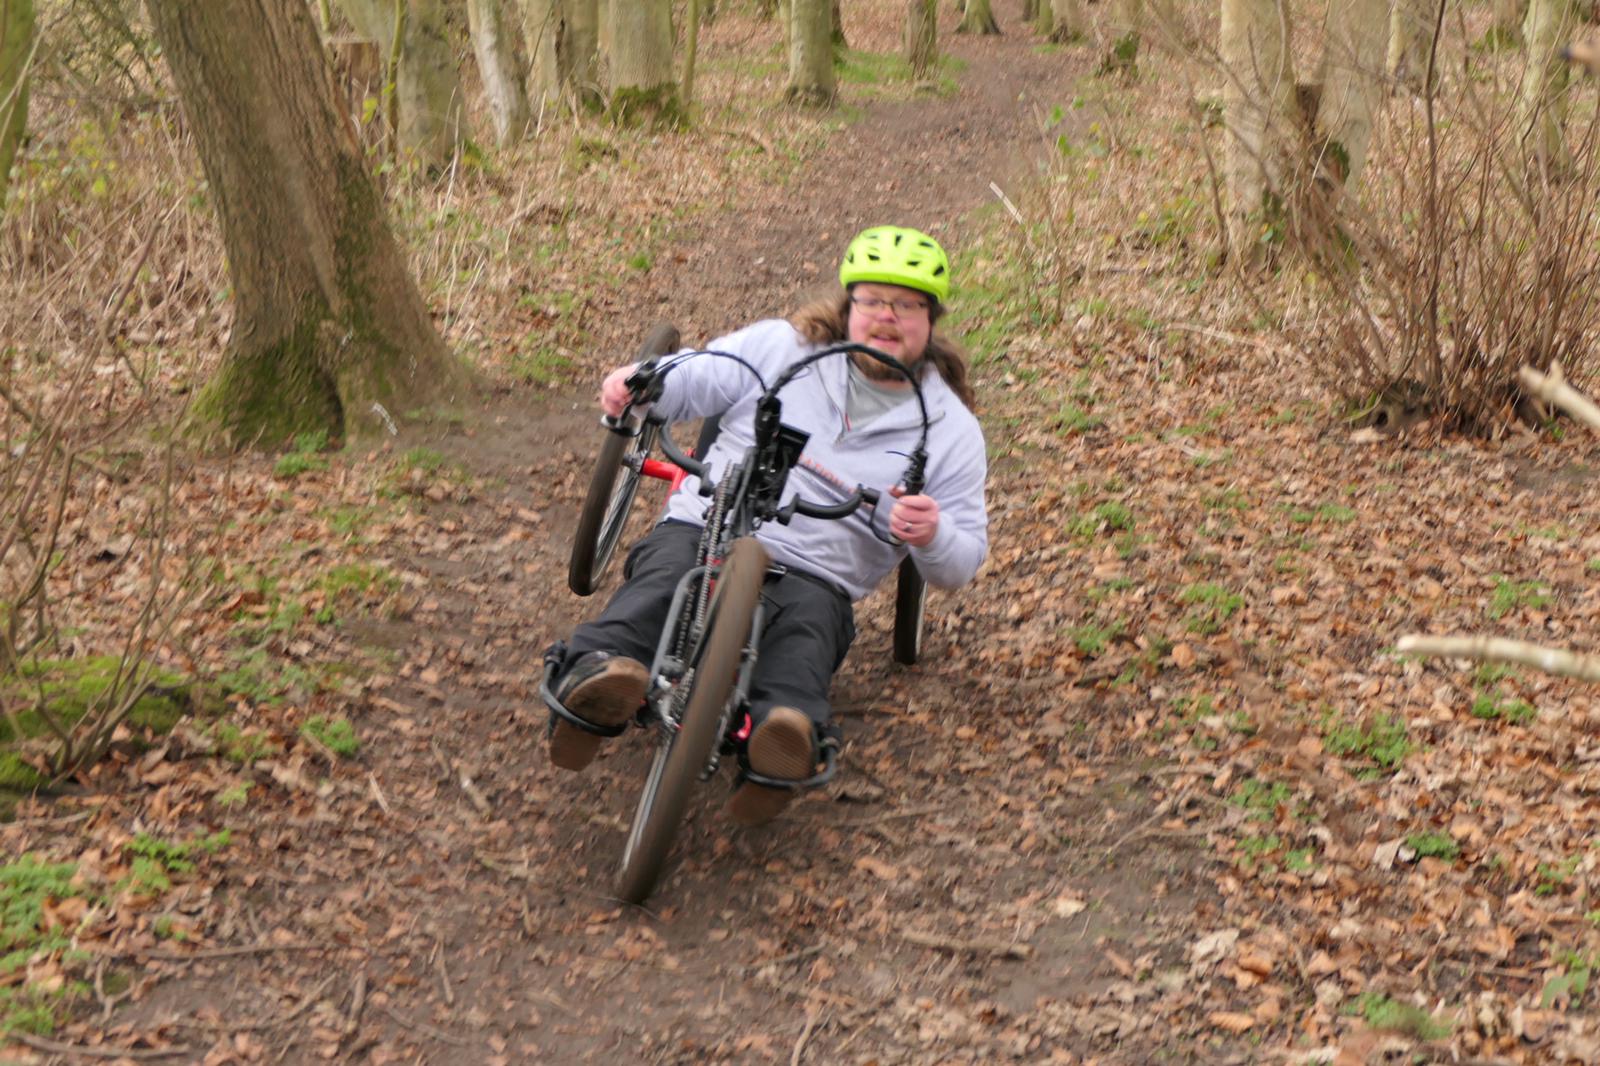

While Neil’s insta handle is @handbikepacking I think Will should change his to @handbikeragging! It’s now got a big ol’ set of tyres fitted to a set of Halo SAS dirt jump rims and if the videos I’ve seen of him riding it so far are anything to go off I wouldn’t be surprised to see him sending it off some actual jumps before long!

Big thanks to Neil for letting a crazy person who sends unsolicited messages loose on his bikes and an MASSIVE congratulations for completing his trip!